Do you want to create a Mailchimp popup to grow your email list?
Whether you are running an online store or simply monetizing a blog, getting more subscribers can be tough.
When you have a robust email list, you can build a long-lasting relationship with your subscribers and grow your business. For instance, you can use the mailing list to send them personalized emails, encourage them to visit your site often, and increase your sales.
A simple email series can help you attract repeat customers to your online store or blog.
But where do you keep your growing contact list? One of the most popular options is Mailchimp.
Mailchimp is one of the leading email marketing tools that lets you segment your contact lists into distinct groups.

It’s a good tool for beginner marketers, business owners, and bloggers to send personalized emails that convert.
That’s why, today, I’m going to teach you how to add a Mailchimp popup to your website to grow your email list. I’ll use 2 methods: one for your Shopify store and the other for your WordPress site.
Here’s a more specific breakdown of what I’ll cover in this post:
- What is a Mailchimp popup?
- Why use OptinMonster for your Mailchimp popup
- Method 1: Create your popup campaign for Shopify
- Method 2: Create a Mailchimp WordPress Popup
What Is a Mailchimp Popup?
A Mailchimp popup is a marketing campaign on your website that gathers new leads and sends them directly to your Mailchimp account.
That way, you can organize new email addresses into segmented contact lists. Then you can send personalized email campaigns to your audience to boost your conversions.
Here’s a closer look at how this works.
When your customer lands on your website, you’ll display an email subscriber form that looks like this:

I used OptinMonster to build this MailChimp popup. It took me less than 10 minutes to create it.
If you are making a popup like this, make sure it has some kind of offer that’s hard for people to refuse. This could be a promotional deal, an eBook, or anything else you think your audience would find valuable.
We call these special offers lead magnets.
Since your lead magnet is enticing for customers, they are willing to enter their email addresses to receive the offer. That email address goes straight to a specific contact list in your Mailchimp account.
As your list grows, you’ll have more opportunities to reach out to these contact lists with follow-up promotions. This will bring customers back to your store or blog and increase your overall profits.
But where does OptinMonster fit into all this? Does Mailchimp allow its users to create subscriber popups too?
Let me answer these questions in the next section.
Why Use OptinMonster for Your Mailchimp Popup
OptinMonster is the best popup builder for growing your email subscribers, increasing conversion rates, and driving more sales from your website.
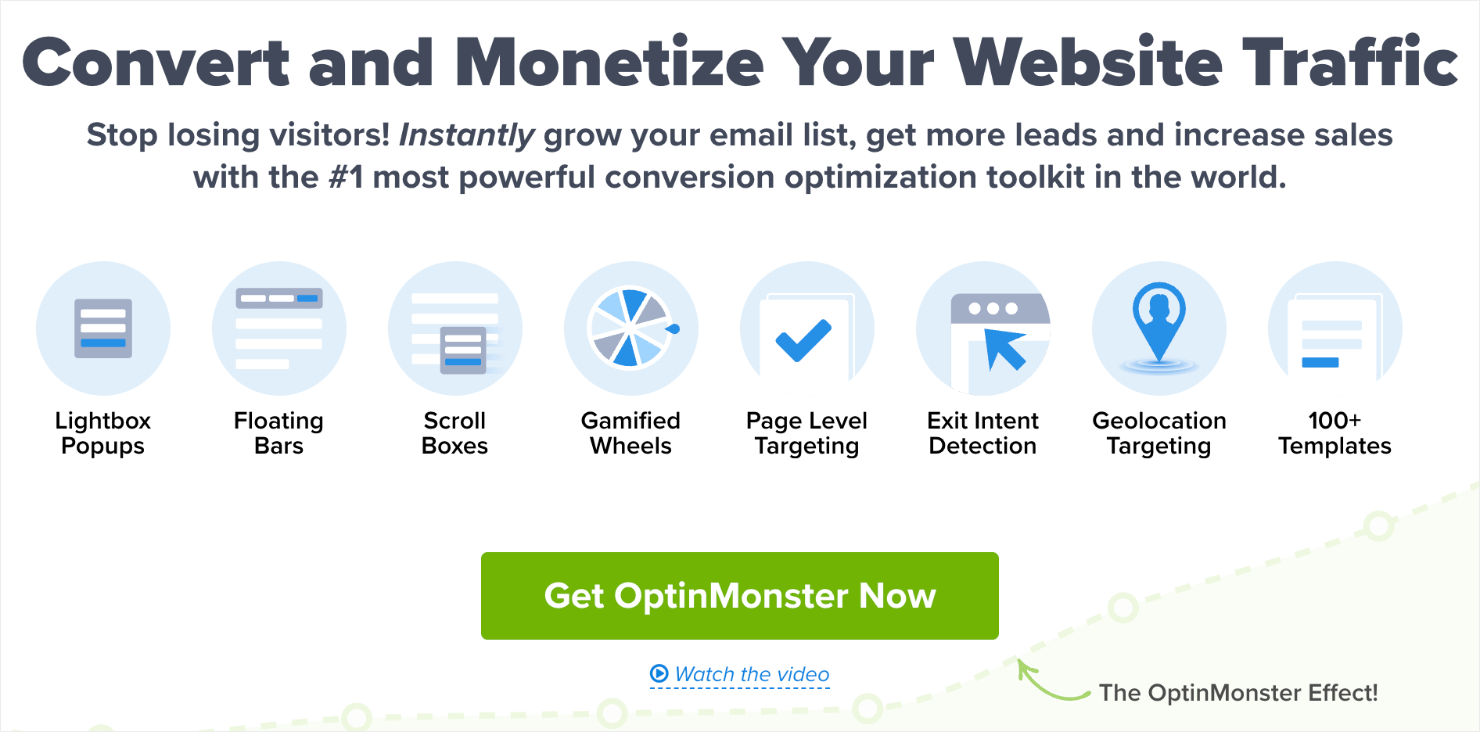
OptinMonster not only gives you the ability to create visually appealing popups that convert, but also facilitates campaigns that offer a good user experience.
But how?
With targeted optin campaigns.
Optin campaigns are small messages that you show to your site’s traffic when you want them to take a specific action.
These campaigns can be in the form of popups, welcome gates, slide-in scroll boxes, and other optin forms that help you improve your lead generation.
OptinMonster also integrates with popular form builders, such as WPForms so that you can embed an HTML form into your OptinMonster campaign.
Related Content: 9 Best WordPress Form Plugins To Capture New Leads in 2024
OptinMonster’s popup plugin helps you achieve your marketing goals no matter if it’s getting more page views, more newsletter signups, or more sales. Whatever the case may be, OptinMonster is the best tool to meet your goals.
And it’s a lot better than Mailchimp. Here’s why.
Mailchimp is primarily an email service provider (ESP) that offers a few optin campaigns on the side, such as popups and landing pages. The popup campaigns they provide are basic and limited in terms of what they can do.
For example, here is how one of their popup form designs look like:
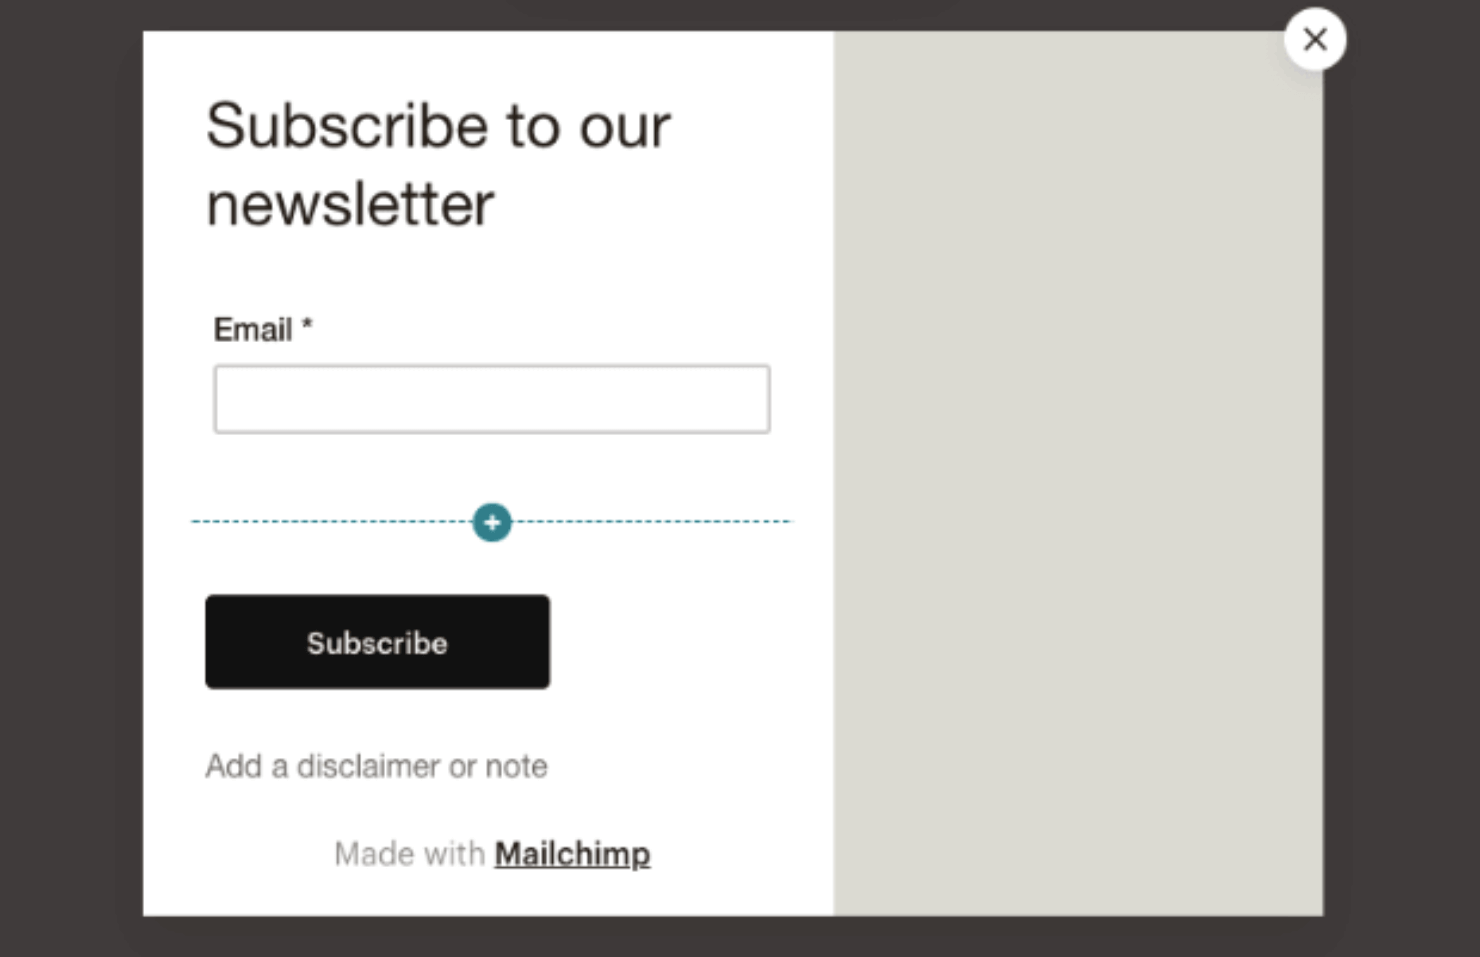
There’s some text, a call to action (CTA) button, an email form field, and an image box. Mailchimp offers 5 layouts in total, each involving these same elements.
Then for their display settings, you have the following options:
- Immediately
- After 5 seconds
- After 20 seconds
- Scroll to the middle or end of the page
- On exit
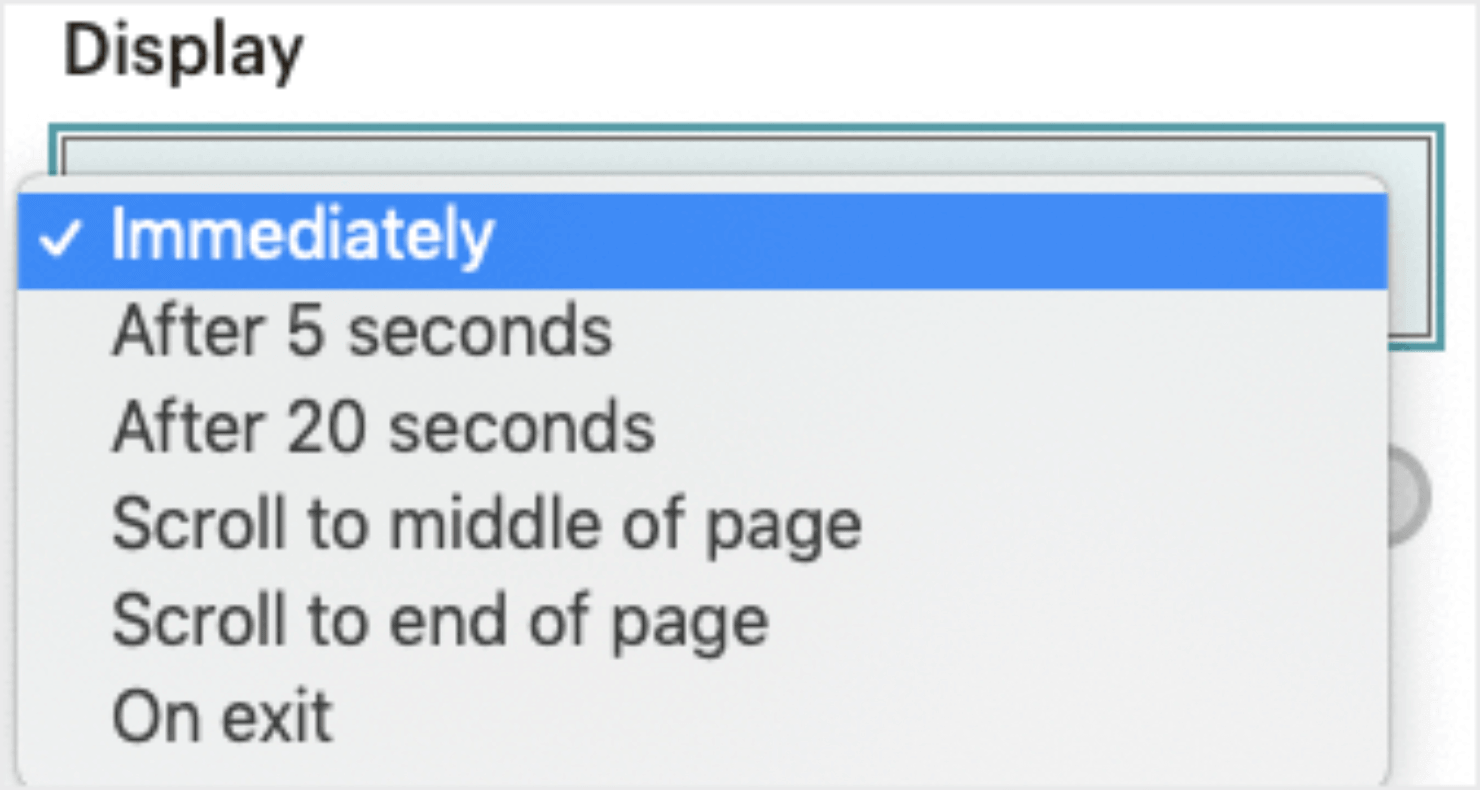
This works for some website owners. However, your personalization options are highly limited.
So, how does this compare with OptinMonster?
To begin with, OptinMonster isn’t an ESP. You can use it to create an email newsletter or schedule it. Instead, OptinMonster specializes in helping you generate leads.
To understand the nuances between the 2 software, read our comparison article on OptinMonster vs. Mailchimp: Which Is Better for Lead Generation?
Since generating leads is what OptinMonster specializes in, we’ve made sure we’re the best at it.
OptinMonster offers more campaign types to reach your audience and more ways to target them. With OptinMonster, you can send the right campaigns to the right people at just the right time in their customer journey.
To give you a quick comparison, here’s a snapshot of OptinMonster’s display rules:
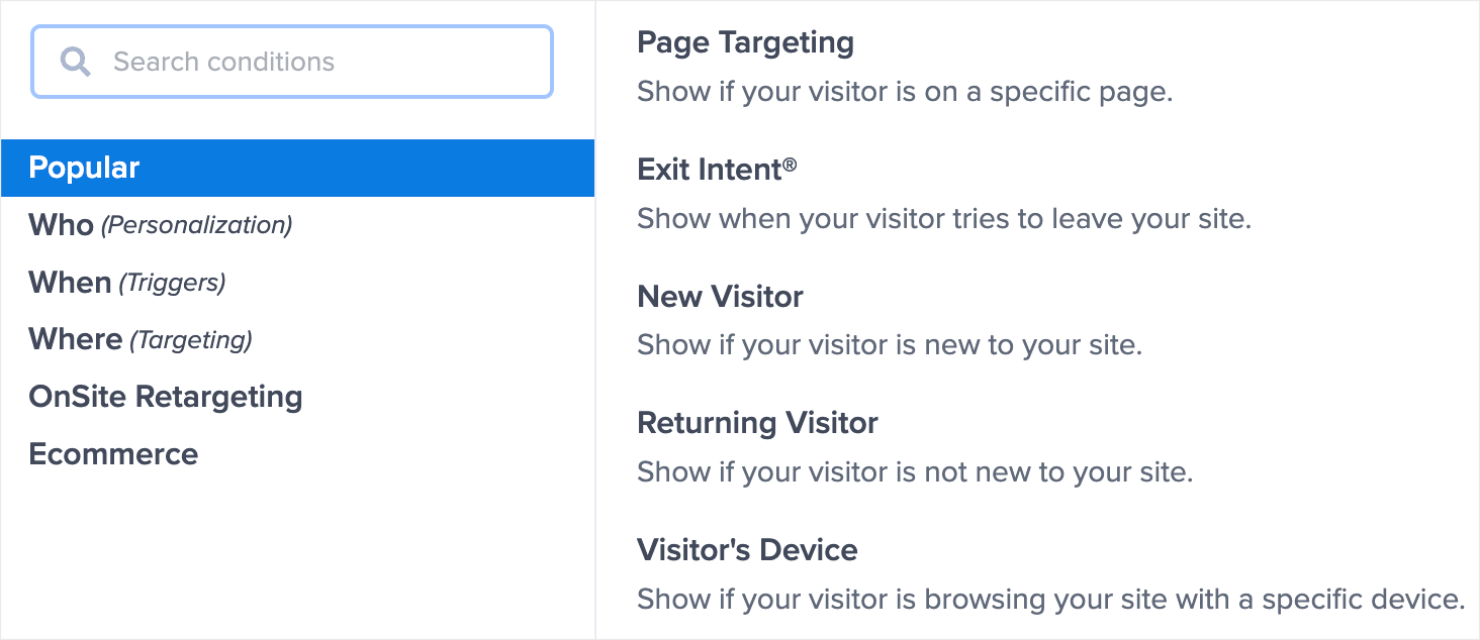
Each of these display options offers further choices and lets you control where and where the campaign appears, or who can see it.
More on that later.
Finally, OptinMonster syncs with any ESP on the market, Mailchimp included. So if you ever decide to change your ESP as you grow, you’ll never feel locked into a software you don’t want anymore.
You can still use OptinMonster to grow your lists and have the freedom of sending your email campaigns with whatever ESP you like.
Want to get started? Sign up for OptinMonster today risk-free with our 14-day money-back guarantee.
Coming back to our tutorial today, there are 2 reasons why you might want to add a Mailchimp signup form to your site:
- To grow your Shopify business.
- To increase subscribers for your WordPress site or blog.
Let’s go through the step-by-step process of how you can create a popup for each scenario.
Method 1: Create a Mailchimp Popup for Shopify
In this tutorial, I’ll create a Mailchimp signup popup for your Shopify store.
Shopify is one of the biggest eCommerce platforms in the world. It’s popular because of how easy it is to use and how many features come locked and loaded with its basic package.
In short, it’s a great platform for new businesses and entrepreneurs who want to make money with Shopify. But to create an email signup form in Shopify, you’ll need OptinMonster.
Here’s a step-by-step guide on how to do that:
- Step 1: Connect OptinMonster With Your Shopify Store
- Step 2: Create Your Popup Campaign
- Step 3: Design Your Popup
- Step 4: Set Your Display Rules
- Step 5: Integrate Mailchimp With OptinMonster
- Step 6: Save and Publish Your Campaign
Step 1: Connect OptinMonster With Your Shopify Store
To get started, log into your Shopify account:
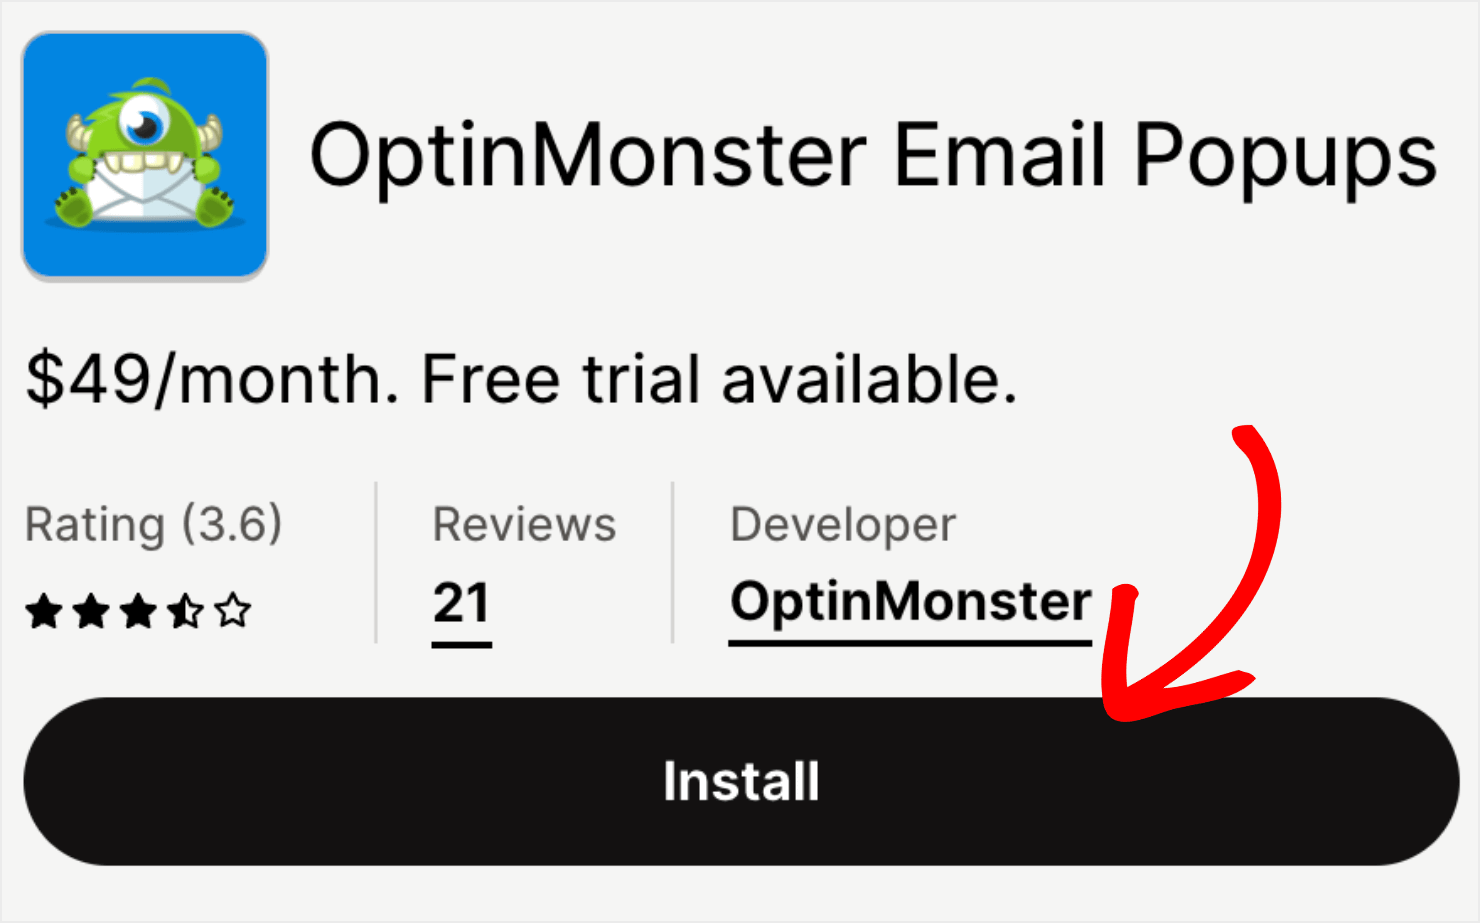
Next, head over to OptinMonster’s app in the Shopify store and click Install:
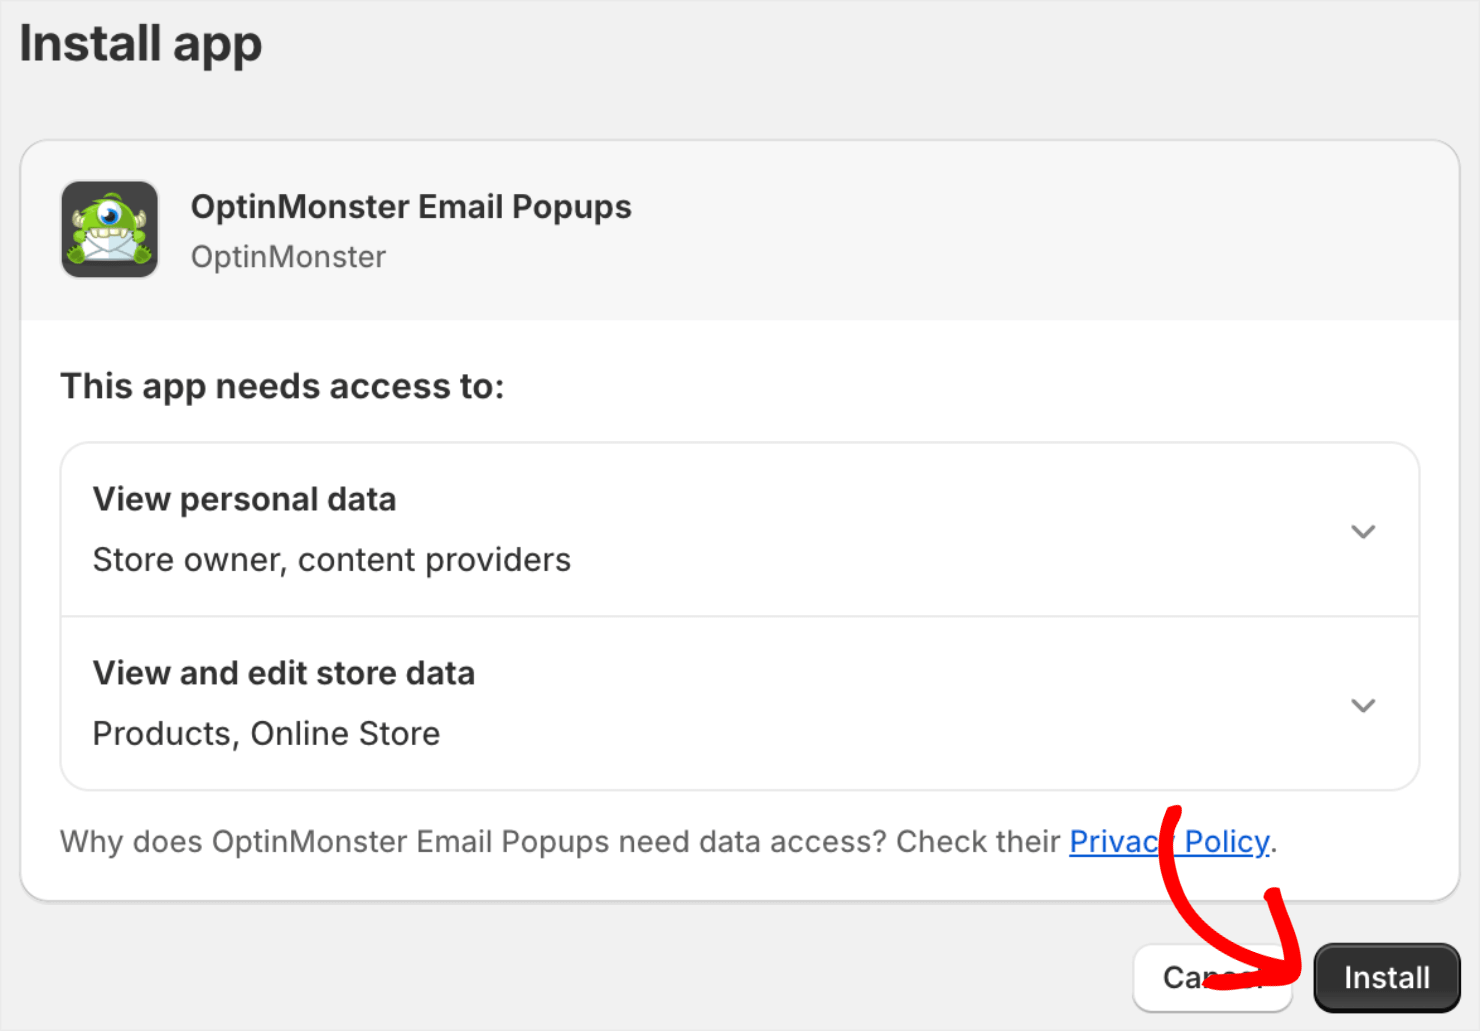
Allow OptinMonster the necessary permissions and proceed to install the app:
And you’re all set! You’ve just connected your Shopify account with OptinMonster. You’ll see this message in your OptinMonster dashboard:

With this, your Mailchimp Shopify popup is nearly complete.
We just need to build your popup campaign with OptinMonster.
Step 2: Create Your Popup Campaign
First, you need to log into your OptinMonster dashboard and click Create New Campaign:

Select your campaign type. For this tutorial, I’ll use Popup:

From there, you’ll need to choose your campaign’s template.
OptinMonster has over 700 pre-built templates. That means you can build beautiful campaigns in a matter of minutes. This saves you both time and headaches along the way.
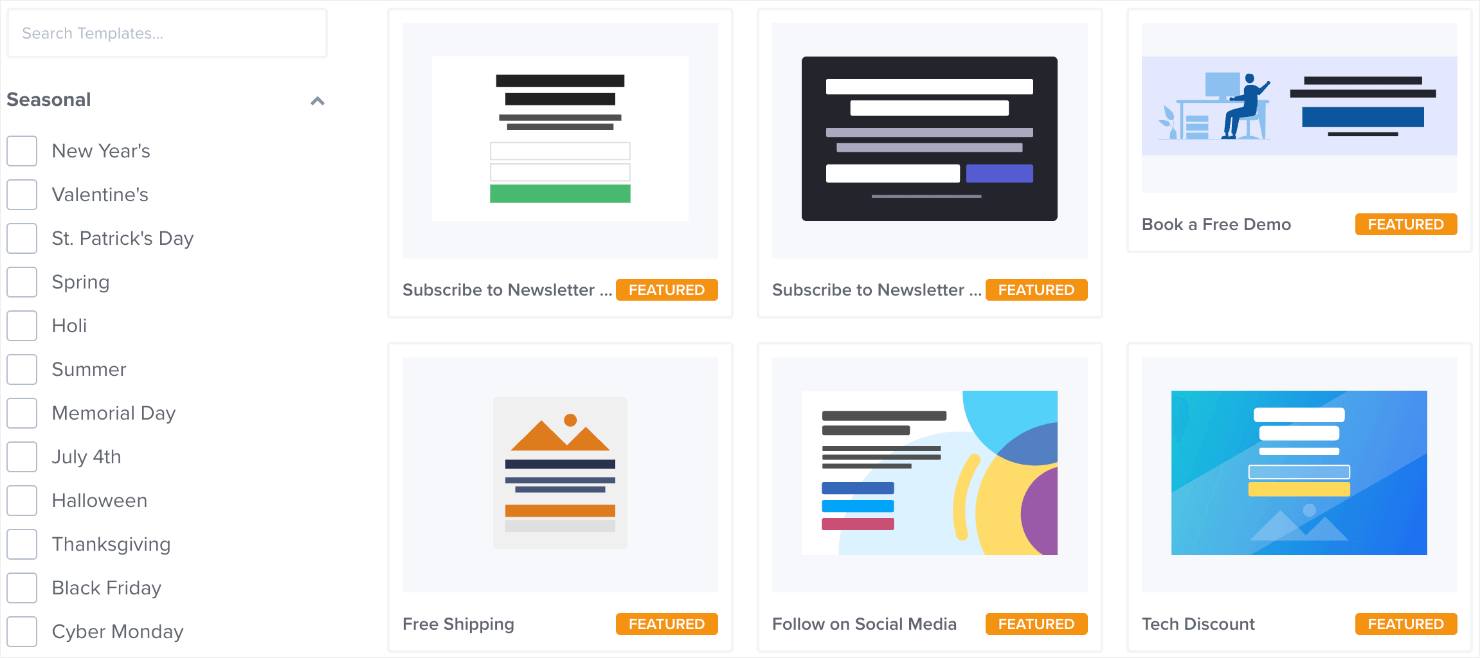
And if you want a truly custom popup for your site, you can build one from scratch with our Canvas template:
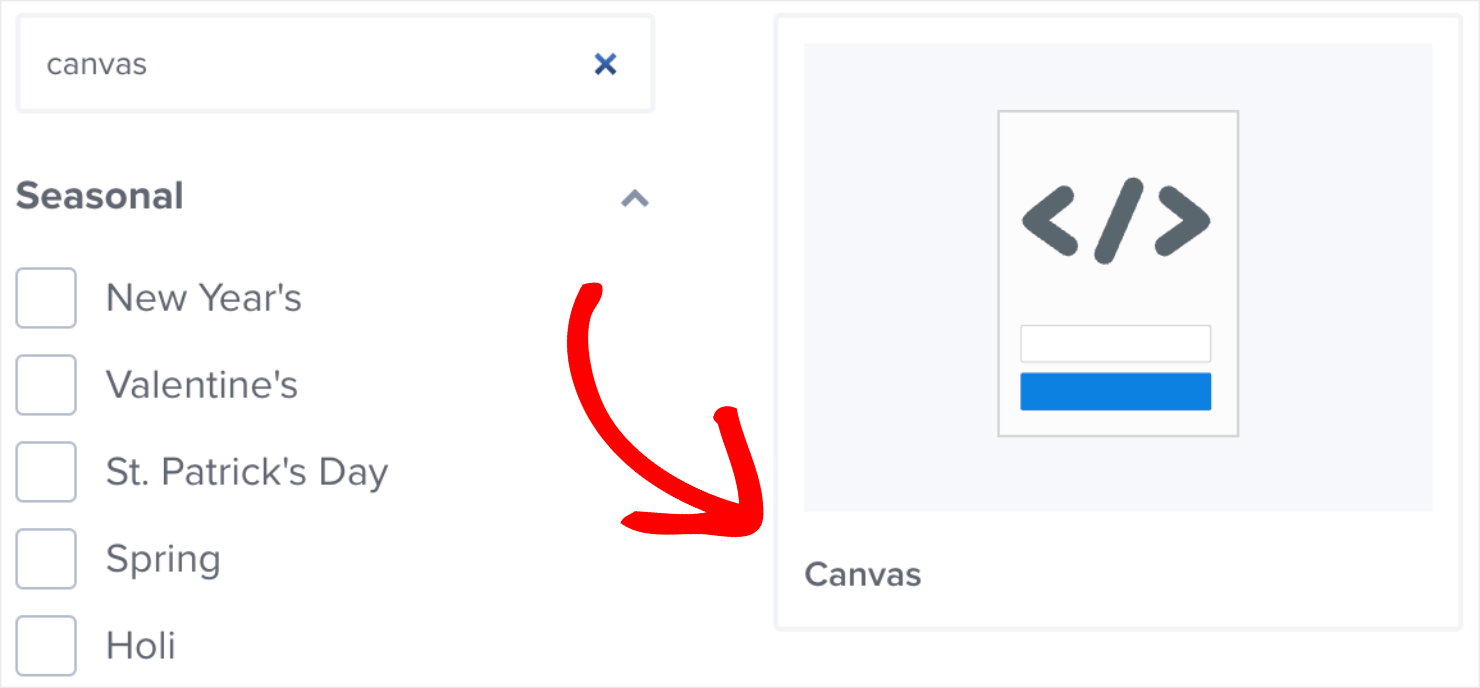
This will give you a blank template that you can design with our drag-and-drop editor. No coding required.
For this tutorial, I’ll choose the Shopping Coupon Discount template:
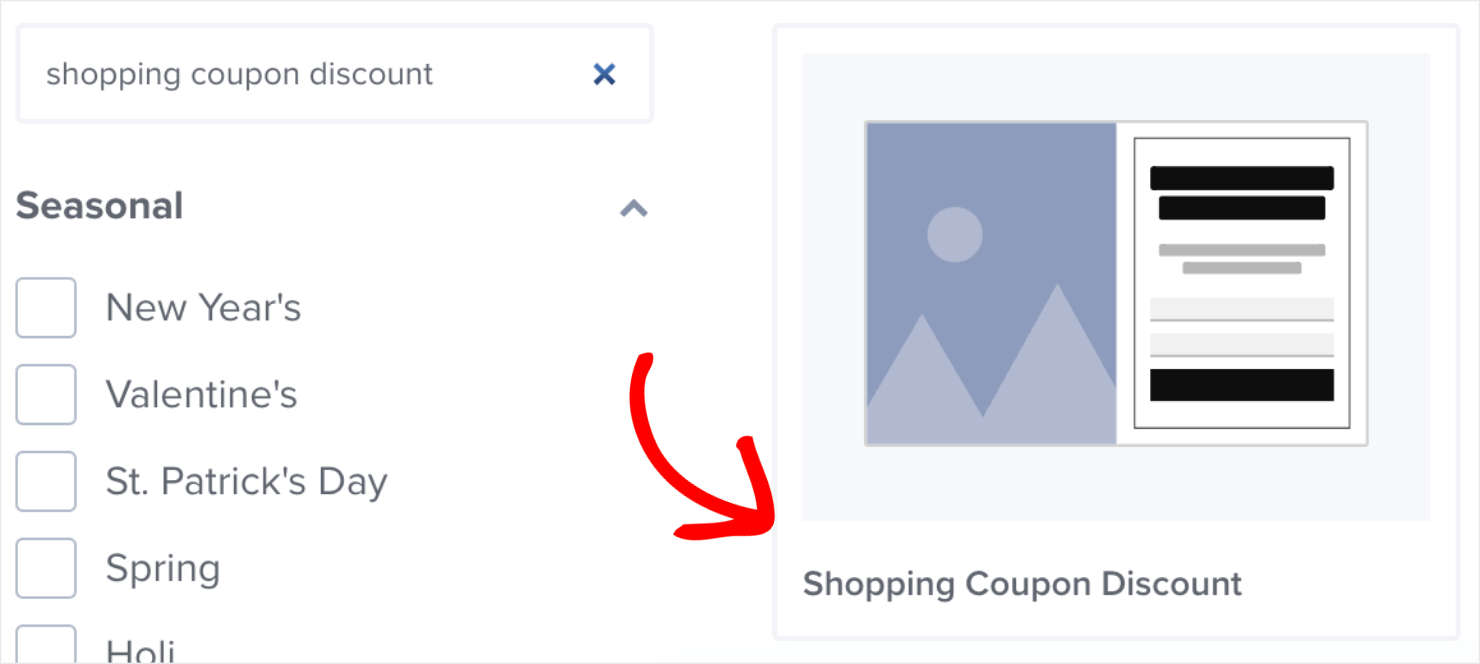
This template is perfect for eCommerce. It gives you plenty of space to showcase your products on the left and enough room to write compelling copy on the right.
Next, name your campaign. I’ll name mine MailChimp Popup Shopify. Now assign it to your Shopify site, and click on Start Building:
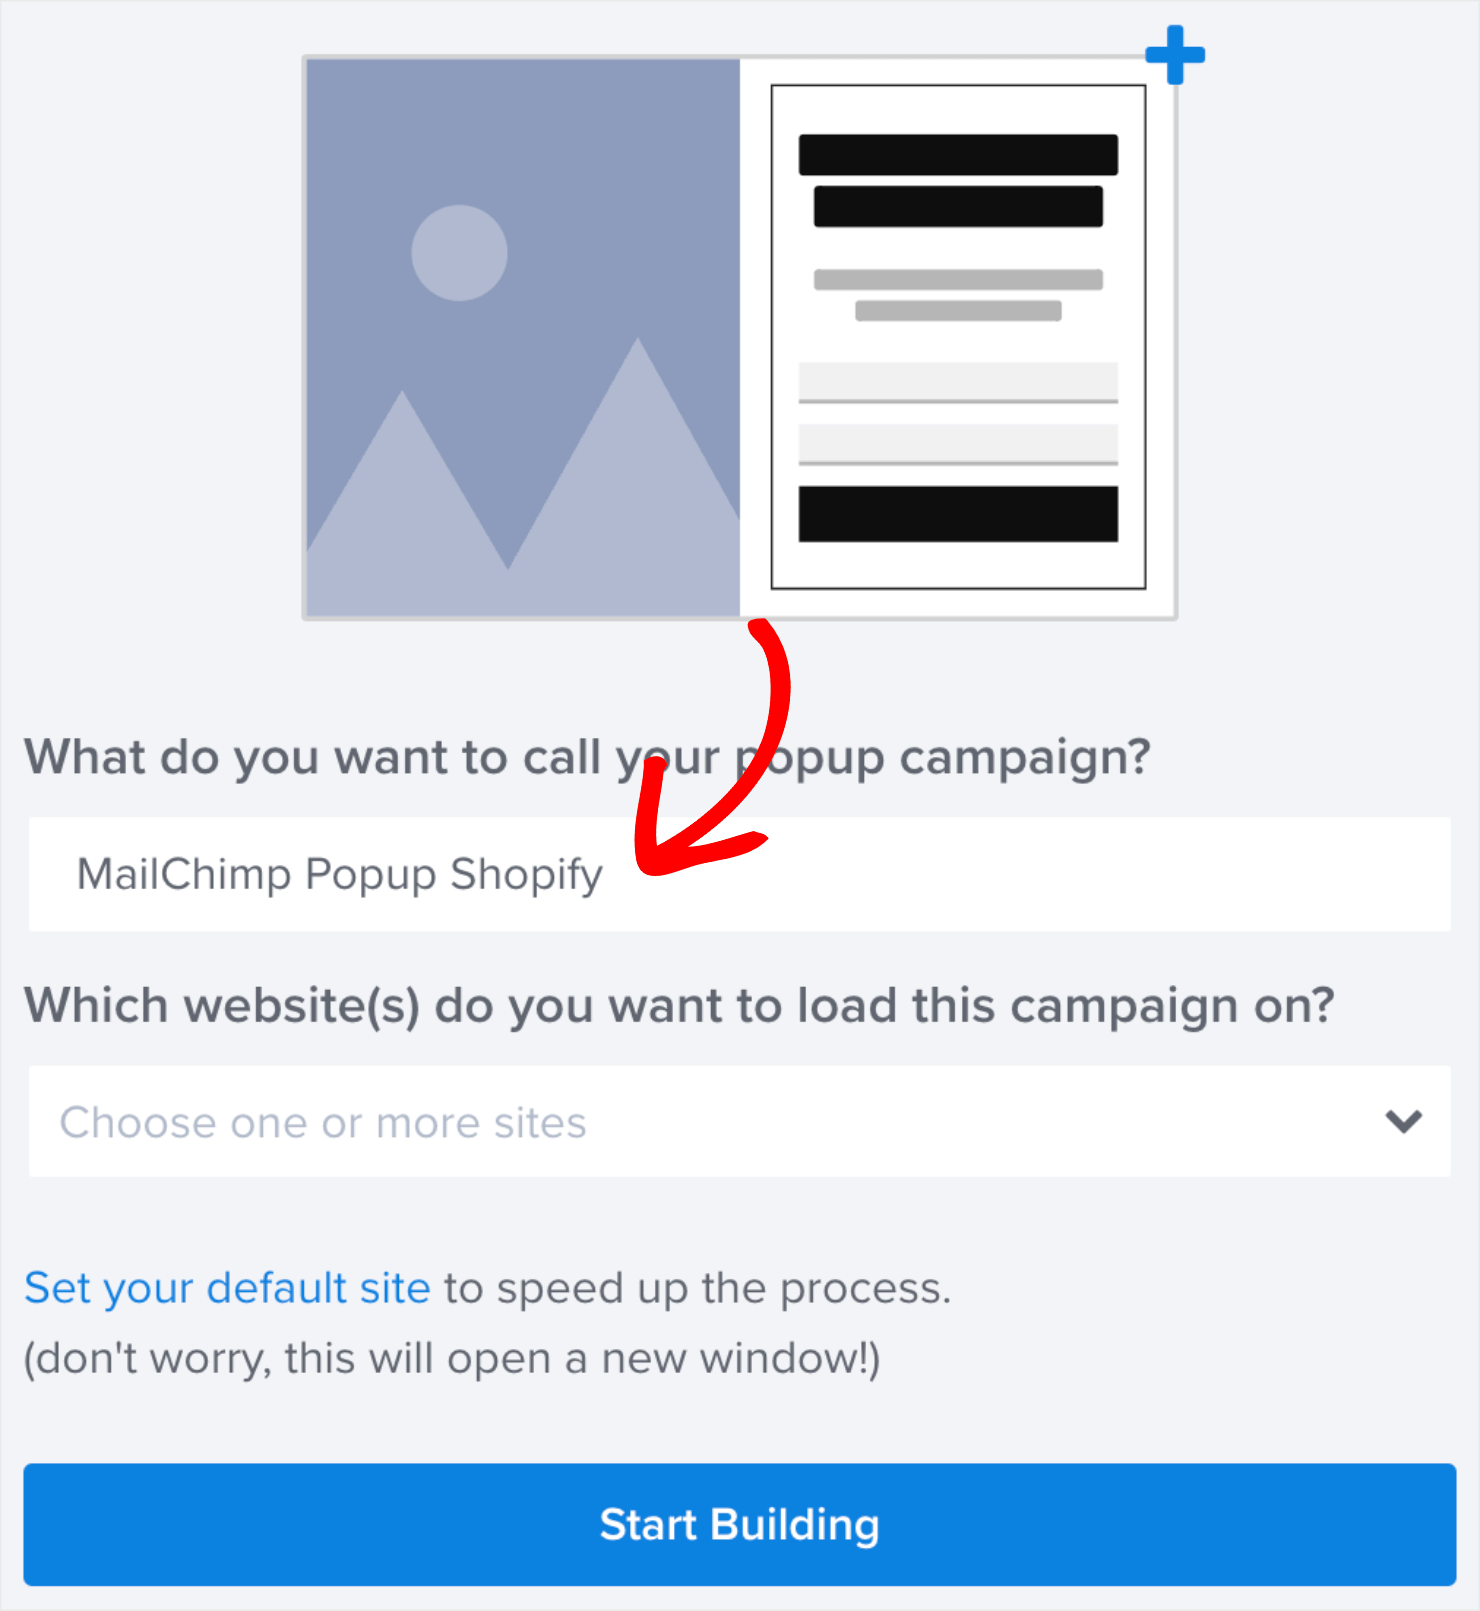
Then you’re ready to start configuring your popup design to match your brand style.
Step 3: Design Your Popup
This is how the default template looks like in the editor:
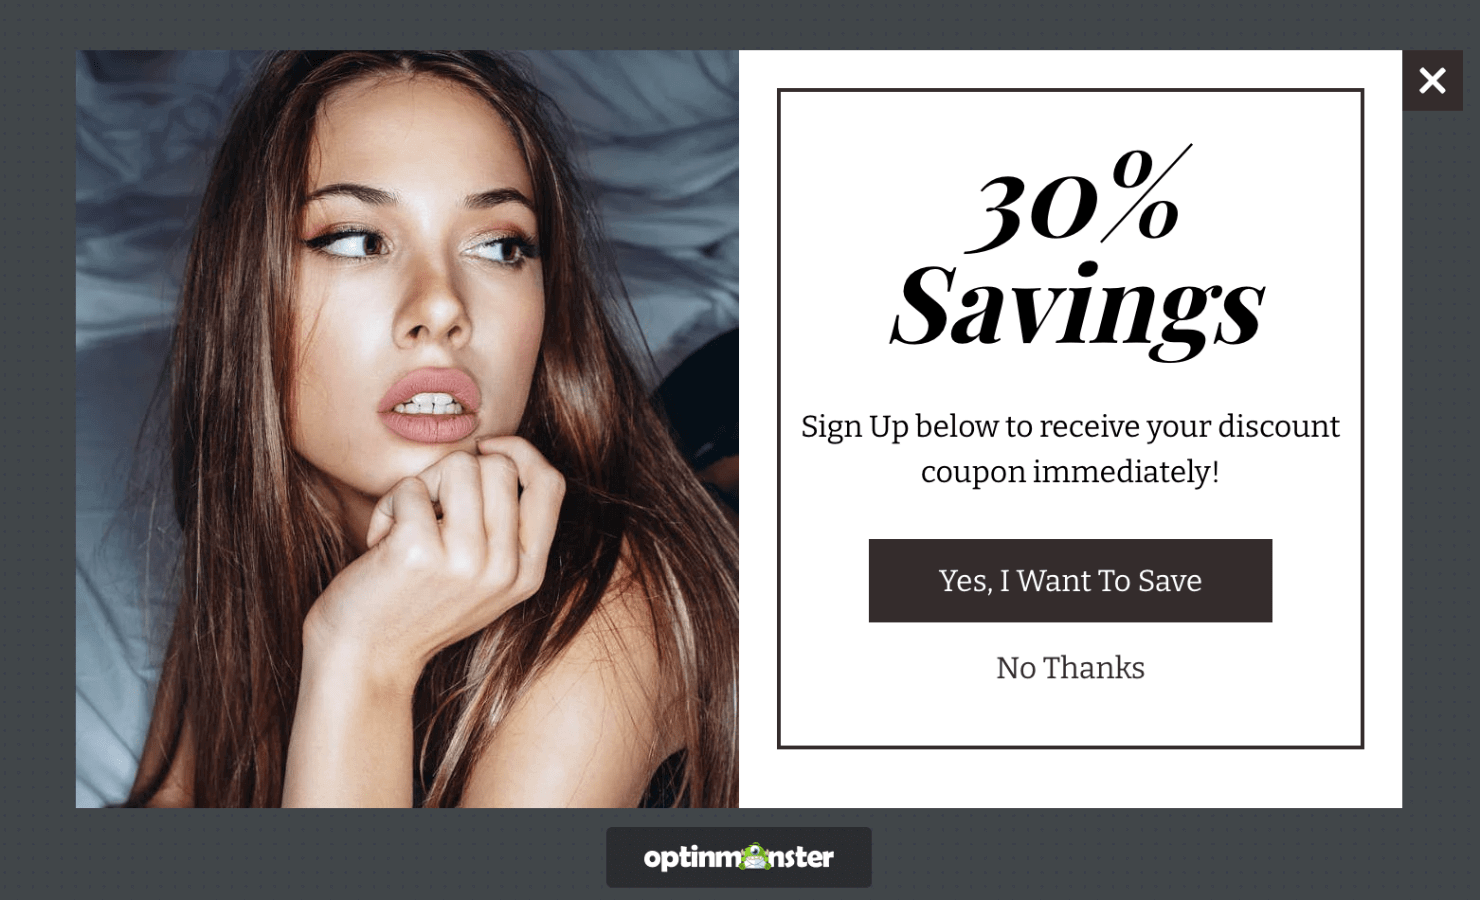
In this tutorial, I won’t get into too much detail about how to design your campaign because there are too many customization options to choose from in one post.
If this is your first time working with OptinMonster, I recommend watching this video:
Editing your popup is easy with our drag-and-drop builder even if you have never done it before.
You can change any element of your campaign by clicking on it in the editor. Then the editing tools will appear on the left-hand side menu.
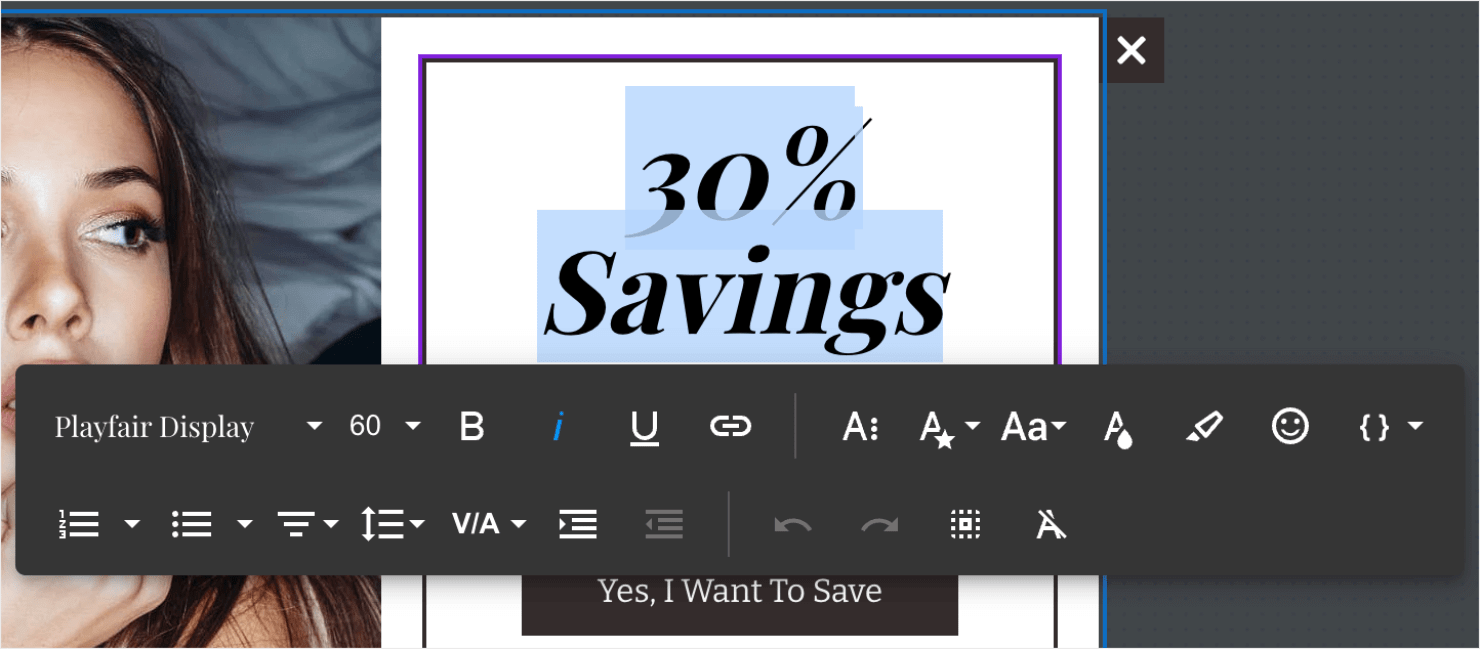
To change the header copy, for example, just click on the text in the image and edit the text directly in the editor:
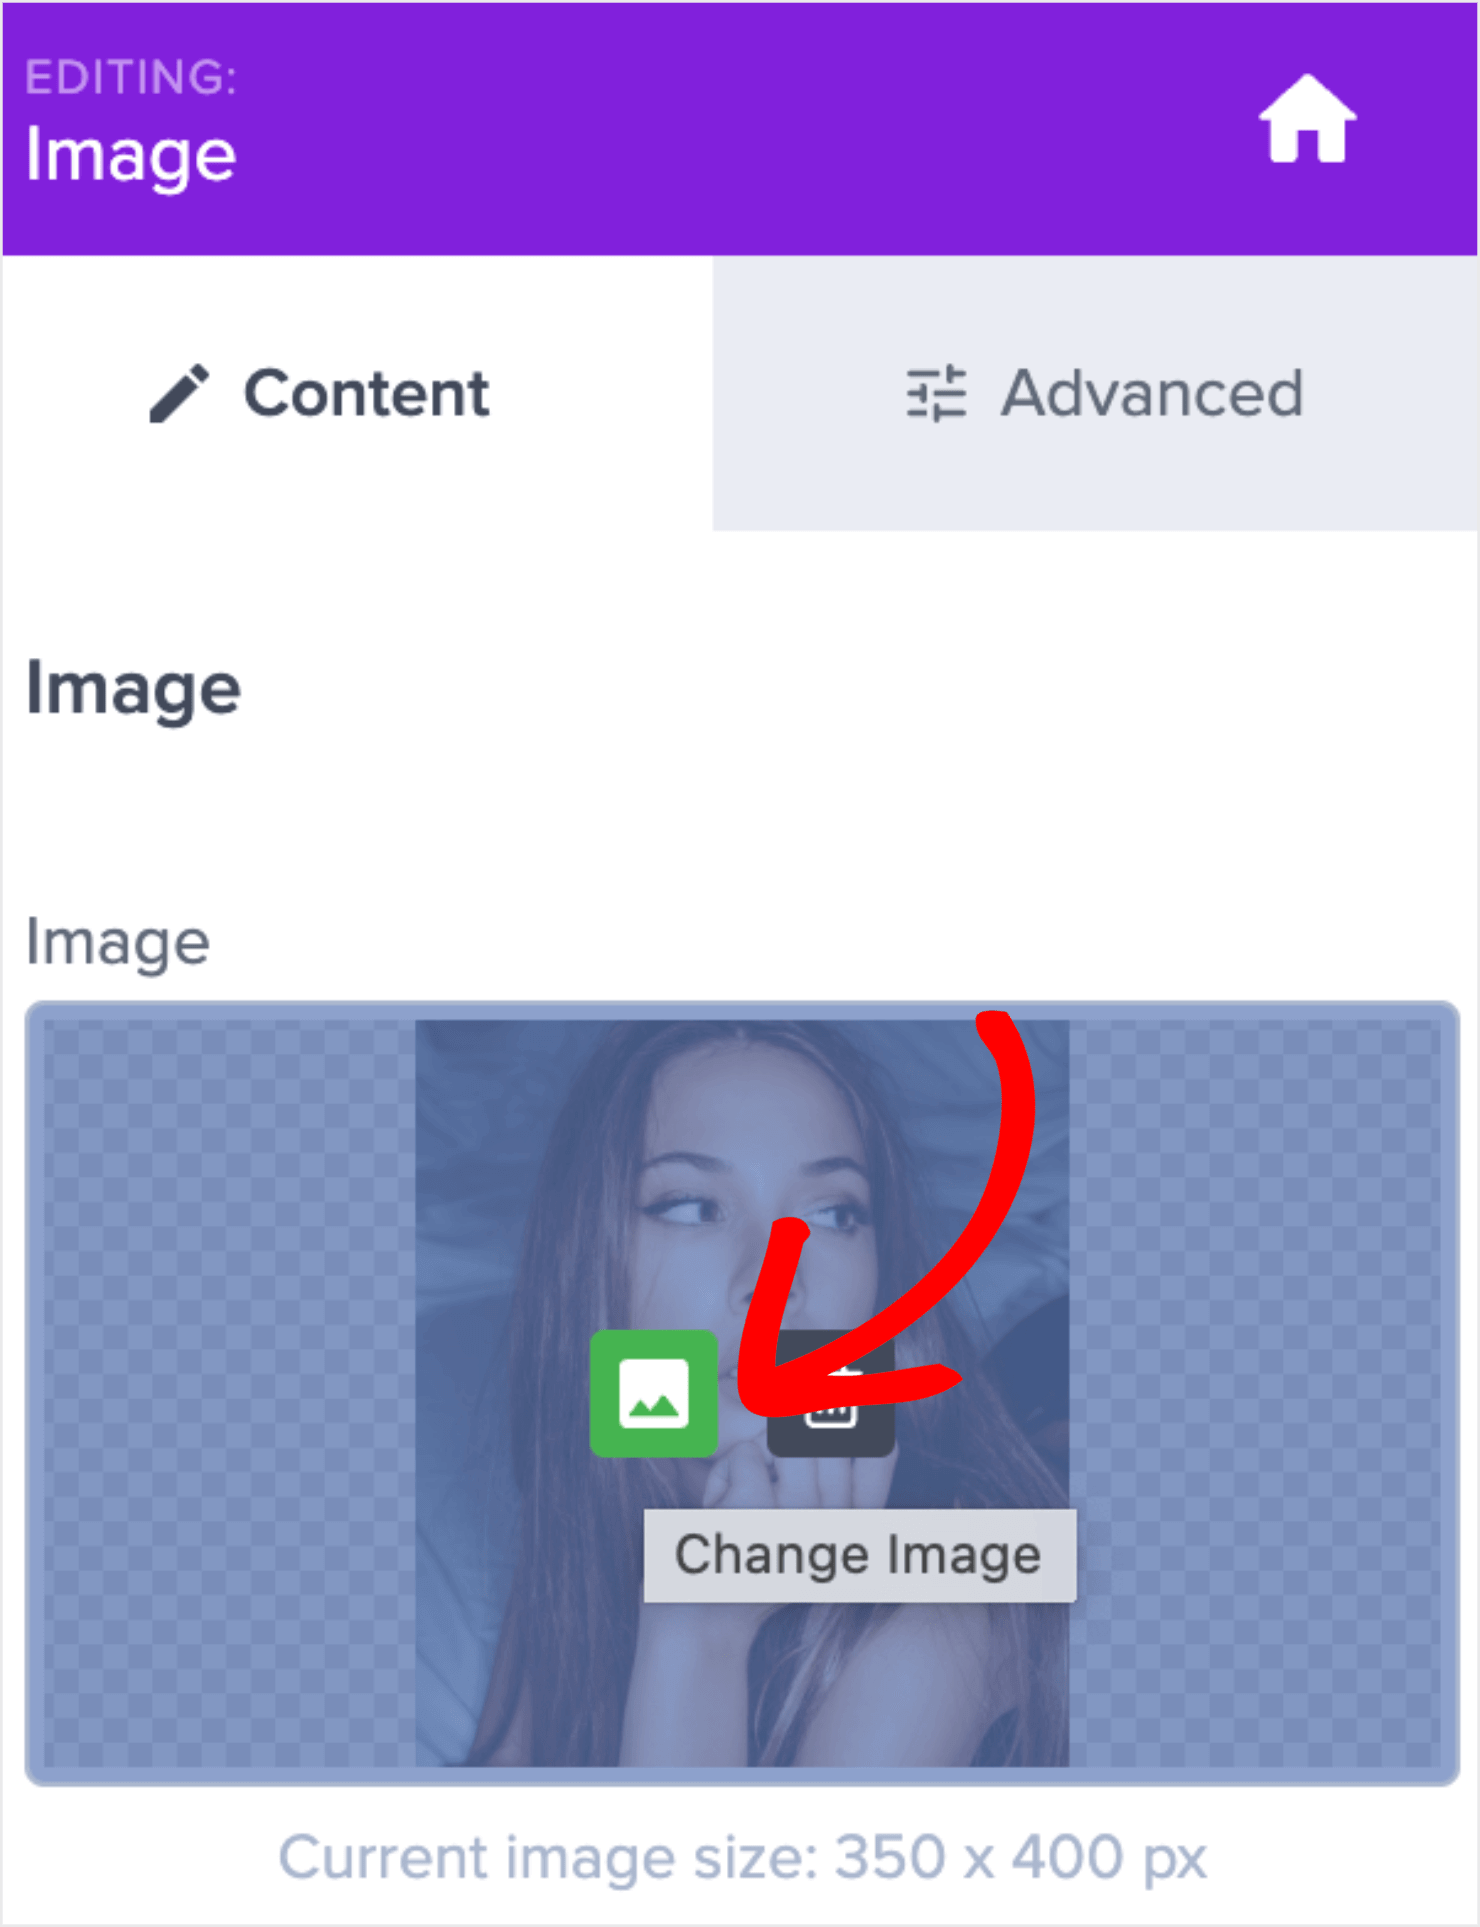
You can also change the image by clicking on it and using the editing tools that appear on the left-hand side:
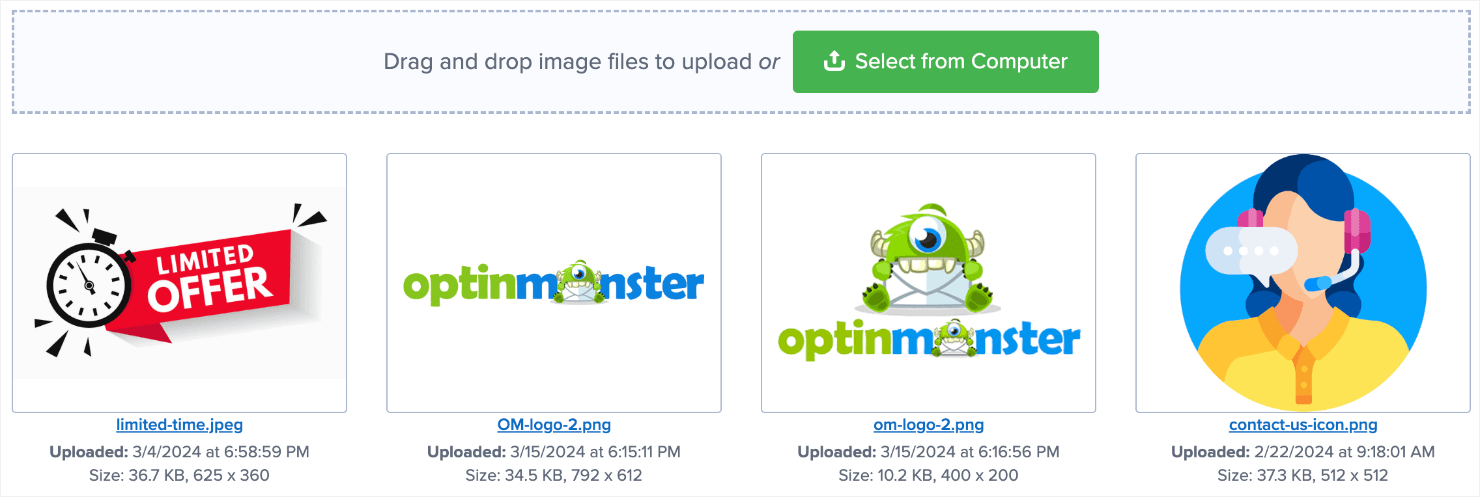
For instance, you can upload a new image or use one from a previous campaign:
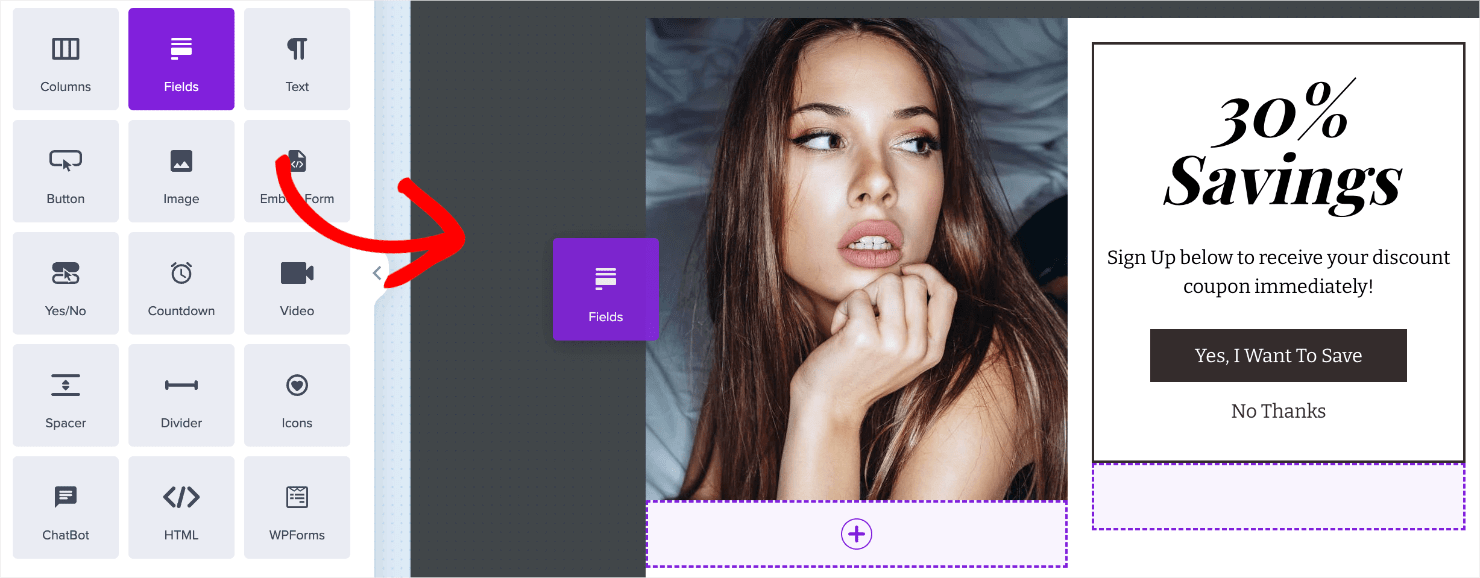
Finally, if you want to add anything to your popup campaign, you can do that, too. Just go to the left-hand menu panel and look for the right elements in the search box under Blocks:
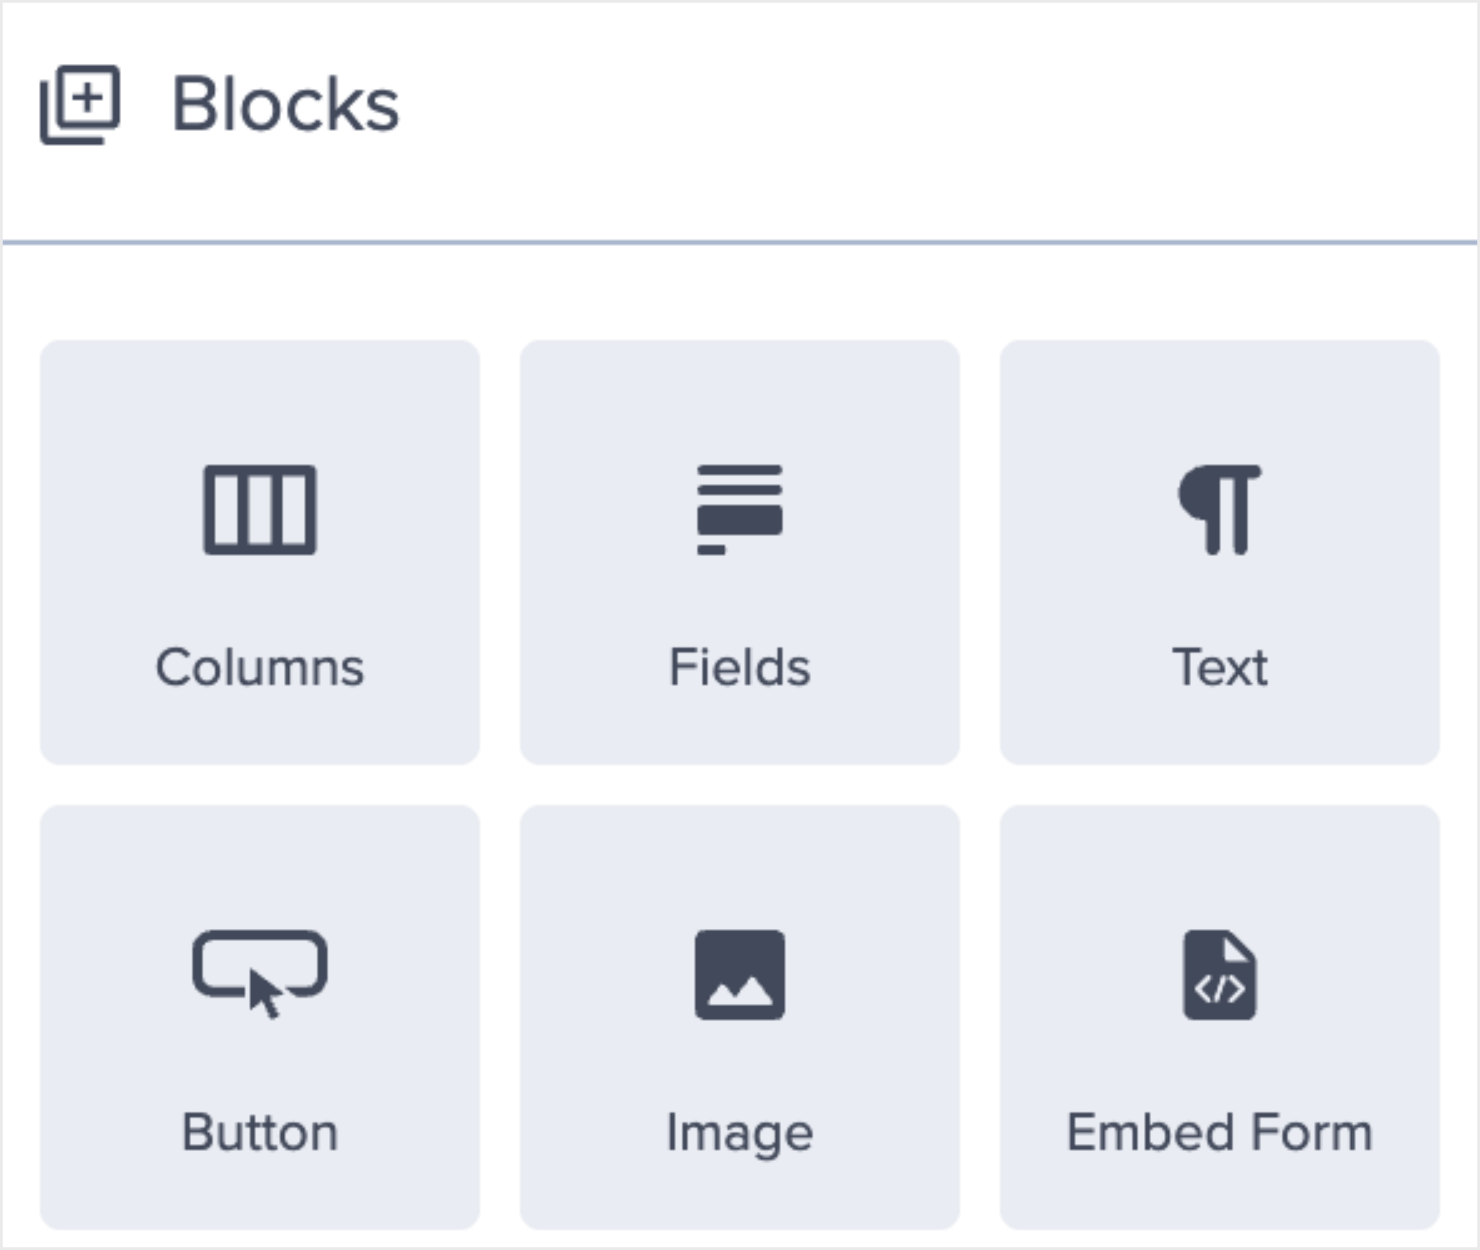
You’ll see many options that you can add to your Mailchimp Popup Shopify campaign, including:
- Button
- ChatBot
- Countdown Timer
- Divider
- Text
- Image
- Video
To move these blocks into your campaign, drag and drop them on the editor:
And the best part? You can easily map any field to your Mailchimp popup.
Here’s the design I created for the Mailchimp Popup Shopify campaign:

Again, this took less than 10 minutes to create!
Next, I’ll show you how you can use OptinMonster’s targeting features to control where and when to show the MailChimp Popup Shopify campaign.
Step 4: Set Your Display Rules
There are many ways you can choose to display your campaign. OptinMonster has a ton of targets and trigger options to make sure you’re reaching the right audience at the right time.
Today, I’ll focus on 2 powerful popup triggers:
- Exit-Intent®
- MonsterLinks™
Triggers are rules that track your site’s user behavior to determine if a popup should appear. This includes events such as when users are about to leave your webpage if they click a link or button, or how far down the browser page they scroll.
Let’s look at how these 2 triggers can be set up for your Mailchimp popup and briefly talk about why they are so powerful.
Exit-Intent®
This trigger shows a popup whenever someone tries to leave your website. It’s a great way for eCommerce websites to recover abandoned shopping carts and convert them into sales.
Setting up an exit intent trigger is easy with OptinMonster.
First, head over to the Display Rules tab:

Click on the time on page condition. Next, click When from the dropdown and choose Exit Intent® from the available options:

Then choose which devices you want to use your exit intent rule for. You can choose between desktop-only, mobile-only, or both:
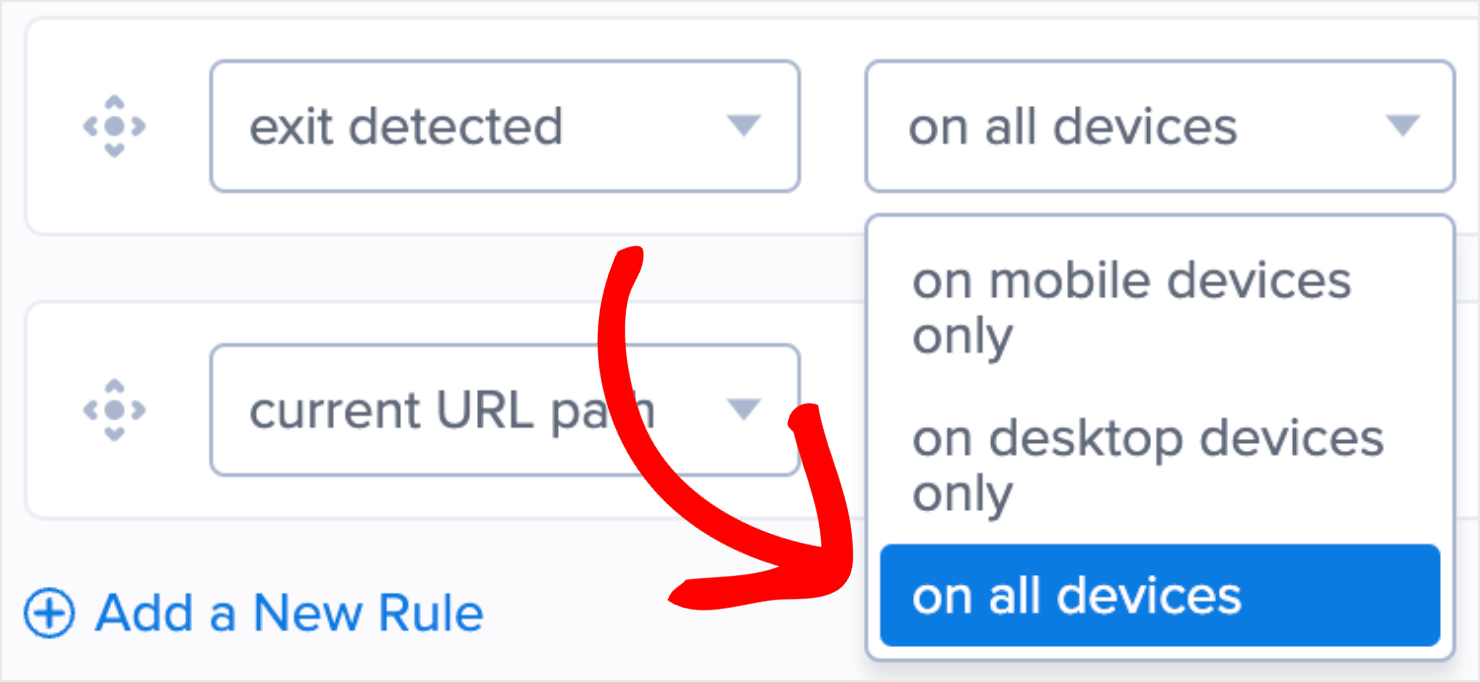
You can also set the sensitivity level for your Mailchimp exit intent popup:

Keep in mind that the sensitivity level you choose will have a direct impact on your mobile popup. That’s because Low and Medium sensitivity creates a scroll-up trigger, but High sensitivity creates a back button trigger.
Read this article to learn more about these 2 types of mobile exit intent triggers.
Exit-Intent® Technology is incredibly powerful. As an example, Crossrope used this feature to grow its email list by 900%.
But there’s another popular trigger that we’ll look at in this tutorial, too.
MonsterLinks™
MonsterLinks™ is the perfect solution if you want a Mailchimp popup on click. That means whenever your visitors click on a specific link in your content, they’ll see your popup campaign.
MonsterLinks™ is how Bulkly was able to increase free trial signups by 134%. It’s a great way of making your popup campaigns more accessible to your readers.
And setting them up is easy. Once you are on the Display Rules page, click on time on page. Click on When from the dropdown and choose MonsterLinksTM (On Click) from the options:

Next, click on the Copy MonsterLink™ Code link:

You can now embed this link anywhere in your content. With this, your popup campaign will appear when a user clicks on the MonsterLink™.
But here’s an important question: Where do the details go when visitors enter their email addresses to sign up for your offer?
For that, you have to integrate Mailchimp (or any other email automation software) with your OptinMonster account.
Let me walk you through how that’s done in the next section.
Step 5: Integrate Mailchimp With OptinMonster
Integrating your favorite email marketing software with OptinMonster is incredibly simple.
If you don’t use Mailchimp, or you are thinking about changing providers, read this resource on how to connect your email service provider in OptinMonster.
For today, I’ll show you how to connect OptinMonster to Mailchimp.
To get started, click on the Integrations tab:

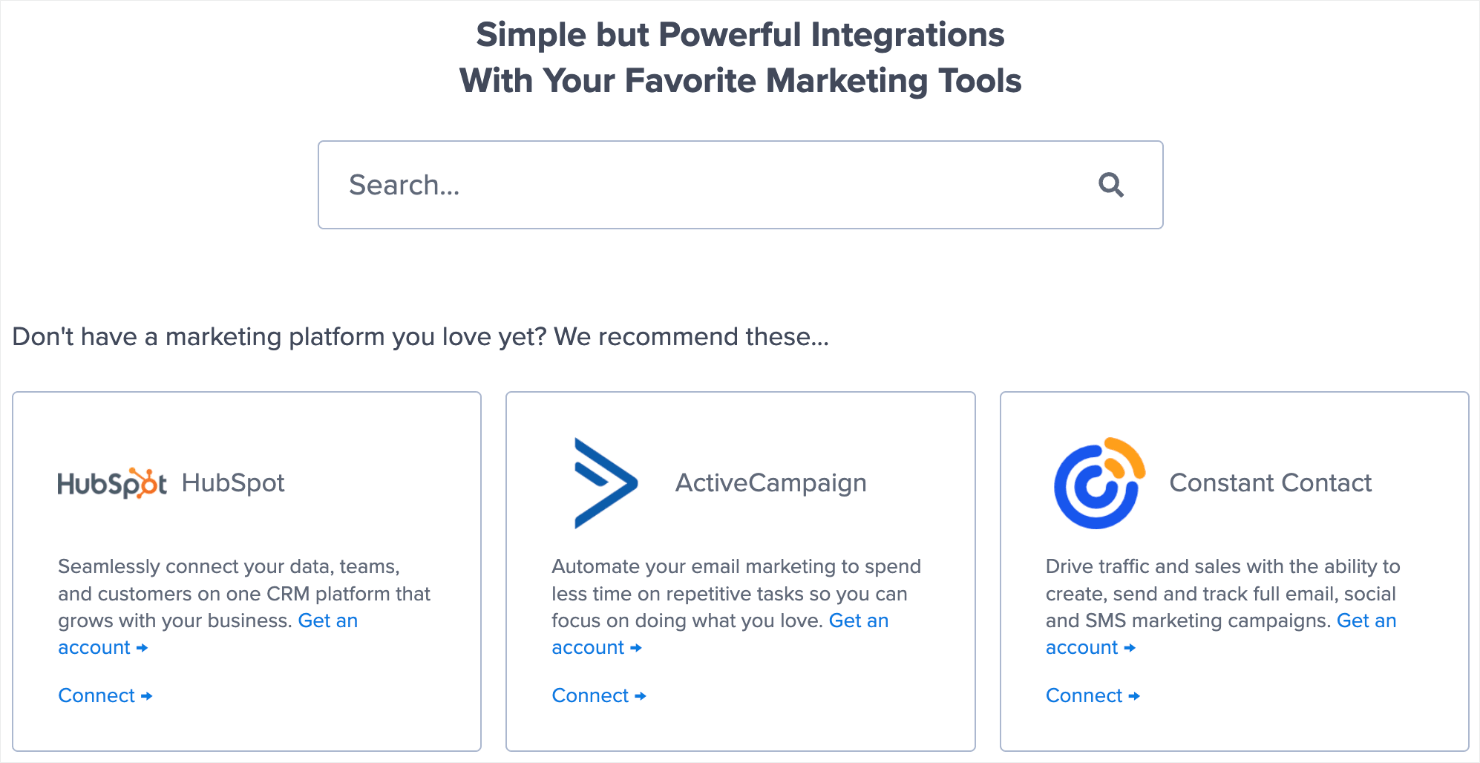
OptinMonster integrates natively with over 30 of the most popular ESPs on the market.
This integration functionality allows you to automate your lead generation so you can add new leads from your marketing campaigns to your ESP.
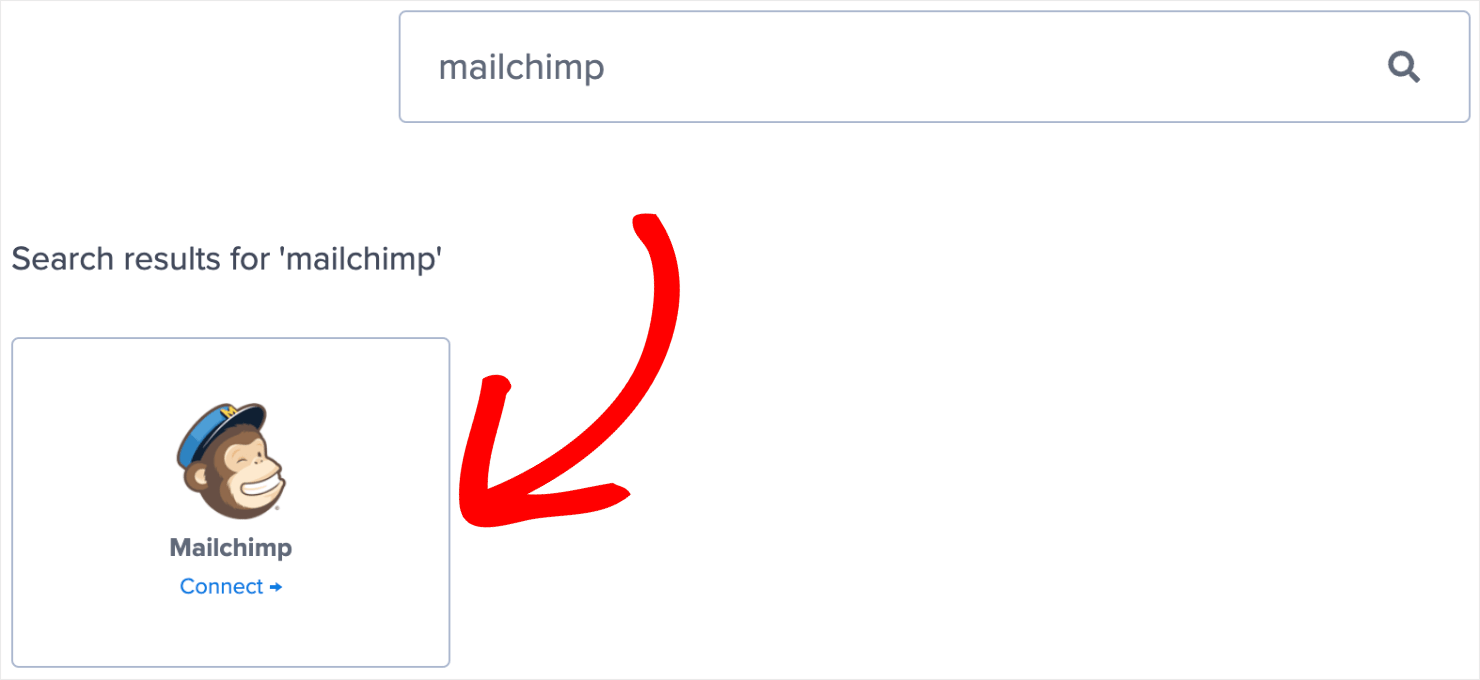
Type the name of your ESP or scroll through the page to find it manually:
I’ll choose MailChimp since that’s what we are covering in this tutorial:
Here, you’ll need 2 things:
- Your Mailchimp account label
- Mailchimp API key
Your account label won’t be seen by others. This just keeps you organized.
You can label your Mailchimp integrations however you want it. You can also stick to something generic like My Mailchimp Integration.
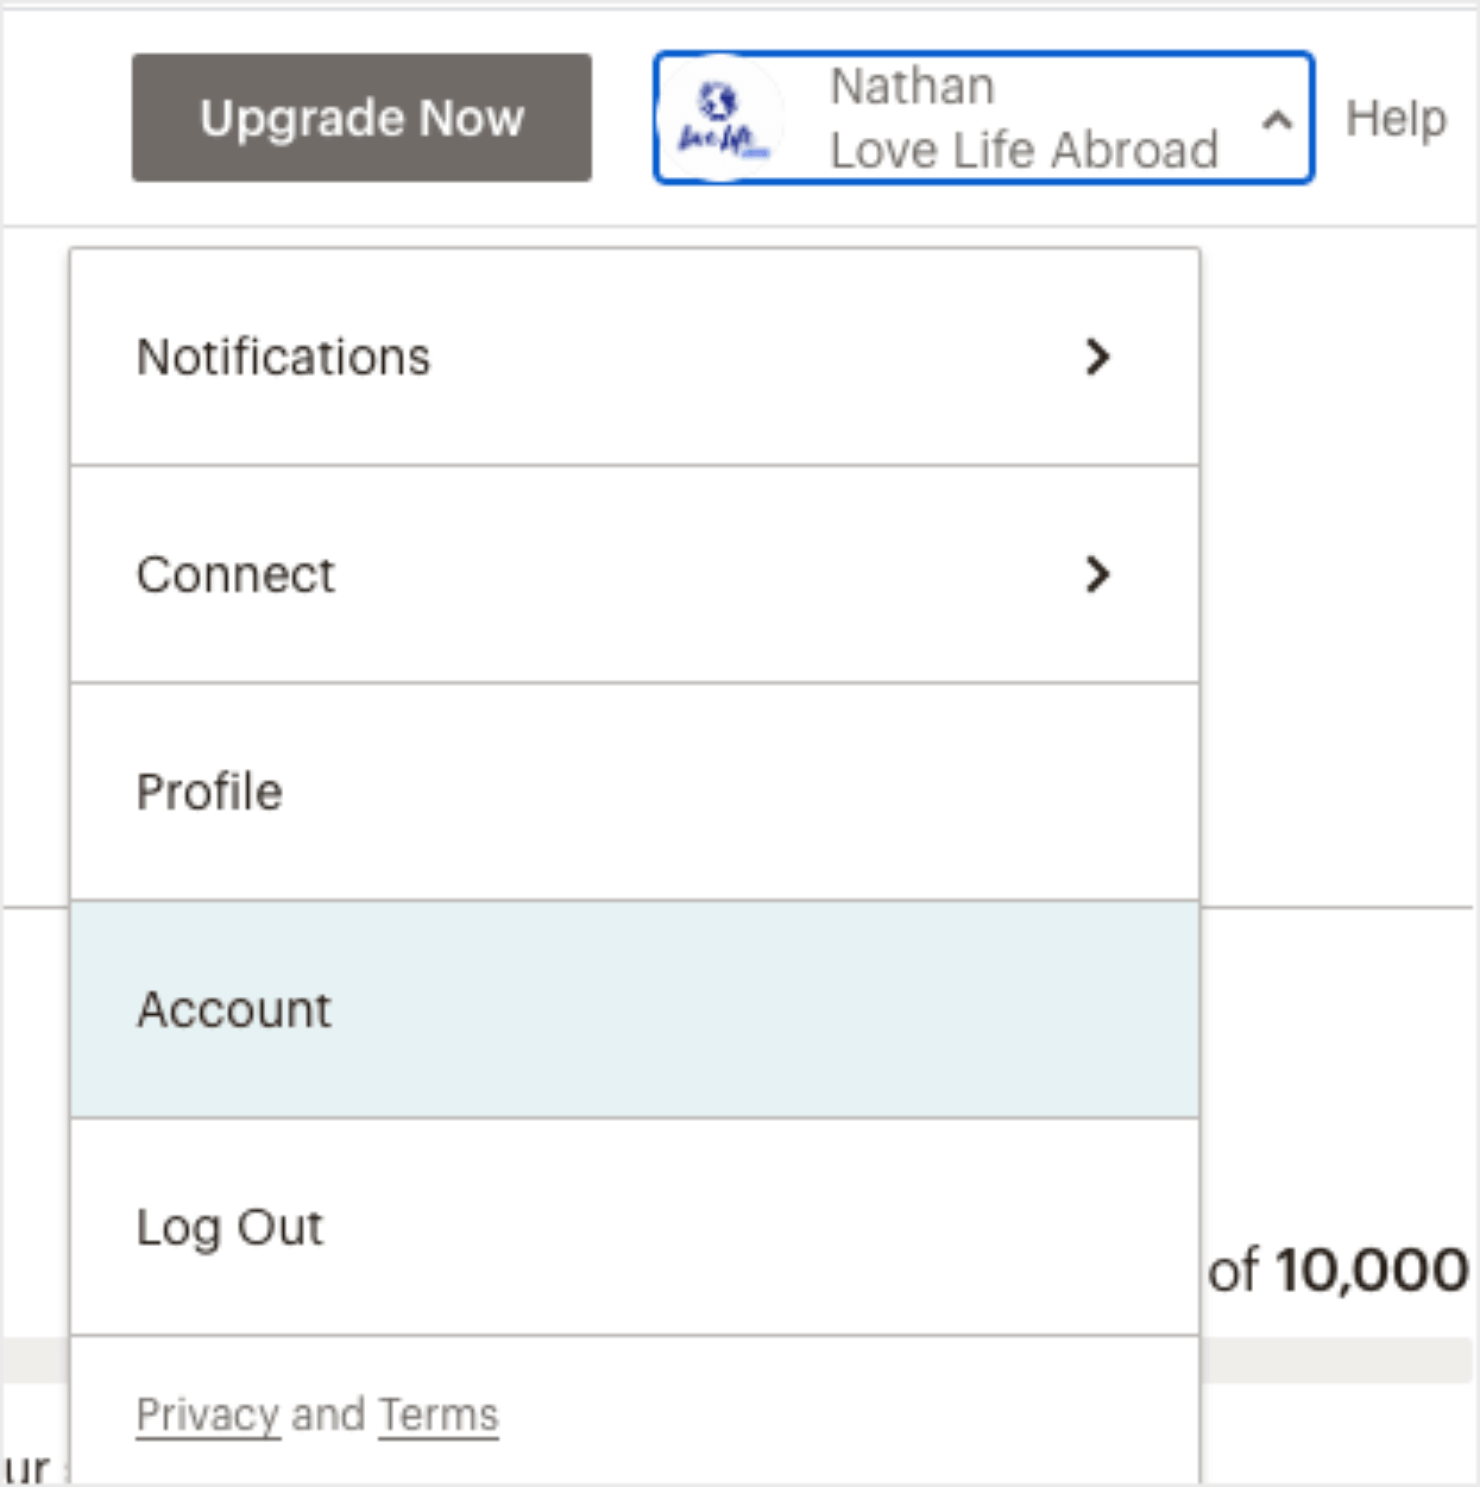
But now you need your API key from Mailchimp. For that, go to your Mailchimp dashboard and click Account in the dropdown menu by your username in the top right-hand corner:
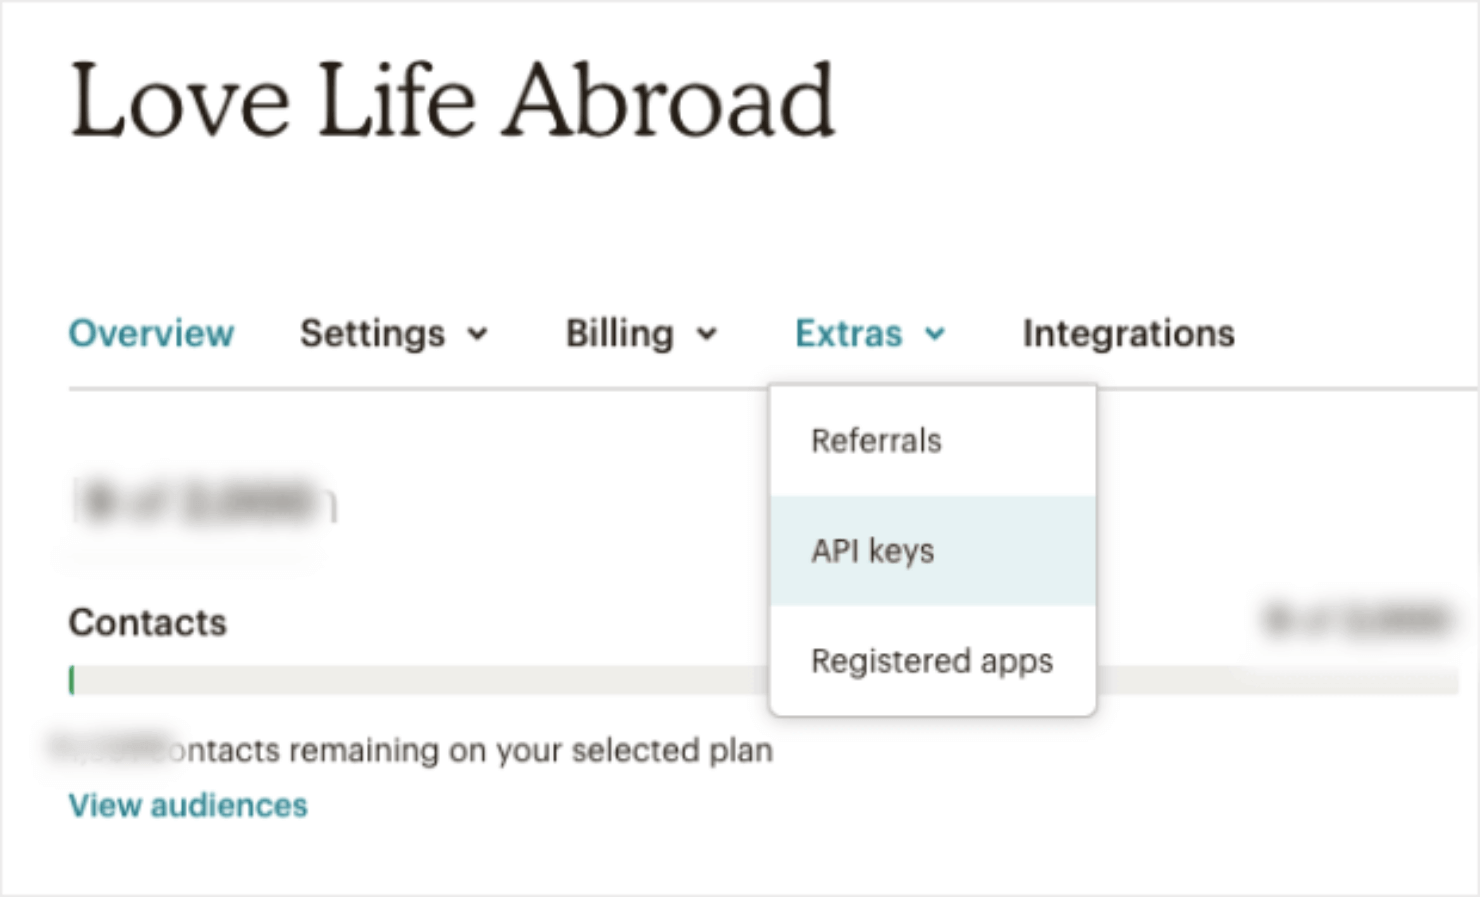
In your account dashboard, go to API keys within Extras:
Copy your most recent API key from your Mailchimp dashboard:
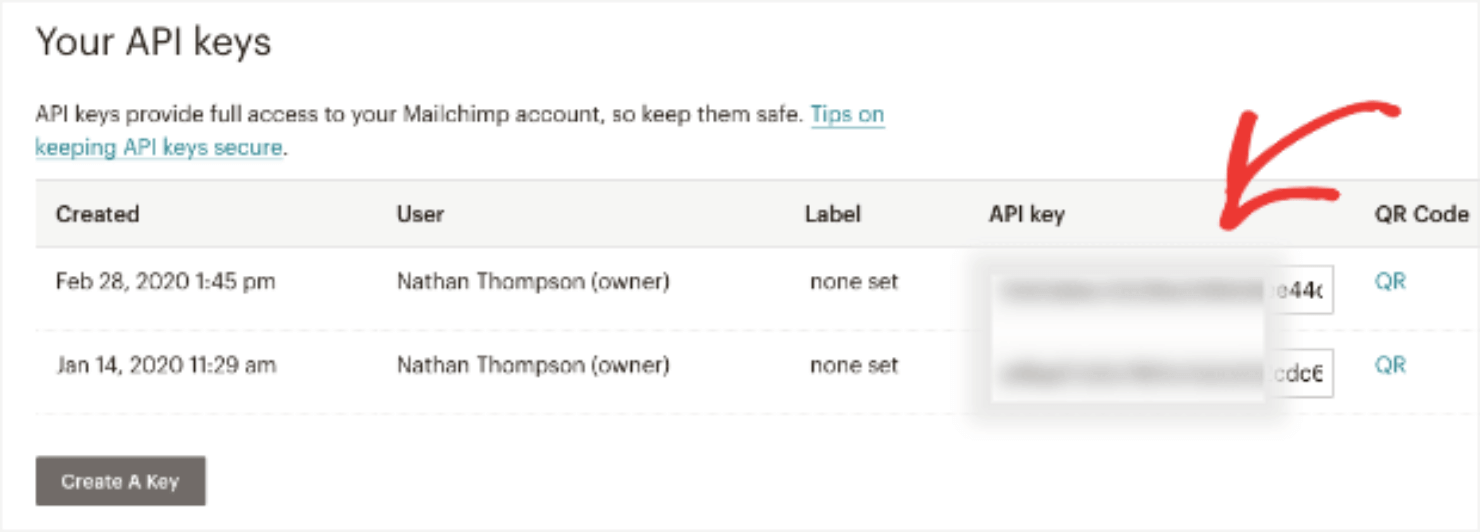
Here, you can also create a new API key if you need it. Now go back to your OptinMonster Integration page and paste the API key. When you are done, click on the Connect to MailChimp button:

And that’s it! Your Mailchimp account is now synced to your popup. You can even decide which contact list you would like to send your new leads to straight from your OptinMonster dashboard.
Pro-tip: Don’t see your ESP listed? You can get started with Monster Leads. Monster Leads is OptinMonster’s internal lead storage tool. It lets you store your lead data, export it, and send individual emails from your existing email client.
All that’s left to do now is save and publish.
Step 6: Save and Publish Your Campaign
Click on the Save button on the top-right corner of your screen:

Next, go to the Publish tab:

Under the Publish Status, click on Publish:

What if you don’t have a Shopify store? What if you want a Mailchimp popup for your WordPress website?
That’s what I’ll cover in the next method.
Method 2: Create a Mailchimp WordPress Popup With OptinMonster
In some cases, you may not have an online store. Instead, you might be making money online through affiliate marketing and running a blog. Still, you need a robust email list.
Connecting OptinMonster to your WordPress site is really easy. Here’s how you do it:
Step 1: Connect OptinMonster to WordPress
Most businesses need a subscription form on their WordPress sites to build an email list.
It’s incredibly easy to add MailChimp popups to your WordPress site once you’ve created your OptinMonster account.
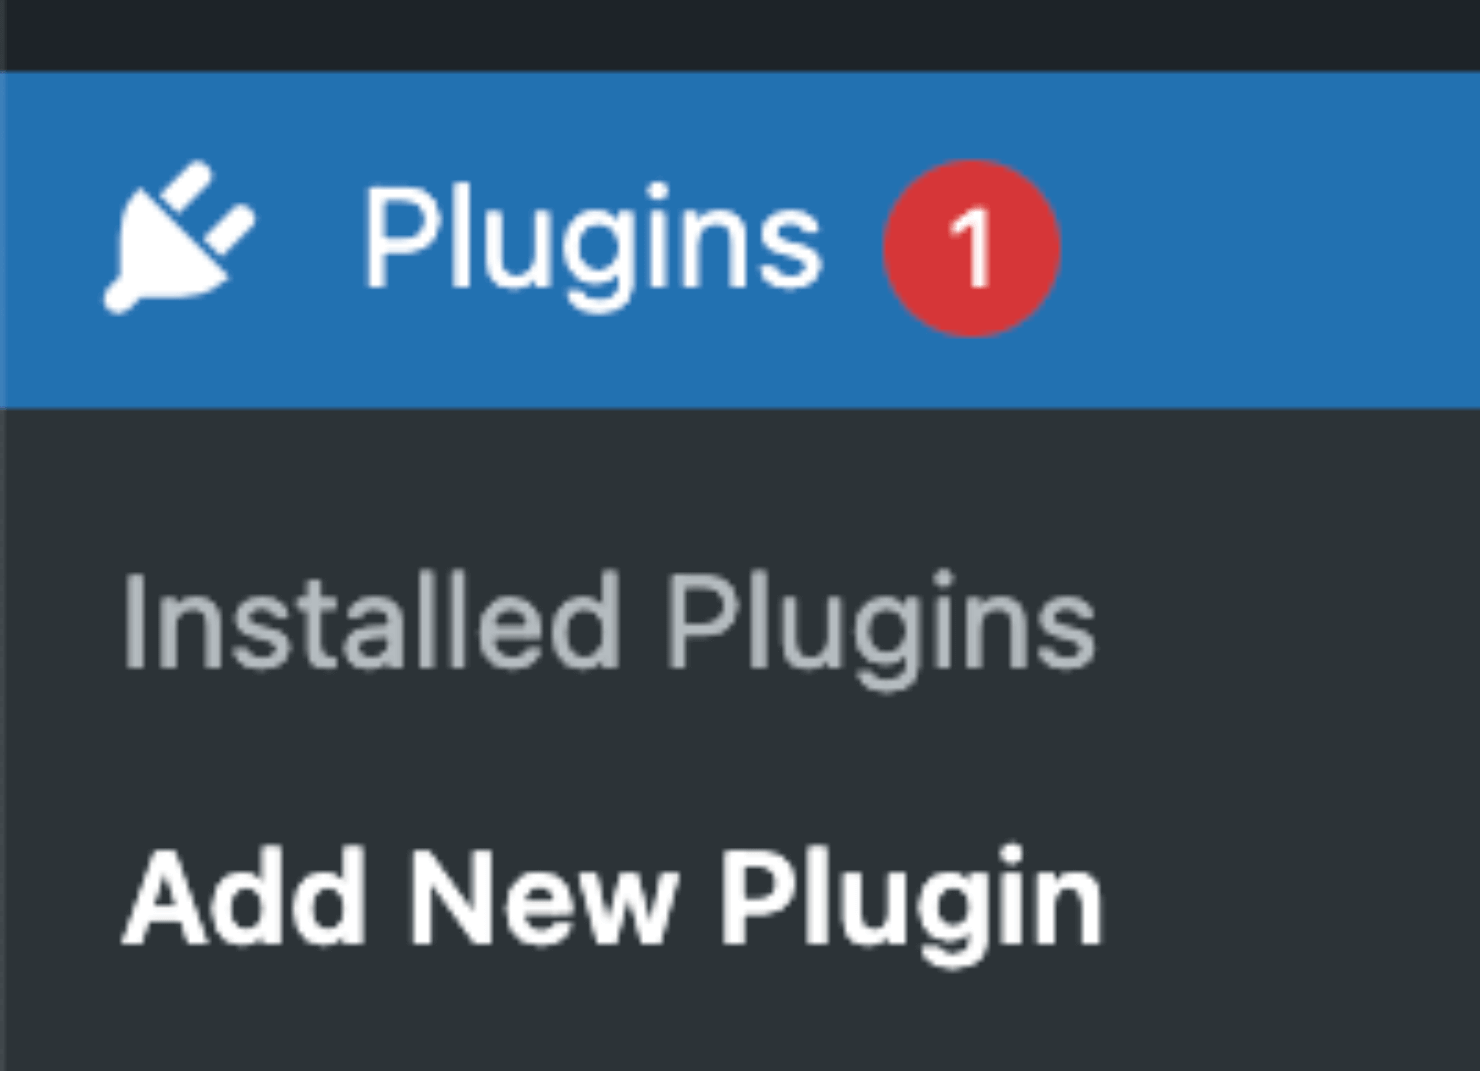
Head to your WordPress dashboard. Go to Plugins from the menu and click on Add New Plugin:
Search for the OptinMonster plugin and click Install Now:
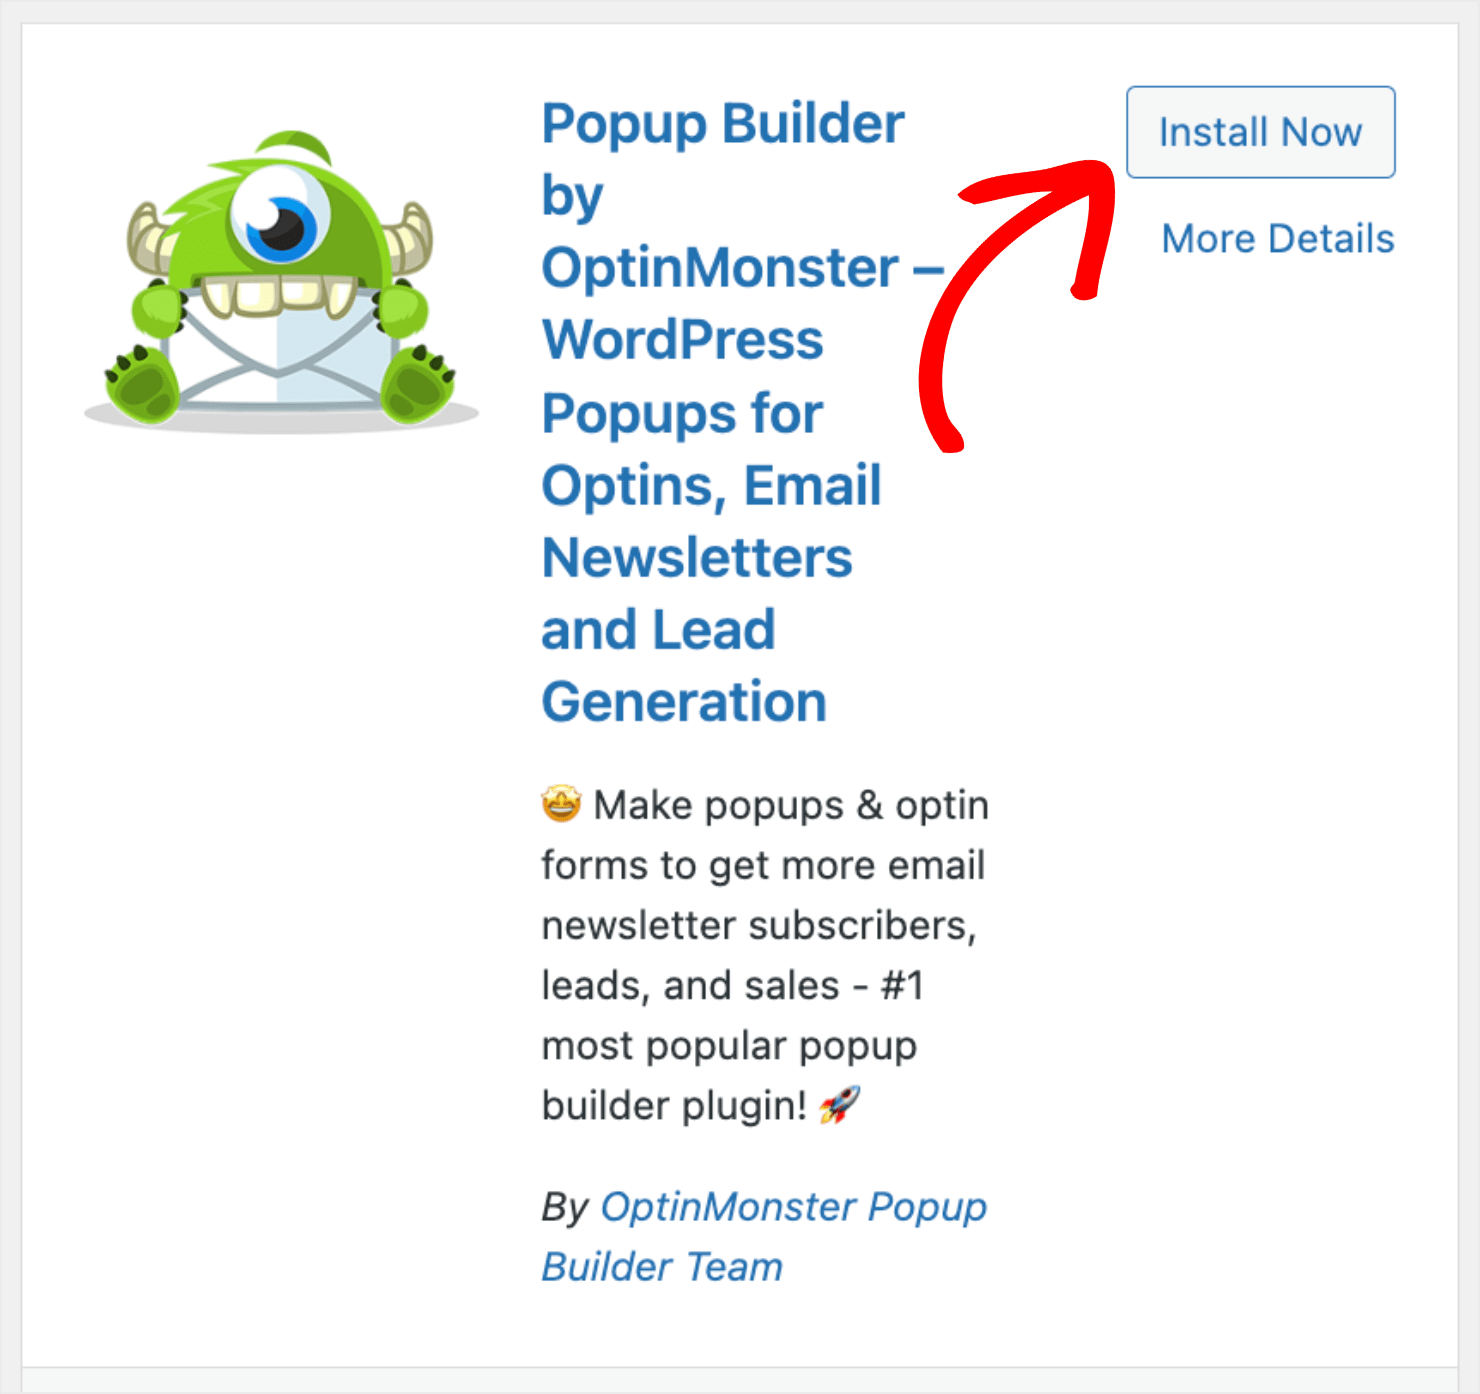
Next, click on the Activate button in the widget:

If you’ve never done this before, check out this helpful article that gives you 3 methods to install a plugin.
In your OptinMonster plugin dashboard, you’ll have 2 options:
- Create a free account
- Connect to your existing account

Click Connect an Existing Account if you’ve already signed up for OptinMonster. On the next page, click Connect To WordPress:
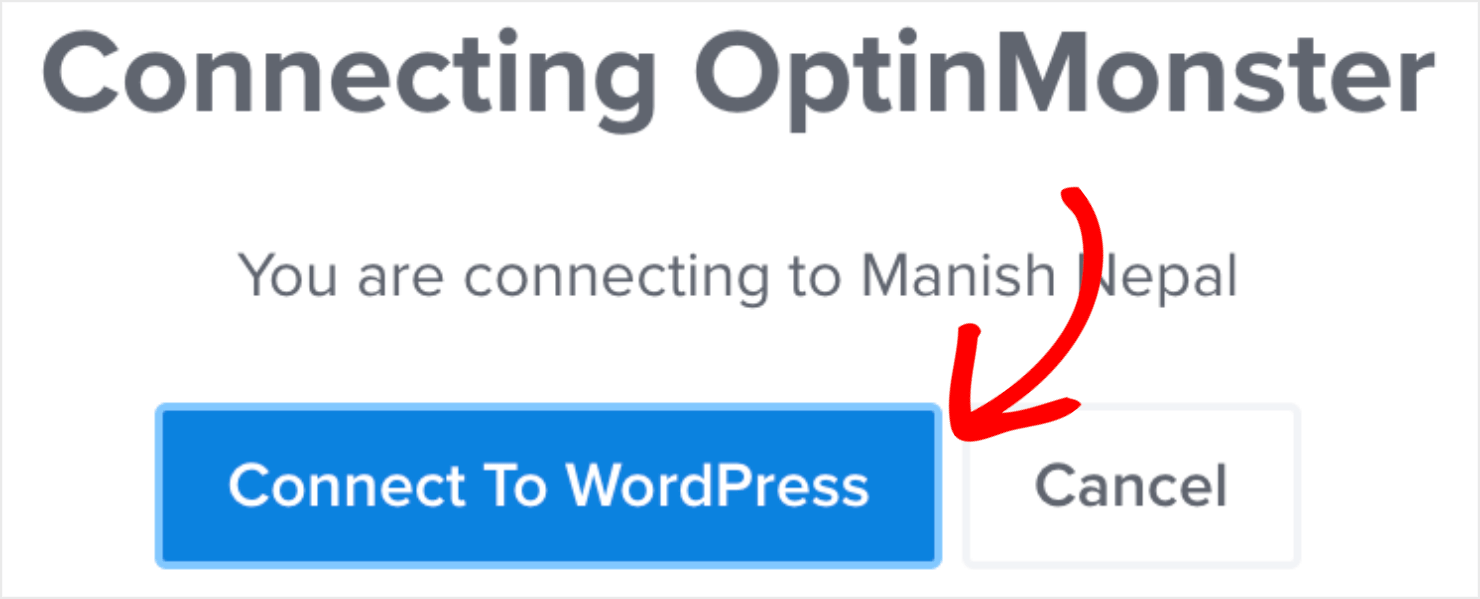
Now you can create and manage your campaigns from your WordPress dashboard. If this is a new account, you likely won’t have any campaigns yet:

After this tutorial, your Mailchimp WordPress popup will appear in your OptinMonster’s campaigns dashboard.
The OptinMonster WordPress plugin is a great option because it doesn’t require you to know where to put your Mailchimp popup code in WordPress. Instead, everything happens automatically for you.
If you aren’t super technical, this is a huge advantage.
Now all that’s left is creating your WordPress popup to increase new subscribers for your website.
Step 2: Create Your Mailchimp WordPress Popup
This is the easy part. Now, you just need to repeat steps #2–5 which I covered earlier in the previous section!
If you need a refresher, click here to jump back to step #2 for creating your Mailchimp popup.
Grow Your Email List With a MailChimp Popup
Since you want to grow your email list, that means you’re probably interested in learning how to monetize your email campaigns.
Here are a few resources to help you with that:
- What is Email Marketing? The Easiest Way To Grow
- How to Build a Brand New Email List: 14 Proven Strategies
- Why You Need to Build a Mailing List Right Now
- 12 Successful Spots For Email Signup Forms on Your Website
Ready to grow your list and generate more revenue? Sign up for OptinMonster risk-free today!




Add a Comment