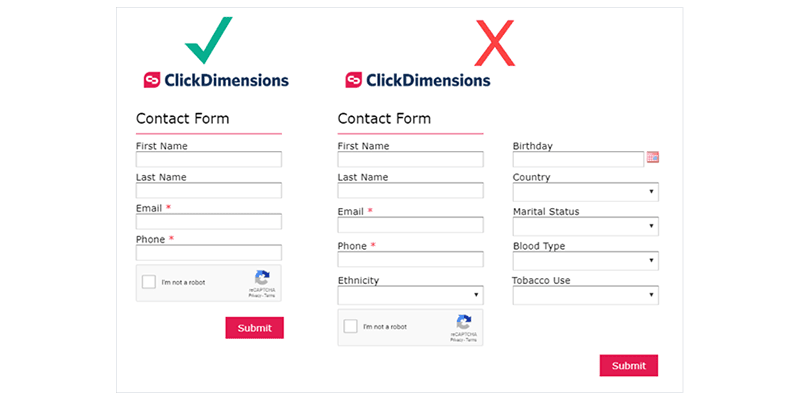
From time to time, you might want to get rid of a ClickDimensions form that you created. In these situations, your first thought might be to delete the form, but I would strongly urge you to reconsider that thought. Deleting a form that has been published as a link in a ClickDimensions email or embedded on a page on your website still leaves the form ALIVE!
We host the form, so deleting the web content record itself will not actually delete the live record that is published. If visitors to your site or recipients of your email can still access the form, they will still be able to submit the form and posted form records will continue to come back into your system. Deleting the record will just prohibit you from ever making changes to that live record again.
As an example, let’s say that you have archived your organization’s May newsletter on your website and there was a link to a form in that newsletter where recipients could register for a time sensitive event. If you deleted the web content record for the form in ClickDimensions, visitors will still be able to view the form and submit responses for the event that has already passed. However, with the record deleted, you are no longer able to access the form’s HTML to make changes such as a message expressing that the form is inactive or be able to redirect the visitor elsewhere.
Here are two better options for how to deal with a form that is no longer in use:
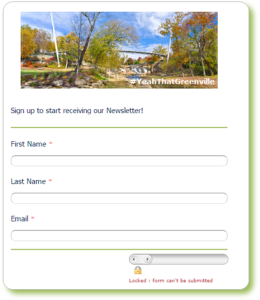
- Hide the form’s Submit button, so form entries can no longer be submitted.
- Hide the form using JavaScript, display a message to convey that the form is no longer in use and provide an alternate link where they can navigate.
For Option 1, here is what the form will look like without the button:
If you prefer Option 2 of hiding the form and including a message to express that the form they navigated to is no longer in use, this can be accomplished with our form designer code editor, a little bit of JavaScript and some CSS styling to make it more presentable.
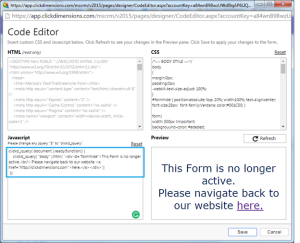
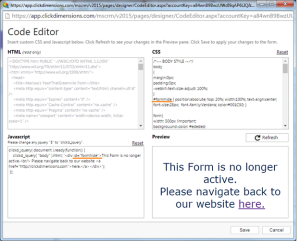
Here is the JavaScript code that you will place into the code editor’s JavaScript box:
clickd_jquery( document ).ready(function() {
clickd_jquery( “body” ).html( ‘
Please navigate back to our website here.
‘);
});
It will look like this in the code editor:
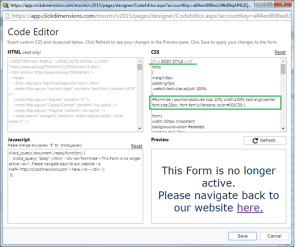
To customize/style the JavaScript message, you can add in this CSS code into the CSS box of the code editor under the BODY STYLE section (by adding in CSS attributes like font-size:28px, you can style the message as you wish):
#formhide { position:absolute; top: 20%; width:100%; text-align:center; font-size:28px; font-family:Verdana; color:#001C50; }
Since the JavaScript code itself does not have any styling attributes, an ID tag has to be added into the JavaScript (id=”formhide”) and CSS (#formhide) codes in order to make the inactive form’s message customized with a specific font type, font color and other CSS attributes.
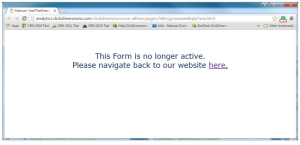
Here is how the inactive form’s message will appear when the JavaScript/CSS codes are in place and the form is saved/published:
Now, what if you also want to have the inactive form message automatically redirect the visitor after a certain amount of time?
You can take the above coding a step further and usetag to have the form message appear, but then automatically redirect to a certain URL after a number of seconds have passed.
The tag and JavaScript code portions look like this:
clickd_jquery(‘head’).append(”);
And that code is inserted after the first JavaScript line to create:
clickd_jquery( document ).ready(function() {
clickd_jquery(‘head’).append(”);
clickd_jquery( “body” ).html( ‘
Please go back to our site here. or wait to automatically be redirected to our homepage.
‘);
});
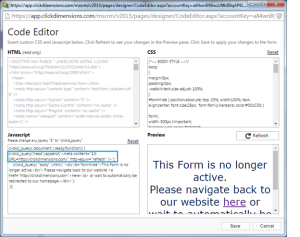
Here is what the additional JavaScript looks like in the JavaScript box:
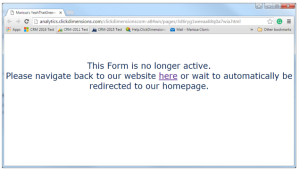
We’re all set! This JavaScript code hides the form, shows a message and automatically redirects to a certain web page within 10 seconds.
Please note: The custom code in this blog post is provided as-is and we do not provide support on the implementation of this code.
Written by Marissa Clontz, ClickDimensions Marketing Success Manager


