
Did you know that using a popup based on location can boost your sales and conversions, even if you aren’t a local business?
Location-based marketing, or geotargeting, is a hit with successful small businesses. This type of marketing is a no-brainer for businesses with physical locations like restaurants, retail shops, and real estate companies.
But what about eCommerce companies without a physical location? Or, larger corporations with global reach? Does marketing based on location still make sense?
Yes! A study by Factual found that 90% of marketers use location-based data to personalize the user experience and have gotten excellent results.
In this tutorial, I’m going to show you how to create a popup based on location to boost sales and conversions.
Before we get into that, let’s take a look at what geotargeting or geolocation marketing is, as well as its benefits.
Here’s everything we’ll cover in this post:
What Is Geotargeting?
Geotargeting simply means that you’re providing custom content to visitors based on their physical location.
This doesn’t mean you have to get all the way down to the local level. Larger companies or those with an online-only presence can use it in other ways.
You can use geotargeting for regional outreach, promotion of virtual events, or learning more about your customers.
The important thing to remember is that you are providing specific content that is location-specific.
Why Use Geotargeting?
Location can tell you a lot more about a target customer than just their geographic location. If you know your audience’s location you can make certain assumptions about their wants, needs, and interests.
For example, an online store like REI can use geotargeting to ensure that customers in Australia don’t see ads for winter coats in January.
Using geotargeting to show specific content based on location is just one basic example. Let’s take a look at some more reasons you might want to use geotargeting.
1. Include or Exclude Locations Based on Features or Services
Several eCommerce brands ship their products all over the world. But many online retailers aren’t big enough to handle the costs of shipping across a country, let alone the world.
Geotargeting is an advanced targeting rule that smaller online brands can use to market their products only to a city, region, or country.
Here’s an example from an apparel brand that specifically targets potential buyers from the Northern California region:

Small things like this can make a big difference to your sales and conversion rates when it comes to promoting your products locally.
For a more detailed understanding of how geolocation targeting works, check out our post about How Sportique Used Geomarketing To Increase Conversions by 200%.
2. Address Barriers to Buying
Skates.co.uk is a family-owned skate shop in the UK. The brand uses geotargeting to target a user’s country, assuring visitors that their orders would get to them soon.
To make sure they are targeting the right companies, the skating brand took a look at where visitors to their site were coming from. Then, they created targeted campaigns to reach those customers.
Here is the popup window targeted to display only to visitors from France:

Shipping can be a big sticking point for eCommerce buyers.
By addressing the issue directly, the skating brand added £2000 in revenue per day during the holiday season and even saw bounce rates decrease after adding these optins.
3. Target Visitor’s Location To Offer the Right Product
America’s Professor sells insurance license classes to help guide people through the complicated process of obtaining a license.
America’s Professor is a national company. Since every state in the US has its own requirements for insurance licensing, the company must get its visitors to the right class for the state they’re in.
To do this, they use a popup with OptinMonster’s powerful Exit-Intent® technology, so it appears as the reader is about to leave the site.
The popup targets readers based on their location to guide them to the location-specific materials they need:

This type of geotargeting ensures that your readers are getting to the content that they need while also establishing you as an authority on the topic.
For America’s Professor, this turned into a significant boost in revenues.
There are many ways to use geotargeting to connect with potential customers and you don’t need a special WordPress plugin for geolocation to do it.
To start using geotargeting on your own site, you just need to create a location-based popup campaign with OptinMonster.
Here’s a step-by-step guide on how to do it.
How to Create a Popup Based on Location
There are essentially 4 steps to creating a popup based on your buyer’s location:
- Step 1: Create a Campaign
- Step 2: Edit Your Campaign
- Step 3: Set Display Rules
- Step 4: Save and Publish Your Campaign
Step 1: Create a Campaign
Login to the OptinMonster dashboard and click Create New Campaign:

Next, choose a campaign type. I’ll use Popup because that’s what this tutorial is all about:

Choose a template. OptinMonster has 100+ ready-to-use templates that you can choose from:

I’ll go with the Subscribe to Newsletter template since it’s simple and easy on the eyes:

Next, name your campaign and add the website where you want it to display:

If you haven’t already linked your site, here’s how you add a website to your OptinMonster account.
When you’re done, click on the Start Building button to go to the OptinMonster campaign builder.
For more details on how to create a perfect campaign with OptinMonster, read our post on Creating Your First Campaign.
Related Content: How To Create a Responsive Optin Form Without HTML, CSS, or JavaScript
Step 2: Edit Your Campaign
Here’s how the default template looks in OptinMonster’s drag-and-drop campaign builder:

No matter which template you choose in OptinMonster, you can customize each aspect of it to match your brand’s style.
For instance, you can click on the text area to change the header copy directly in the editor. Here’s what I wrote in place of the default copy:

Next, click on the template’s background to bring up the editor tools on the left-hand panel:

Here, you can change the popup’s background color, add an image, or decide to take the close icon off the template to turn it into a modal popup:

Once you’re happy with the popup’s appearance, we can proceed to the next step.
Step 3: Set Display Rules
Go to the Display Rules tab at the top of your screen:

By default, your campaign will have 2 display rules set:
- Time on page is 5 seconds
- Will appear on any page

You’ll need to change the 1st rule based on the user’s physical location.
To do so, click on the 1st display rule (time on page) and click on Who. Click on the Physical Location option from the menu:

You can set your display rule to target visitors whose location is (or is not) a particular location. You also have the option to include or exclude visitors from the European Union:

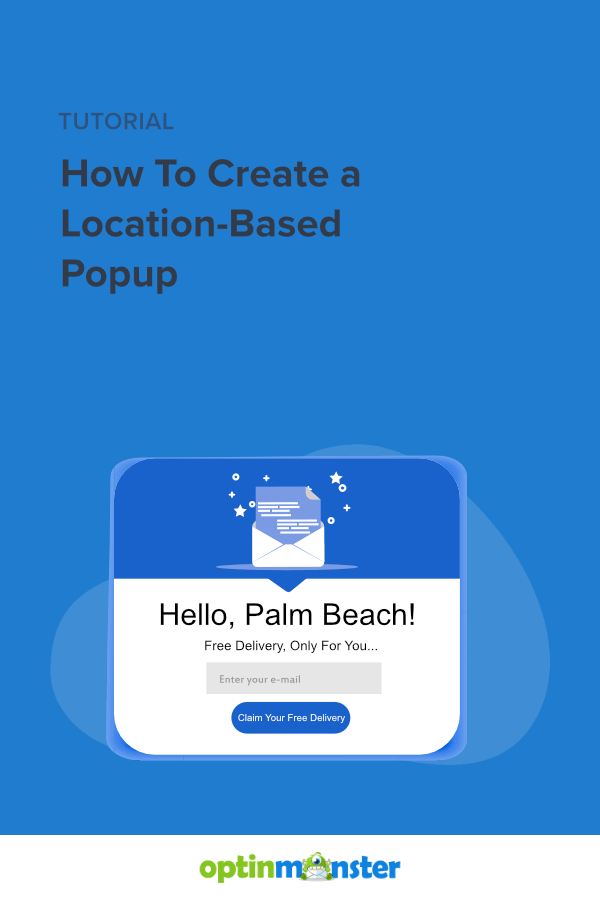
I’m going to set the rule to the visitor’s location as West Palm Beach, FL. Next, click on the Validate button:

After you click Validate, an overlay will appear with a listing of the locations matching the location you entered. Click on the ‘+’ icon to confirm the location you want:

Display Rules are great tools to make your popups targeted and engaging. To learn more, check out our guide on How to Use Display Rules to Customize When a Campaign Will Appear.
Step 4: Save and Publish Your Campaign
Once you’re sure about all aspects of the popup, you can now publish it on your website or a specific webpage.
To do this, go to the Publish tab on the top menu. Since it’s a work-in-progress campaign, you’ll notice the Publish tab’s icon is in pause mode by default:

Select an existing website or add a new one under the Websites section:

If you haven’t added any sites to OptinMonster yet, learn more about how to connect your website.
If you already have a website, you can use the Preview functionality to test how the notification bar will appear on your website before you publish it:

Next, click on the Publish tab under the Publish Status section:

You’ll see that the icon in the main Publish tab at the top will change from the pause symbol to a green checkmark:

Finally, click on the Save button to make sure you don’t lose any changes you’ve made so far to the campaign:

And that’s it. Your popup will now appear only to website visitors located in West Palm Beach, Florida.
Make the Most of Location-Based Popups
Now that you know how to add geotargeting to your campaigns, you can run multiple campaigns across different cities to make your marketing more contextual and relatable to your target audience.
If you liked this article, you might be interested in the following resources, too:
- What Is Geotargeting? Learn the Basics of This Powerful Tool
- Retargeting Best Practices + What It Is and Why You Need It
- Google Analytics 101: How to Track Your Conversions (Step-by-Step)
- How To Create Targeted Campaigns Based on Traffic Source
- 10 Lead Segmentation Best Practices to Drive Up Conversions
Want to set up a location-based popup for your business? Sign up with OptinMonster today!
Disclosure: Our content is reader-supported. This means if you click on some of our links, then we may earn a commission. We only recommend products that we believe will add value to our readers.