
Are you struggling to convert your website visitors into leads? Do you want to learn how to add an announcement bar on the Shopify site to improve your conversion rate?
An announcement bar, also called a website notification bar, floating bar, or hello bar helps you communicate about new product updates or important announcements to your site visitors.
You might have seen these on eCommerce sites. Here are a few announcement bar examples:
Color Popup has a free shipping bar on its homepage for orders over $30:

Dropshipping website Modalyst uses a floating bar to announce its latest partnership with Wix:

Allbirds has a floating bar to announce fresh new apparel on its site:

A Shopify announcement bar is the best way to get people’s attention whether you want to announce a limited-time offer or update customers about an upcoming scheduled maintenance.
An announcement bar also complements your other ongoing marketing campaigns.
For instance, popups can convert anywhere between 1-8%. But once visitors click the ’X’ button, the offer on your popup vanishes.
Showing your visitors the same offer in an announcement bar ensures your visitors don’t miss out.
Repeating your offer on a single page is usually very effective for conversions. Lilach Bullock used this technique to convert 57% of all her website visitors!
An announcement bar also takes minimal space on your website and doesn’t interfere with the user experience (UX). eCommerce store owners can use an announcement bar with a countdown timer to boost conversions and increase sales.
That’s why, in this tutorial, I’ll show you how to add an announcement bar on your Shopify website.
And the best part? You don’t need to be a developer or a Shopify admin to add a floating bar to your site.
OptinMonster’s user-friendly drag-and-drop interface allows anyone to create and add an interactive announcement bar on their site.
By the end of this tutorial, you’ll be able to create an eye-catching announcement bar that can help you improve conversions and increase upsells, with no coding required.
Ready? Let’s get started.
How To Create an Announcement Bar in Shopify
If you want to watch how it’s done visually, you can watch this video tutorial:
Not a video fan or need more details? Keep reading for a step-by-step tutorial.
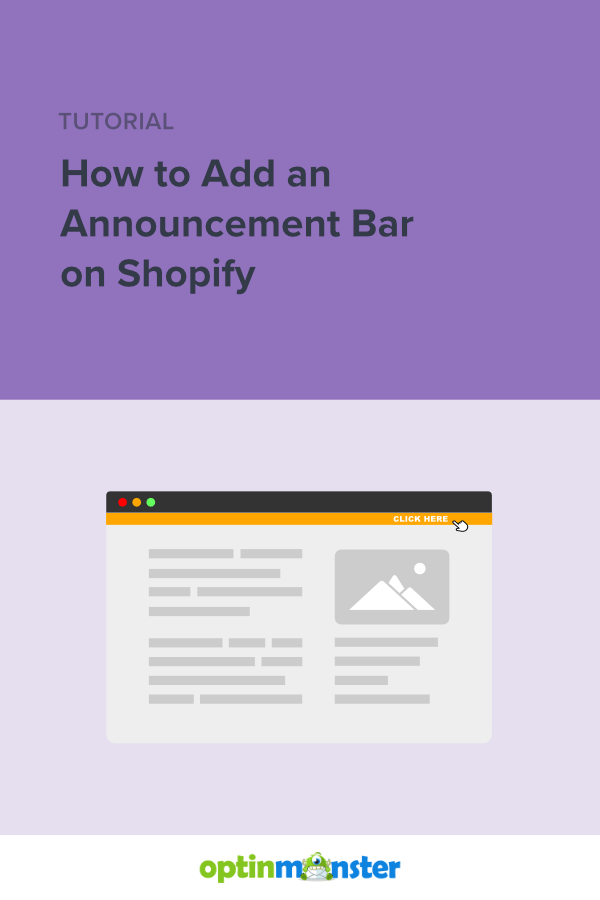
We’ll create a floating announcement bar just like this one:

You can click on the table of contents to jump directly to the section that you like to read:
- Step 1: Create a Campaign
- Step 2: Edit the Campaign
- Step 3: Add a Call To Action Button
- Step 4: Set the Display Rules
- Step 5: Publish Your Campaign
Step 1: Create a Campaign
Login to the OptinMonster dashboard and click Create New Campaign:

Next, choose a campaign type. I’ll use the Floating Bar since that’s what this Shopify tutorial is all about:

Choose a template. I’ll go with Get Tips and Tricks since it’s simplest and easy on the eyes:

Want to know how to change the announcement bar on Shopify? Simply scroll through the available OptinMonster templates and pick the one that you like.
OptinMonster has 100+ ready-to-use templates that you can choose from:

Next, name your campaign and add the website where you want it to display:

If you haven’t already linked your site, here’s how you add a website to your OptinMonster account.
When you’re done, click on the Start Building button to go to the OptinMonster campaign builder.
Step 2: Edit the Campaign
This is how the announcement bar template looks like in OptinMonster’s campaign builder:

For now, we’ll make a few customizations to the template to match it with your brand’s style. Every OptinMonster template is highly customizable.
For instance, you can click on the text area to change the header copy directly in the editor. Here’s what I wrote in place of the default copy:

You can also change the font, formatting, text alignment, and color:

Next, click on the template’s background to bring up the editor tools on the left-hand panel:

Here, you can change the announcement bar’s background color, add an image, or decide to take the close icon off the template:

You can also choose where you want the Shopify announcement bar to appear on your page. By default, it shows at the bottom of the page right now.
To move it to the top, click on the Floating Bar Settings at the bottom of the menu panel.
Enable the Load Floating Bar at top of page? option:

With this, the announcement bar on your editor will shift up:

This is a good way to make sure visitors see your offer as soon as they land on your online store.
Step 3: Add a Call To Action Button
Since we’re adding an announcement bar, we don’t need the email field on the template.
It’s very easy to get rid of unnecessary elements in the template.
Just have to hover over the yes and no button elements on the editor and click on the trash can icon to delete them:

This is how the announcement bar looks like at this point:

Since we want to add a call-to-action (CTA) button, click on the home icon at the top-left of the page:

This will bring up the Blocks menu options:

Scroll down the options to locate the Button block or look it up in the search box:

Drag and drop the Button element to the campaign builder:

With this, here’s how the template looks now:

Hover on the button element on the template and click on the gear icon:

This will bring up the editing tools on the left-hand panel. Here, you can change the button’s background, color, or font:

For this tutorial, I’ll change the button’s background color and copy:

You can also choose what happens when your website visitors click on the CTA button.
For this tutorial, we’ll set it to redirect to a product page to match the offer copy that we have created.
To do this, click on the Content tab on the top-left of the page:

Now, click on the dropdown option under Button Click Action and select Redirect to a url:

Next, enter the URL that you want the visitors to go to. I’ll add OptinMonster’s pricing page URL as an example:

Step 4: Set the Display Rules
Next, go to the Display Rules tab at the top of the page:

By default, the popup you created will appear on any page if the visitor spends at least 5 seconds on the page:

If you go with this default ruleset, visitors who stay on any page of your site for at least 5 seconds will see the announcement bar.
To change this, I’ll configure the time on page and is at least rule to 10 seconds:

To make the floating bar even more contextual, you can use OptinMonster’s page-level targeting. This will make the floating bar appear only to visitors on select landing pages.
For example, if your Shopify store sells haircare and skincare products, you might have a website structure where each of your landing and product pages includes a unique URL path, such as:
- www.mysite.com/homepage
- www.mysite.com/pricing
- www.mysite.com/haircare
- www.mysite.com/skincare
Since we’re running a 50% discount on skincare products, it makes sense to promote it to people visiting your haircare product page who are likely to be interested in buying skincare products.
To apply the condition to the haircare product pages, click on the is any page option in the 2nd condition and choose contains:

Next, add the term ‘/haircare’ in the field next to contains:

With this, the Shopify announcement bar will now appear only on URLs that end with haircare.
Save your campaign to ensure you don’t lose the changes you have made to the campaign so far:

Related Content: Discount Code Ideas to Help You Improve Conversions
Step 5: Publish Your Campaign
If you haven’t already, you can link your Shopify and OptinMonster accounts with our Shopify integration.
Here’s a beginner-friendly video that walks you through the process:
Next, go to the Publish tab at the top of the page:

Choose the website you want to use your campaign on:

You will see the campaign summary on the right sidebar. Double-check the settings and display rules to make sure everything is set up correctly:

In the Live Site Inspector section, you can also enter your website’s URLs to test the announcement bar.
Once you’re satisfied with everything, click on the Publish button:

This is how the announcement bar appears on my website:
Other Ways to Use an Announcement Bar in Shopify
While you can easily create a simple announcement bar for Shopify, you can also take advantage of OptinMonster’s other features and functionalities to get more sales.
For example, you can use OptinMonster’s Countdown Timer or holiday themes to create a limited time sale.
Countdown timers are proven to get results. Cracku, an online coaching website for students, used countdown timers on its website to create limited-time offers and increased conversions by 300%.

If you liked this post, you might also be interested in the following articles:
- Best Plugins on Shopify App Store To Increase Sales in 2024: Free & Paid
- Lightbox Popups For Shopify: How to Make Them Boost Your Sales
- 6 Simple Floating Bar Hacks to Boost Conversions (Without Annoying Visitors)
Want to create an announcement bar on your WooCommerce site?
Disclosure: Our content is reader-supported. This means if you click on some of our links, then we may earn a commission. We only recommend products that we believe will add value to our readers.