How to Create Progress Bars in Emails with Litmus Personalize
Did you know that building emails is the biggest bottleneck in the email production cycle? If efficiency is the name of your game, then tools that help reduce the need for manual coding could very well become your secret weapon. 👀
What tools are out there? We may be biased, but our favorite is none other than our very Litmus Personalize! It’s packed with tools designed to make email personalization a breeze. And with our latest round of enhancements, we’ve made it easier than ever to add personalized elements to your email campaigns—no coding experience required.
Plus any and all Litmus customers have access to these features in their account today! You can now add elements like countdown timers, sentiment trackers, and personalized images to your email campaigns with one of our quick-start templates—included with all Litmus plans.
Today, we’ll be walking through how to add progress bars to your emails to keep customers on the right track and promote brand loyalty. Keep reading to see just how easy it is to add these to your emails today!
How do progress bars work in email?
A progress bar visually tracks the status of tasks, goals, processes, or projects—you name it! Progress bars can be made in a few different ways (e.g. with HTML, JavaScript), but our quick start templates in Litmus Personalize make it simple and easy. With just a few clicks, you can add progress bars to your own email campaigns—no coding knowledge needed!
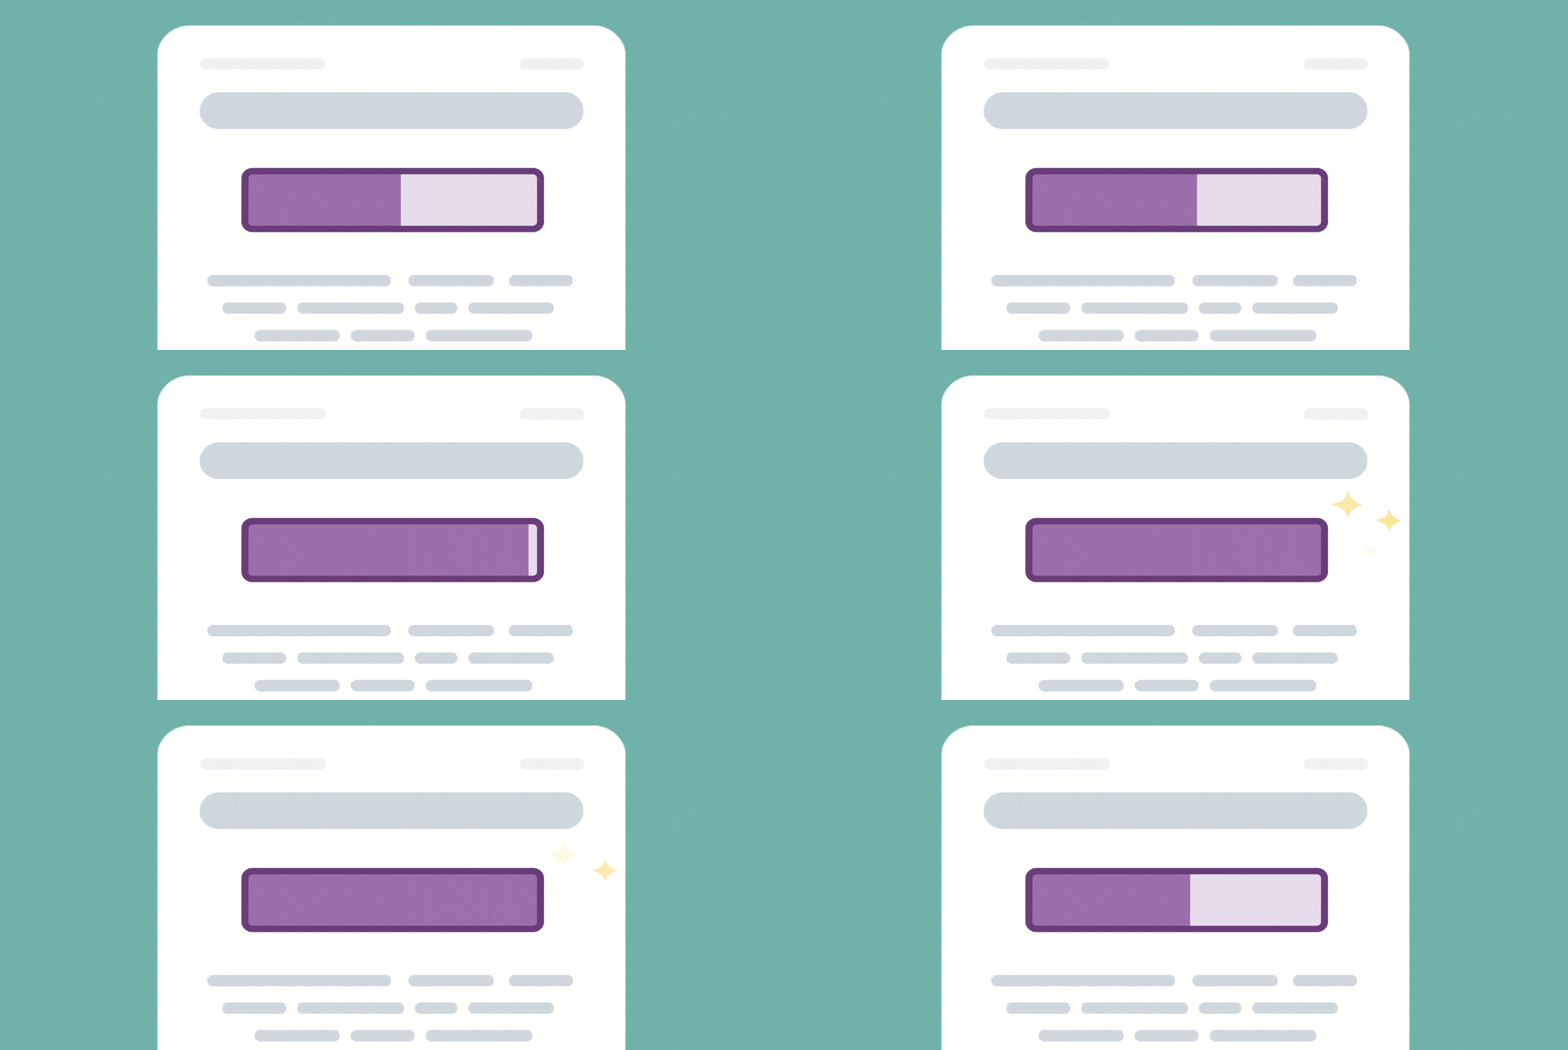
In Litmus Personalize, progress bars are images served in your email the moment it’s opened. Each time your subscriber loads this image (aka, when the email is opened), the image is updated to illustrate the most recent, up-to-date progress for each individual customer.
Examples: Progress bars in email
The options are endless with progress bars! Here are some ideas as a jumping off point.
- Reward incentives: “450 points until your next reward!”
- Customer onboarding: “You have two remaining tasks to complete your profile!”
- Funding/donation drives: “We’re $100 from our goal!”
- Project management: “Your project is 50% complete.”
- Holidays or events: “25 days until Christmas! Buy your gifts soon.”
Tutorial: Create an email progress bar using Litmus Personalize
Time to get down to the nitty gritty! Read on for a step-by-step walkthrough on how you can add progress bars to your emails with Litmus Personalize.
Step 1: Head to the Personalize tab
Progress bars are located in the Personalize section of your Litmus account. From the Personalize tab, select Progress bars on the left side. Here, you can create a new progress bar or find any you’ve already made.
Next, select New progress bar in the upper right corner.

Step 2: Select a template
Pick a design template that best suits your needs. The width and height of the progress bars are included in the top right side of each template.

Step 3: Make it your own
Time to put your own spin on it! Customize your progress bar by selecting colors for the background, base, progress fill, and text to align with your brand guidelines or specific email campaign. You can also opt for a transparent background for your progress bar.
Additionally, you can specify the minimum and maximum values. In the instance below, the minimum value is set to 0, with the maximum set to 100.

P.S. Looking for more customization options? Reach out to discuss how the full suite of Litmus Personalize tools can help!
Step 3: Preview your progress bar
Once you’re happy with the look and feel of your progress bar, select Next: Preview your progress bar to check the colors and functionality. Use the Progress value field to enter a number to test your dynamic values.
Step 4: Generate your HTML tag and add it to your campaign
Does everything work as expected? If so, then you’re ready to generate your tag! Select Next: Save and get HTML.

Copy the tag HTML using the button below the text box, and your new progress bar will appear in the Progress bars section of the Personalize tab in your account.
Make sure to add your merge tags/personalized token to this code in your ESP to ensure your subscriber’s unique values and progress appear.
Easy, breezy personalized experiences
And voilà: that’s all it takes! A couple of clicks and you’ve got progress bars for your email campaigns—no coding knowledge needed. Create better, personalized experiences at scale for your subscribers and make your emails stand out effortlessly.

Kimberly Huang
Kimberly Huang is a Content Marketing Manager at Litmus

