
How to Create Custom Mailchimp Templates That Actually Work Perfectly
Coding every email from scratch takes way too long, so having a reusable, tried-and-true email template can do wonders for your workflow efficiency. But building your own template can be an adventure in and of itself, too—even for Mailchimp, the second most popular email service provider (ESP) according to our State of Email Service Providers report.
You might have a preferred way to develop emails, but when it comes to custom templates for Mailchimp, it’s important to follow some very specific guidelines to ensure you don’t lose hours getting your template to work. And I say this having lost many hours myself!
As I walk you through creating a custom Mailchimp template, be aware that the way you structure the code, how you create buttons, and even the size of your imagery all need to be tackled with a Mailchimp technical point-of-view.
That’s why we collaborated with Mailchimp and other experts on this blog post to ensure your Mailchimp templates will actually work perfectly.
The difference between Mailchimp’s prebuilt templates and custom templates
Mailchimp has a substantial library of templates you can use to create emails. Each of them is editable within a drag-and-drop editor and multiple email modules to choose from for laying out your content.
So why create a custom template?
Mailchimp’s templates are highly editable so that any brand can use them with their own brand colors and styling. This can make it challenging to monitor their usage, and for a brand’s identity to remain consistent from email to email. Creating a custom template ensures that many of the styles you build into the template aren’t altered.
Also, the editing environment for custom templates is different. There’s no drag-and-drop editor. Instead, create modules and elements that can be duplicated, switched, or removed depending on the template language you implement. This is another way to guard against unwanted layouts and edits.
How to code a custom Mailchimp template
Ready to create your own Mailchimp email template? Keep reading for the tips and tricks you need to do it right.
Think about your goals and end-users
Before you begin, it’s important to first think about the goal of the template and the people who will be using it. For example, you may need a template with a lot of details and flexibility. Or, it may need to be simple and easy for less technical members of your team to adopt.
Joolz Joseph, email marketing consultant and marketing motivator, says:

“Ask yourself ‘What are we trying to achieve with this?’
Is it a catch-all template that can be used for multiple email types so needs lots of flexibility with different blocks? Or something more rigid such as a promotional template, onboarding series, or newsletter?
There is a great advantage to a template with lots of blocks which can be adapted, but sometimes 2 or 3 shorter templates are easier to manage for people who may be overwhelmed by lots of options.
This short consideration at the start enables you to build your template with the goal and end-user in mind.
For example, a promotional template needs to be focused on the primary objective and call-to-action (CTA), whereas a newsletter may have multiple CTAs which are all different.
This all needs to be reflected in your template design. It will also make it easier for someone running a promotion to drop in relevant content if their options are limited!
Doing a single template that captures every possibility can result in an email that is on brand but not as effective as it could be, so it is worth taking that step back first and looking at what you want to achieve and what kind of template (or templates) will best help you do this.”
Thanks, Joolz, for the tip! Once you know the goals for your template, you can get to building.
Embed your CSS styling
One of the first things worth mentioning is Mailchimp inlines your embedded CSS styles automatically when you save your template within the platform. So as you kick off development work, you may find it easier to embed all of your styles, and limit code bloat.
Create rows of modules
As you structure your code, think about the blocks you would like to be editable, especially those you want to be able to re-order. These blocks should sit within rows, for example:
<!--modules that can be re-ordered-->
<!--module 1-->
<tr>
<td>
<!--module code here-->
</td>
</tr>
<!--//module 1-->
<!--module 2-->
<tr>
<td>
<!--module code here-->
</td>
</tr>
<!--//module 2-->
Once you close the parent table, you won’t be able to re-order your rows past this point.
Consider button limitations
There are many ways to code a button. However, it’s only the padded button that’s going to work in your custom Mailchimp template. This is because a lot of styling applied to the anchor tags of editable buttons is removed automatically. The format of VML code and any spans you place within your anchor tag may also be adjusted.
The padded button method means that only your button’s text is going to be clickable, as you need to apply your padding and other button styling to a parent table cell. Mailchimp’s extensive documentation provides more detail on button code (and other HTML email limitations if you’re curious).
Use exact-sized images for editable placeholders
Like buttons, images shed a little code when made editable. This time, it’s the HTML attributes that define the width and height that are removed. Outlook relies on these, and the Mailchimp editing environment will also render the actual size of the image until you put these attributes back in using the editor.
This makes it a little tricky to use retina images, aka images at twice their size, to be scaled down in the email.
I recommend using 1x imagery for any placeholders you code into your template. Then when the template is used for a campaign, switch out your placeholder for a 2x image (retina image), defining the width and height in the settings tab of the image editor.
Apply Mailchimp’s template language
To define editable areas within your template, you need to implement Mailchimp’s template language. There is ample documentation available that outlines the things you need to include, depending on the kind of template you create.
For highly customisable templates that may be used by multiple brands, you can make CSS styles editable. To do this, follow Mailchimp’s guide on editable styles.
For the purposes of this walkthrough, we’re going to look at how to create a template that limits editability to just the content. And to do this, we need to add the following language to HTML elements within the template:
mc:edit is used to provide a content-editing action for a particular element within a template. Make sure you use a unique name for each instance of this within your template.
mc:hideable is used to provide a hide/show action for a particular element within a template.
mc:label is an optional tag used to name an editable section within the application.
mc:repeatable is used to provide a duplication action for a particular element within a template.
mc:variant is used to provide a way to switch between discrete blocks of HTML.
For more detailed information on Mailchimp template language, this is my go-to document.
Include Mailchimp merge tags
There are lots of merge tags you can leverage within templates and campaigns. The tags I recommend applying are:
*|MC_PREVIEW_TEXT|*
Add this preview text merge tag to your build to ensure that during campaign set-up, content added to the preview text field is injected into the email. The preview text hack we usually add to Litmus emails to create whitespace after our preview text doesn’t work within Mailchimp. Fear not. Mailchimp has documented the ideal way to do this for custom templates.
*|UNSUB|*
In the header and/or footer of your template, add this merge tag to your unsubscribe link to ensure that people can take themselves off of your list should they choose to. Plus, it’s a legal requirement, so you definitely don’t want to forget this.
*|UPDATE_PROFILE|*
Give subscribers the opportunity to update their information or manage their preferences.
*|ARCHIVE|*
Add this merge tag to a ‘view online’ link to offer people the opportunity to view your email within their web browser.
How to add your template to Mailchimp
Now that you have your template coded, you’re ready to put it to work.
Head to ‘Campaigns > Email templates’ and click the ‘Create template’ button to import your template.
The easiest way to bring your template into Mailchimp is to upload a zip containing your HTML and images, as Mailchimp will manage the image paths for you.

Once you’ve named your template and navigated to your zip file, your template will open up in the template editor. Here, you can make adjustments, access the content studio where images and other assets are stored, and test your template rendering.
When you’re finished in this editor, you can save and close, and your template is ready for use.
Make sure your template works in Mailchimp
There are many common HTML mistakes, so it’s a good idea to see what the editing experience is like in Mailchimp before you send it off to your team, clients, or other people to use. To do this, head to ‘Create’ on the main menu, then select ‘email’ and stick with a ‘regular campaign’.
You can add some campaign details, such as a subject line and preview text. This will give you the opportunity to check that you have your merge tag and preview text code implemented correctly.
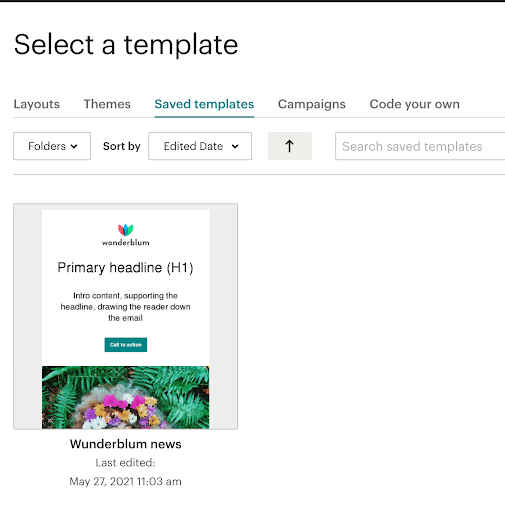
On clicking ‘Design Email’, you will be able to select the template you’d like to use. Find your custom template in the ‘Saved Templates’ tab.
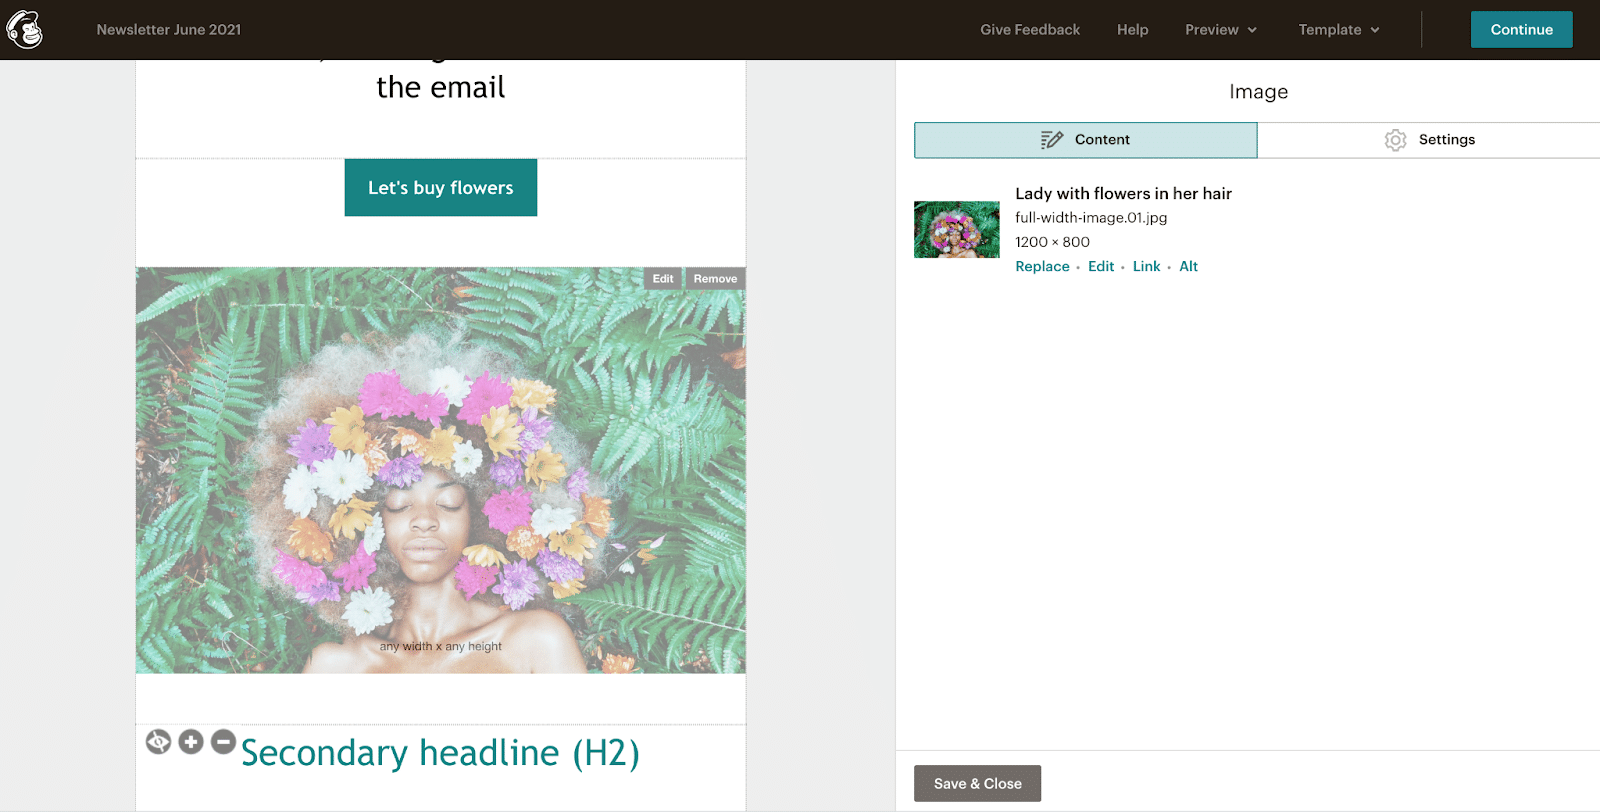
Once you’ve selected your template, you’ll be taken to the Mailchimp editing environment where you can put all of your editable sections to the test.
To edit an editable element, simply click on it, and an editing pane will appear on the right-hand side.
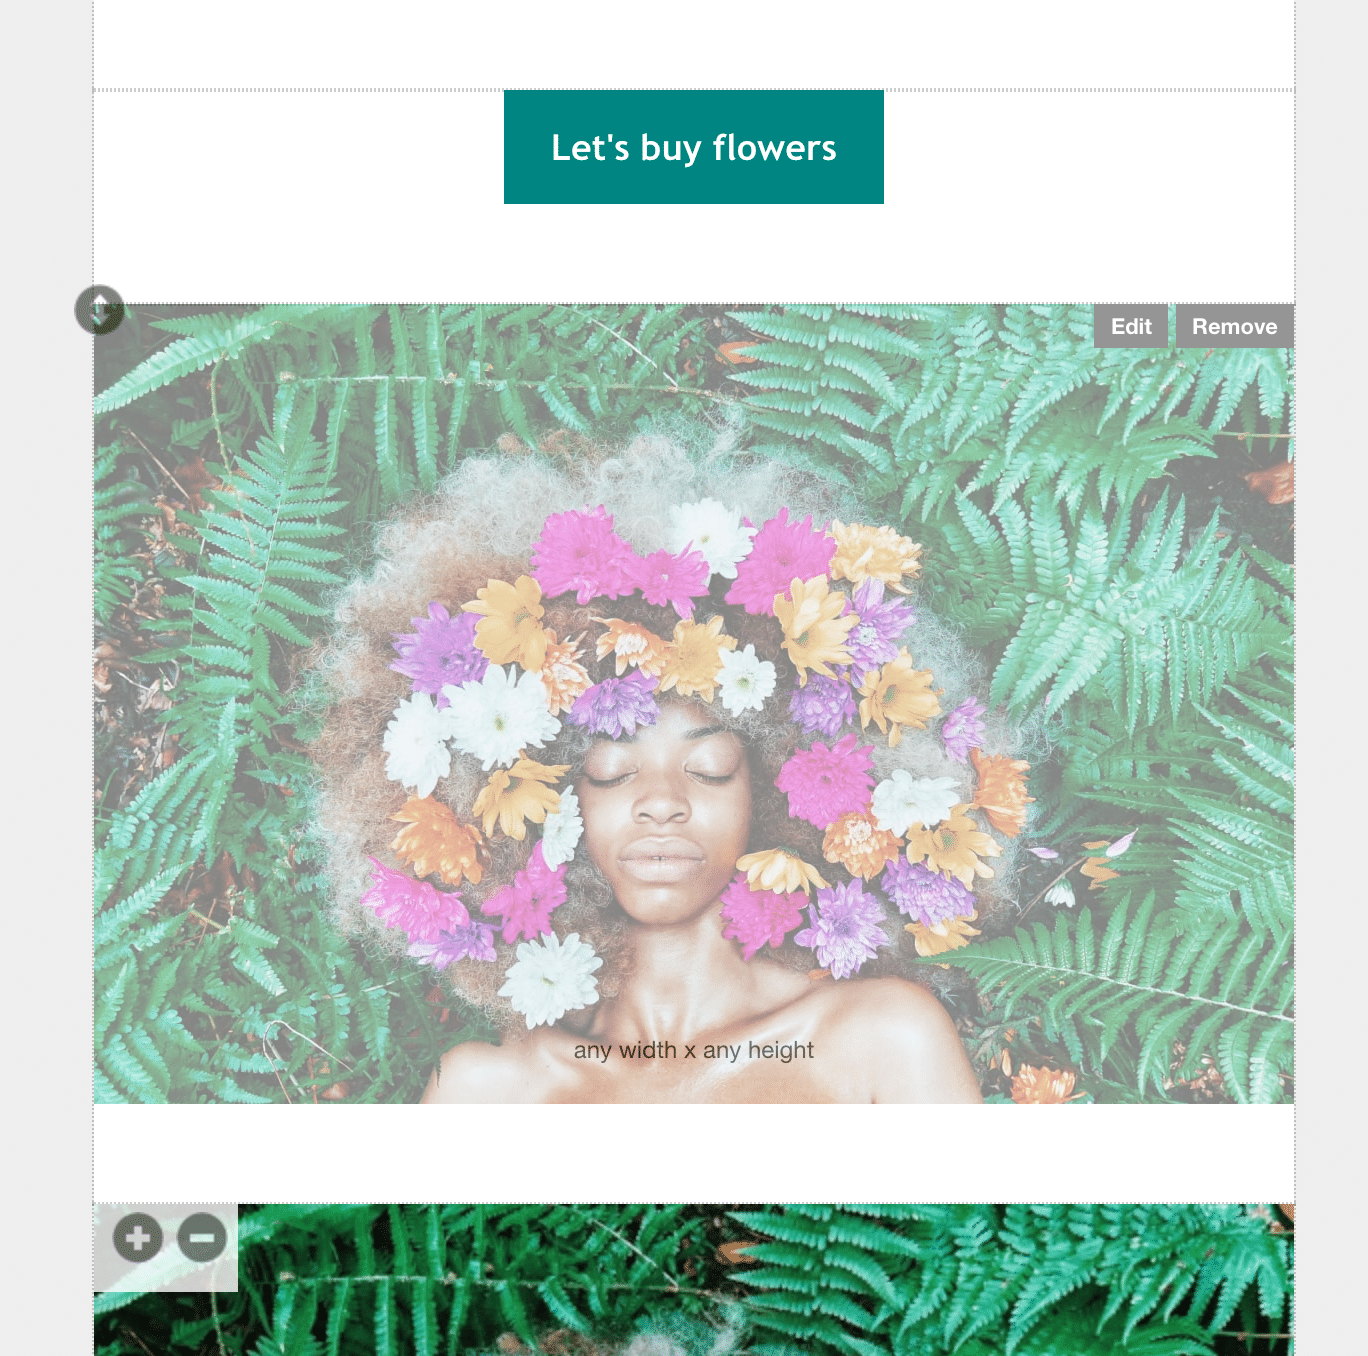
Something to note: Sometimes rearranging my content blocks doesn’t work, so if you can’t see the icon with an up and down arrow when you click on a block, try duplicating the block you would like to re-order. You can delete the unwanted extra block once you’ve dragged the block you wish to move to its new location.
Don’t forget to test email rendering
As always, it’s super important to see how different email clients are rendering your template, especially after it’s been used to create an email campaign.
It’s through such testing that I’ve identified issues with my templates and come across some of Mailchimp’s code-removing quirks. You can easily test in both the campaign and template editors by going to ‘Preview’ and ‘Send a test email’ to your inbox or your Litmus test address for thorough, automated pre-send testing.
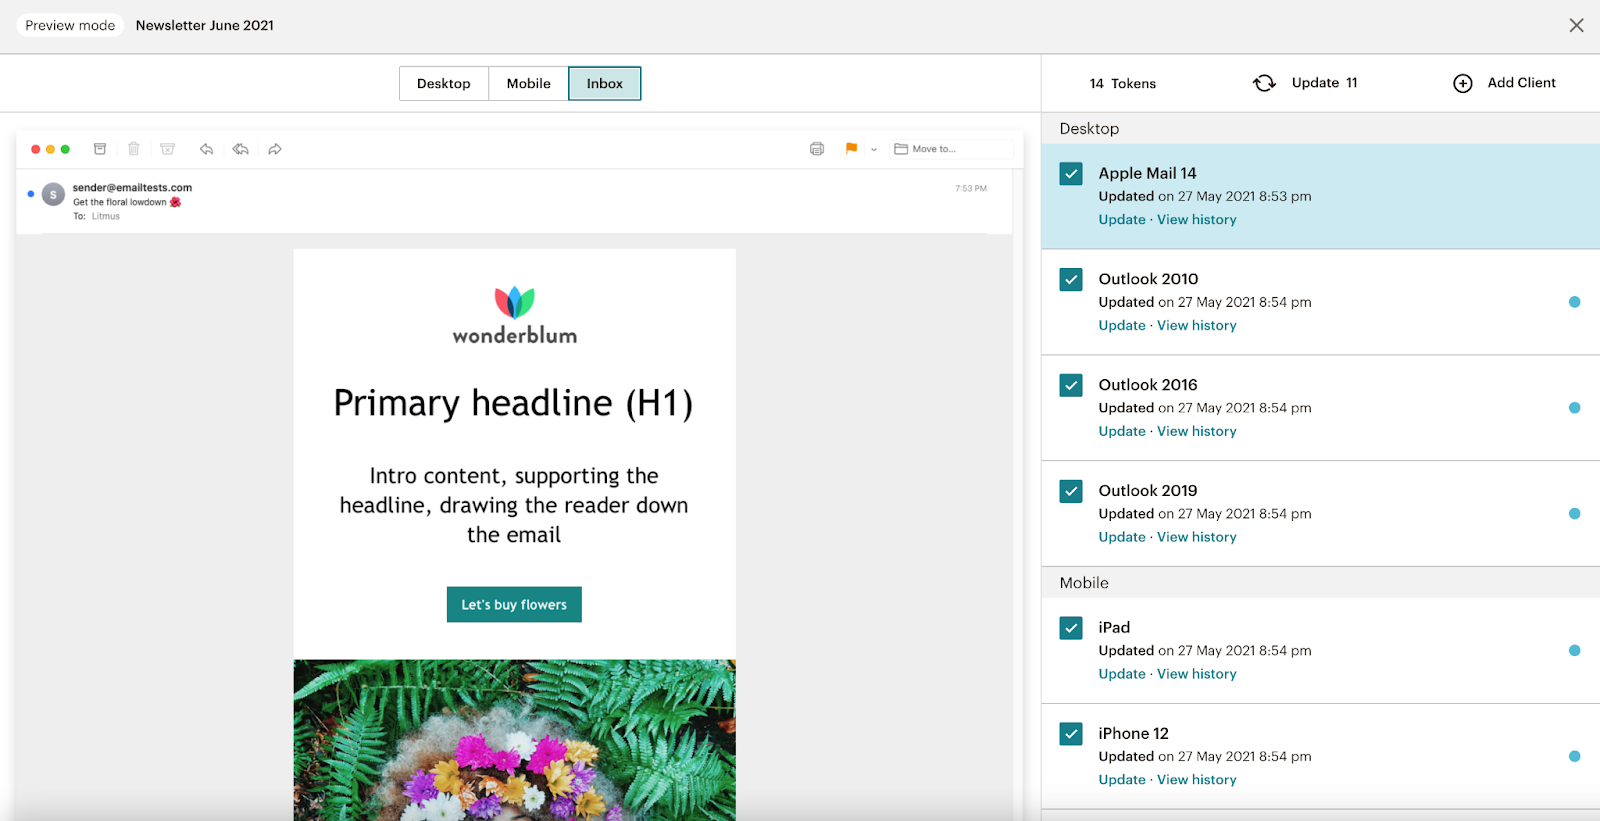
Litmus and Mailchimp also integrate in several ways to help you test your emails as thoroughly and efficiently as possible. Head to ‘Enter preview mode’ and select the ‘Inbox’ tab to run Litmus-powered email testing within Inbox Previews in Mailchimp. With a Litmus Plus or Enterprise plan, you gain access to additional testing and time-saving integrations, including the ability to test crucial pre-send elements as you build with the Litmus Extension in Chrome and sync emails between Litmus and Mailchimp.
Get ready-to-go custom templates
If you’re looking for editable Mailchimp templates that you can use right away, we’ve got your back.
Free Litmus-built Mailchimp template
To help get you started, we’ve created a Dark Mode-optimized, custom Mailchimp template. It has repeatable rows, a variable content block, and a Mailchimp-friendly button.
Download our Mailchimp template →
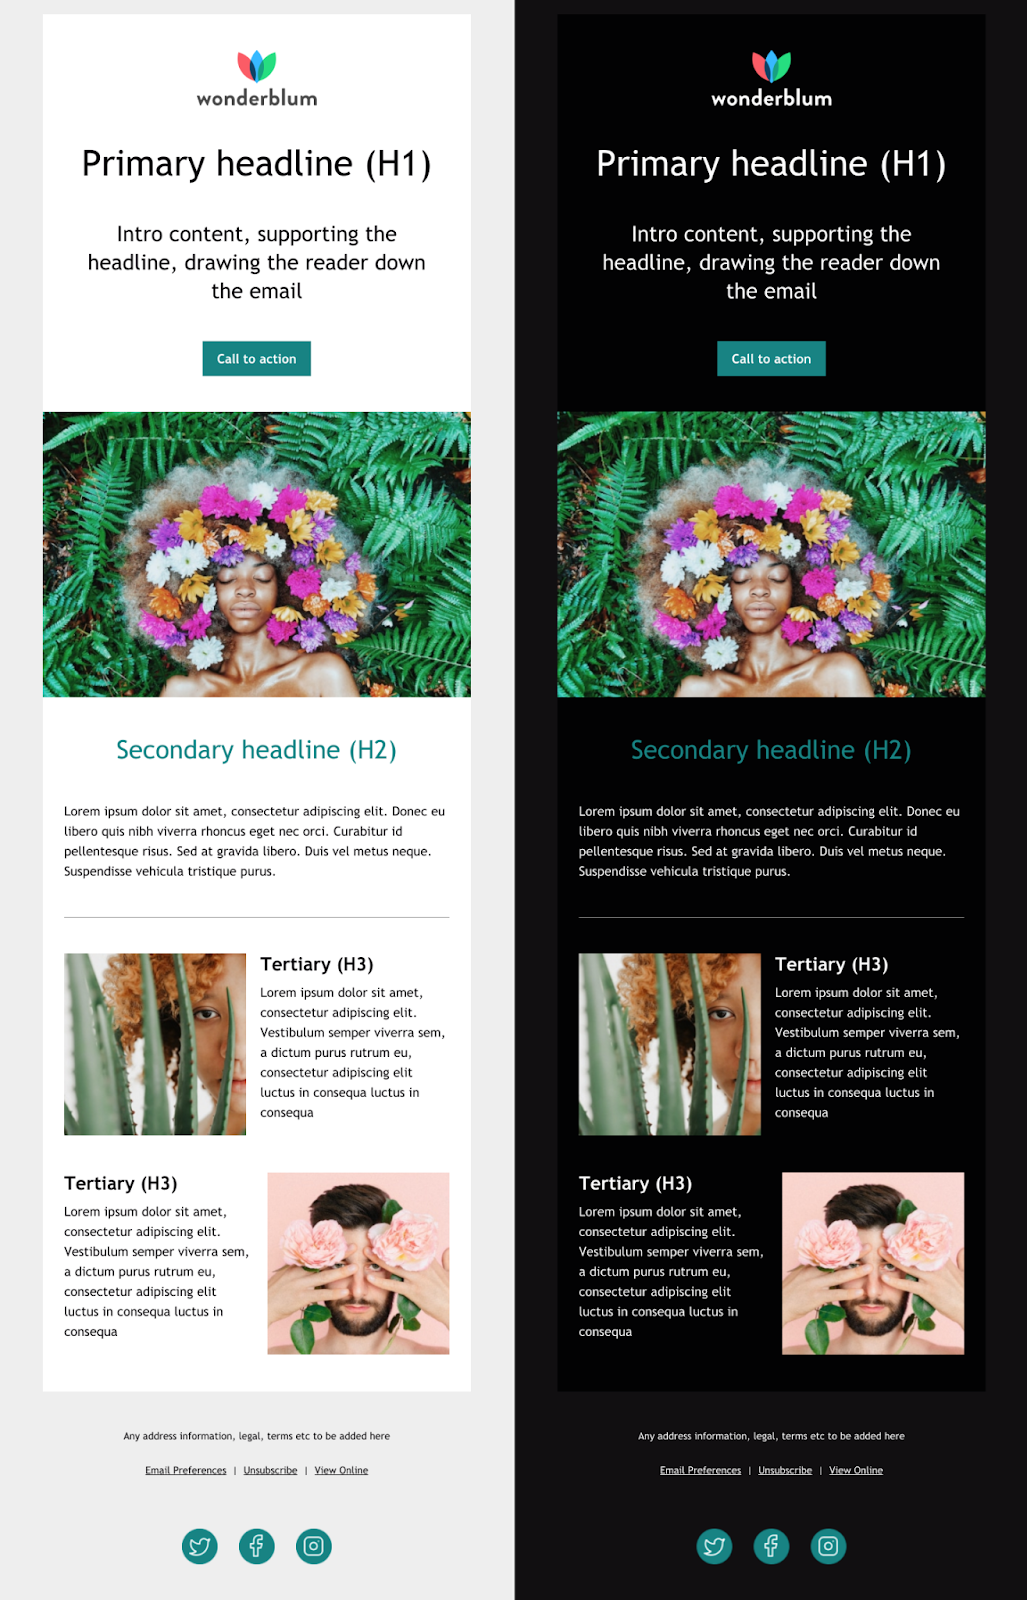
Grab your free Litmus-built Mailchimp template (.zip file). Then, dig into the code to see how we’ve applied Mailchimp’s template code to make a mini version of our free Subscriber Love email templates editable in Mailchimp.
Mailchimp partner-created email templates
For even more options, check out the Mailchimp Marketplace with beautiful email templates designed by Mailchimp Service Partners.
You can search email templates based on your marketing goal, whether it’s onboarding new subscribers or promoting a new product. Select and purchase the template that’s perfect for you, then start customizing it to match your brand. No installation or coding required.
Your perfect custom Mailchimp template is within reach
Whether you code your own editable template or customize someone else’s, you’re well on your way to a more efficient email building process—and one you can trust to create on-brand, error-free emails.
 | Make sure your Mailchimp template looks great Preview your emails in over 90+ email clients, apps, and devices with Litmus to ensure an on-brand, error-free subscriber experience. Every time. |
Lily Worth
Lily Worth was a Senior Email Designer at Litmus