Do you want to use an email course to fill your list with high-quality leads?
Free email courses make amazing lead magnets. They’re also an easy way for business owners and entrepreneurs to test demand for an online course, before you sink a lot of time and money into creating one.
In this article, we’ll show you how to create an email course lead magnet for your business.
What Is An Email Course?
An email course is a series of emails teaching a specific topic. Email courses are used to generate leads, so they usually teach a topic related to what you sell. These email lessons go out automatically over a set period of time. You set it up once and then your email course can run on autopilot.
Email courses can be used as lead magnet to encourage visitors to subscribe to your email list. You can also turn your email course into a paid digital product. This is useful if you’re testing whether there’s enough interest in a course topic before you create a full online course.
Why Email Courses Work For Lead Generation
Email courses are an effective lead generation strategy for growing your list. Email courses have several advantages over other types of lead magnets.
First, you get multiple points of contact with your new subscriber. Rather than downloading something once and forgetting about it, new leads get several emails from you over an extended period of time. This trains them to open your emails, which is exactly what you want!
Second, email courses are an effective way to build trust and authority. Because you show up in their inbox consistently with valuable content, your target audience will see you as reliable and knowledgeable in your field. Doing this can improve your conversion rates.
Finally, email courses are low risk. You likely already have an email service provider, so you don’t have to sign up and pay for a full course platform. Written email content is much easier to produce than a full video course, webinar, or fillable workbook. You can test out new course ideas at little to no additional cost.
Now that you know why email courses are awesome, let’s learn how to create one!
How to Create an Email Course Lead Magnet
There are 3 steps to creating an email course lead magnet:
Let’s get started.
Step 1: Write Your Course Content
First, you need to choose your course topic. Your email course should be related to your products or services, and it should help potential customers decide to buy from you.
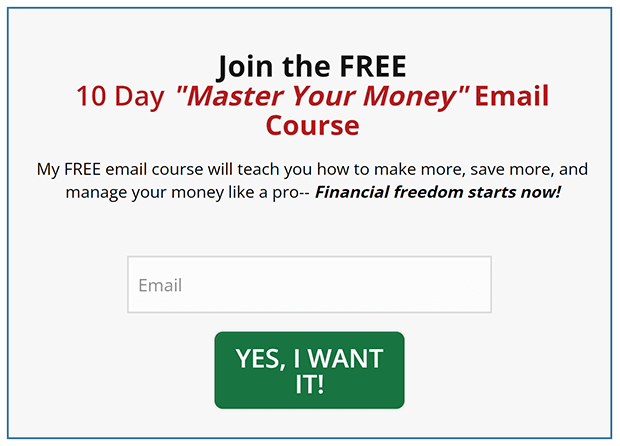
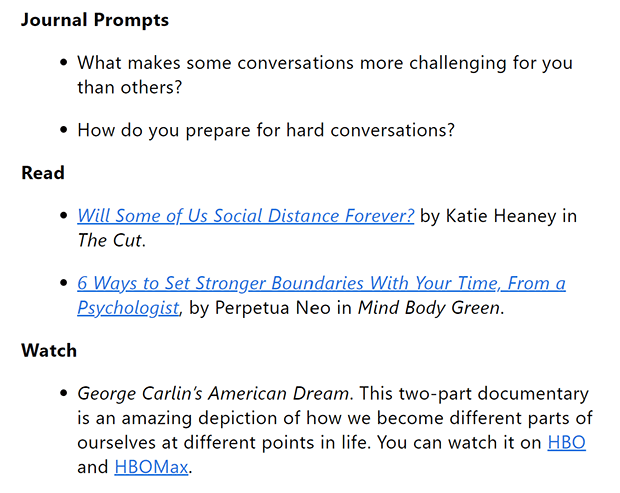
You might offer a preview or sample of one of your paid offers. For example, this free 10-day email course is a shorter, less detailed version of a paid 21-day money management course.
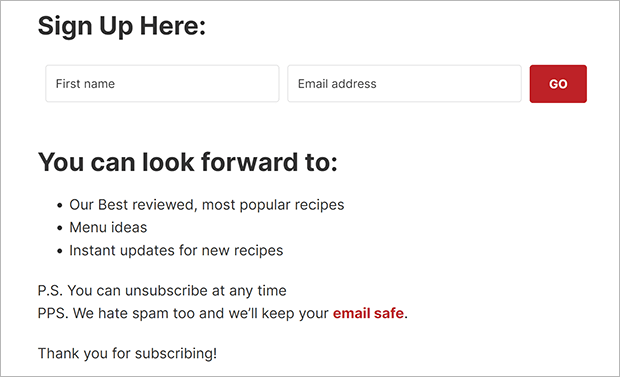
Another strategy is to show the customer that they need your product or service. For example, in this free 5-day cooking course, the blogger shares her top cooking tips as well as affiliate links to the tools she uses for those tips.
You can also choose a topic that uncovers the pain points of your target audience. This reminds them of a problem they want to solve but don’t know how. For example, if you were selling content marketing services to business owners, you could offer a free email course teaching them how to audit their content marketing. In doing so, they might realize they need your services.
Whatever topic you choose, make sure your email course content actually teaches something. You can’t just send an extended sales pitch. Save any selling for the last email of your course. You don’t need to put your entire sales pitch in the last email. Instead, add a link to your landing page for the most interested subscribers.
Writing Tips for Email Courses
When writing your email course content, start with the end in mind. What will readers be able to do by the time they finish the course? Similarly, you need to have a specific goal for each email as well.
Keep your emails short and actionable. You don’t need to share everything you know about the topic. You just need to help the reader get one “win.”
You can even reuse old blog posts for your email course. Just make sure there’s a clear action they can take after reading. This may not be a traditional digital marketing CTA (call to action) like clicking a link or purchasing something.
You might ask them to do something offline that moves them closer to their goal, like filling out a budget worksheet or responding to a journal prompt. So click-through rates may not be the best measure of engagement with your email course.
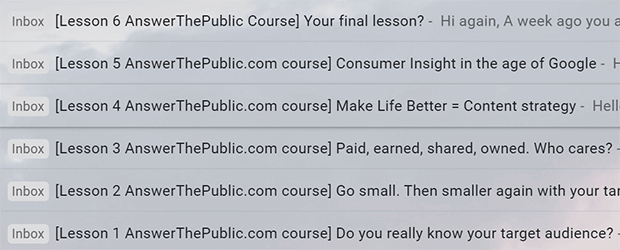
Like all email marketing, subject lines are important for convincing subscribers to open your emails. To improve your open rates, we recommend putting the lesson number and a preview of the lesson content in the subject line.
Once you have your content ready, it’s time to set up your email course.
Step 2: Set Up Your Email Course Automation
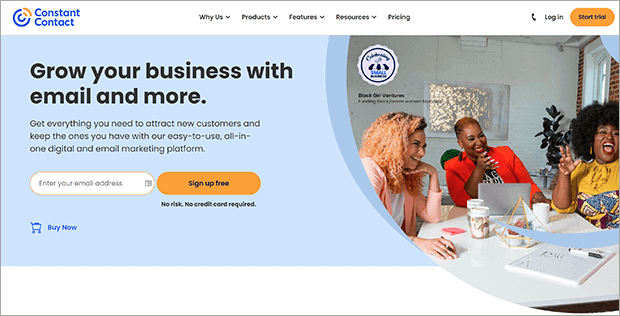
To send an automated email sequence, you need an email service provider (ESP). You may already have one, but if not, we recommend signing up for Constant Contact.
Constant Contact is a popular ESP you can use to build, schedule, and send automated email campaigns. It has an easy to use email editor and automation builder.
For this tutorial, we’ll show you how to set up your email course autoresponder using Constant Contact. You can always use other ESPs like ConvertKit or Drip.
Log into your Constant Contact account. Click on the Campaigns tab and then click the Create button.
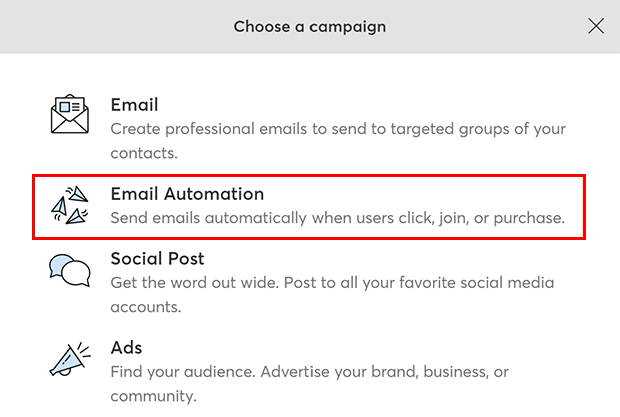
Choose Email Automation from the list of campaign types that pops up.
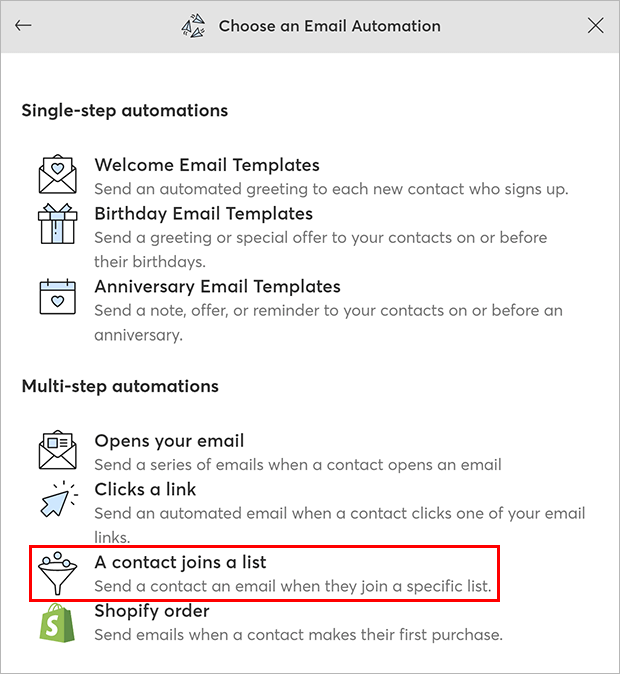
Under Multi-step automations, choose A contact joins a list.
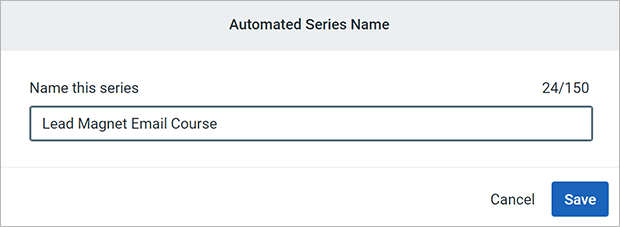
Give your automated series a name. This won’t be visible to subscribers, but make sure it’s something you’ll recognize and remember. Click Save to continue.
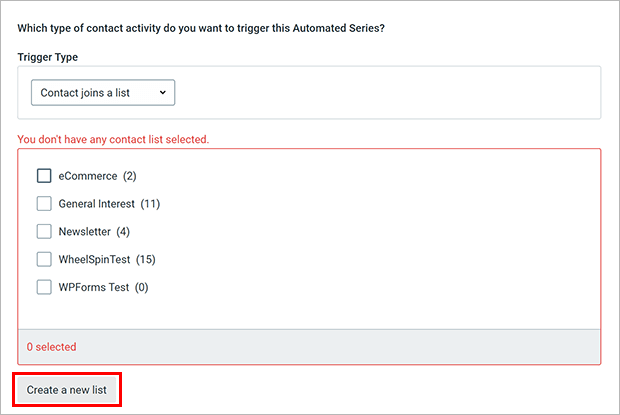
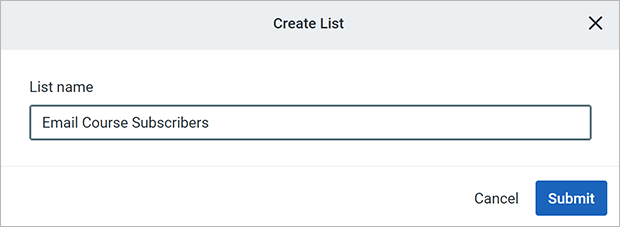
You’ll be asked to choose a contact list that triggers the email course. We recommend creating a new list specifically for this email course lead magnet. Click Create a new list.
Give your list a name and click Submit to continue.
Your new list will be selected in the Automated Campaign Settings window. You don’t need to add additional criteria at this point. Click Save when you’re ready.
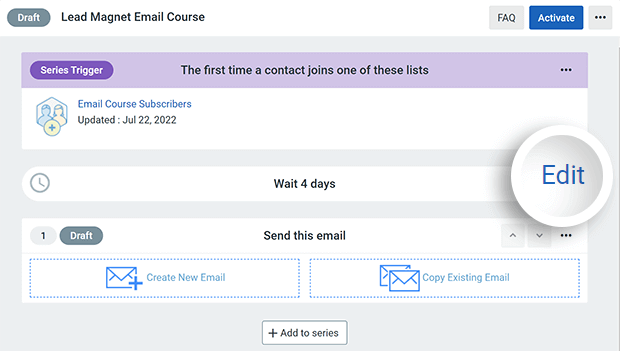
You’ll see the automation builder, which has some default content entered.
First, let’s make the welcome email sends immediately after signup. You want to deliver what you promised as soon as possible.
Click Edit on the wait step.
Select Send Immediately and click Confirm. This is just for the first email in the course!
Now, let’s create the first course email. Under the Send this email, click Create New Email.
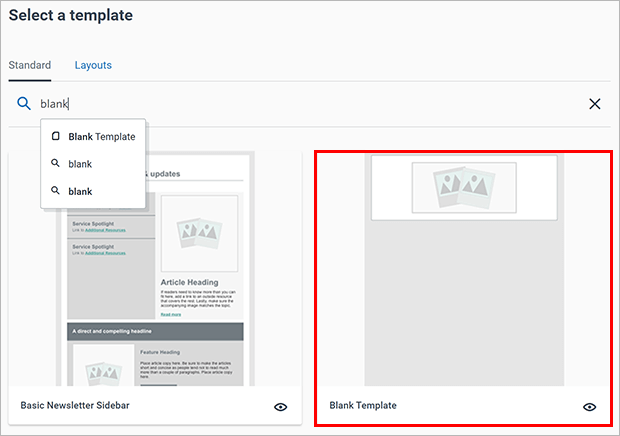
Constant Contact has tons of templates to choose from, but let’s keep it simple for your email course. Search for Blank Template and click to select.
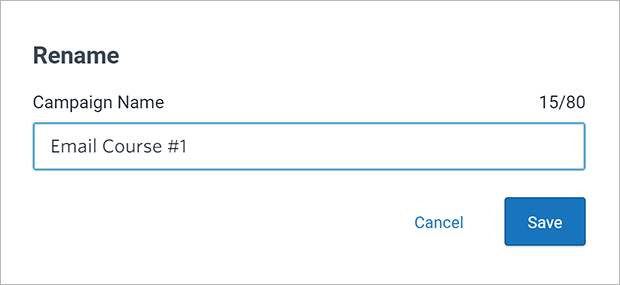
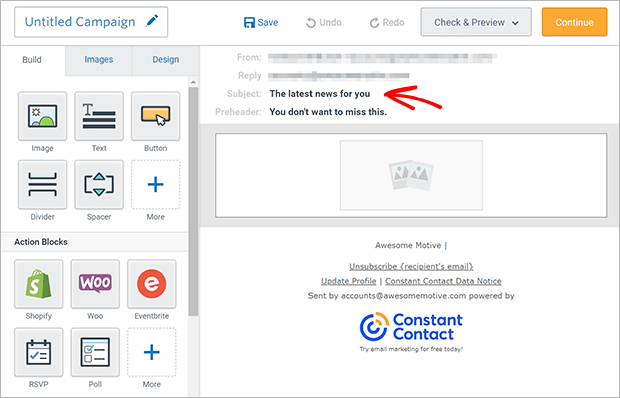
You’ll be taken to the campaign builder. Click on the Campaign Name in the top left to rename the campaign. This won’t be visible to your subscribers, but you’ll see it in the automation builder.
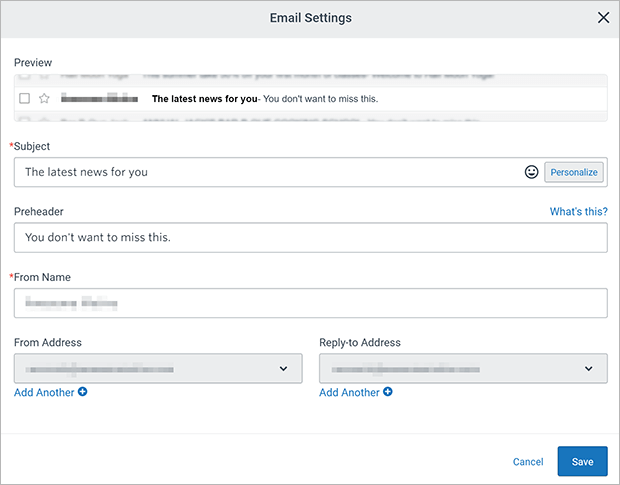
Click on the subject line to bring up the Email Settings.
Fill in your subject line and from name. You may also want to add a preheader, which shows up next to the subject line in the subscriber’s inbox. This is a good place to preview your email content.
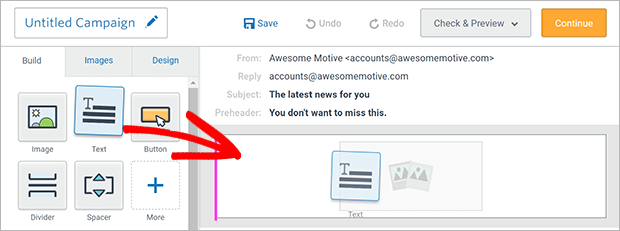
Next, drag a Text block into your email.
By default, the text block will include an image. You can add your logo or headshot, or delete the image if you don’t want to use one.
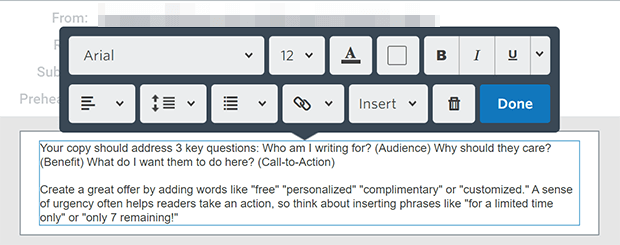
Click inside the text block to edit the text. Add your first course email content here and adjust any formatting as needed.
When you’ve finished creating your email, click Continue to go back to the automation builder.
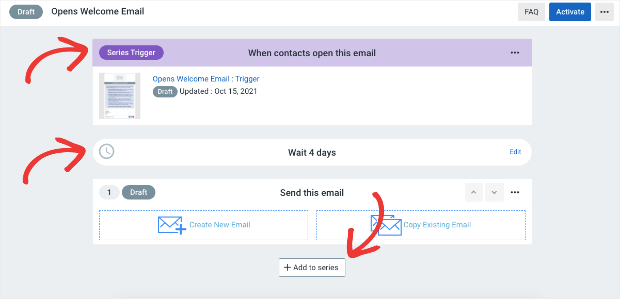
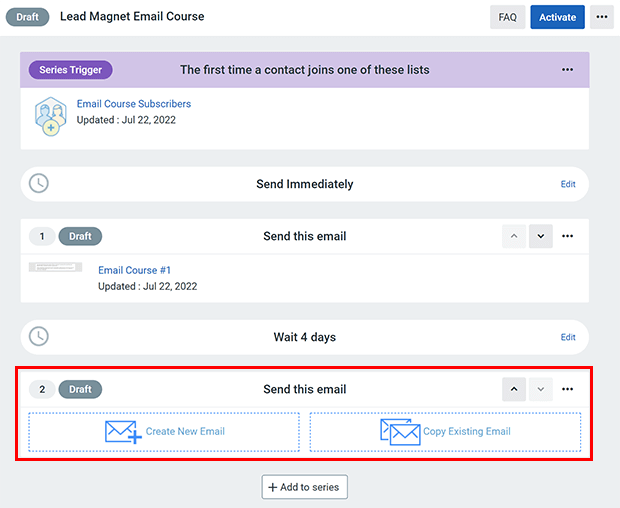
Now, let’s add the second course email. But we want to wait a few days to send the second email. Fortunately, Constant Contact automatically adds a wait step.
Click Add to Series. You’ll see a wait step and a new email placeholder.
You can edit the wait step and create a new email just like we did for the first email. We suggest keeping the pace of your email course fairly brisk, with just a few days between follow-up emails. You also want to be consistent with the wait time between emails.
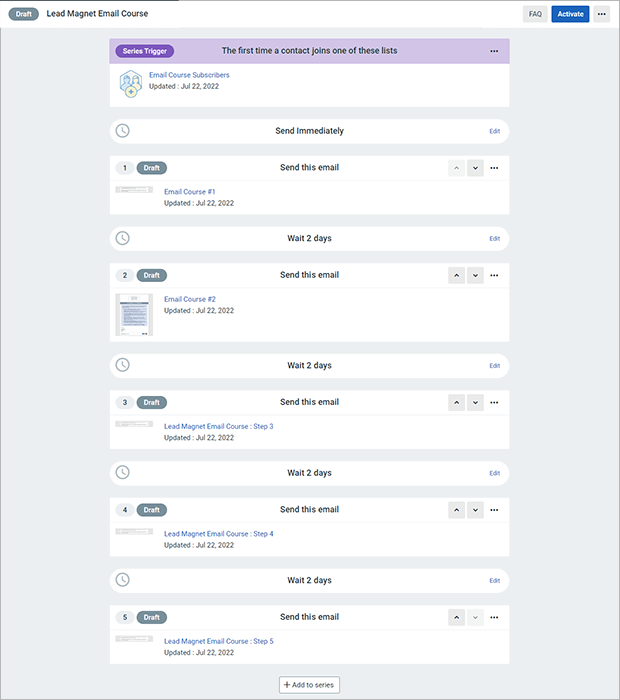
When you’ve added all the emails in your course, your automation might look something like this:
Look over all your content as well as the timing, then click Activate when you’re ready.
You can then move your email course subscribers into another part of your sales funnel.
Now that you’ve done all this hard work putting together your email course, let’s make sure your website visitors can see it and sign up!
Step 3: Promote Your Email Course
There are lots of different marketing strategies for online courses, whether it’s a paid course or a free lead magnet email course like this one.
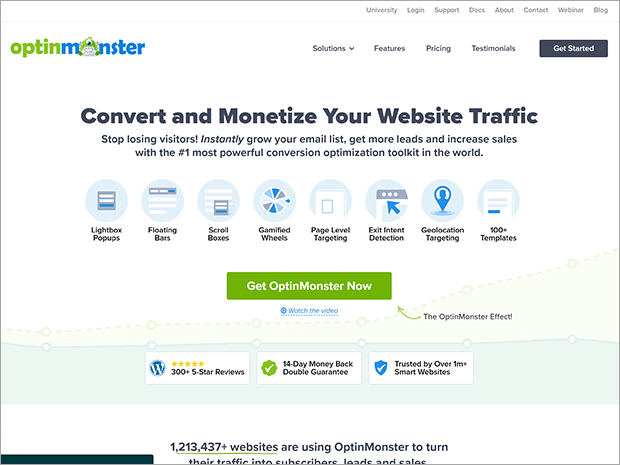
For a lead magnet email course, OptinMonster is the easiest way.
OptinMonster is the best list building tool to get new subscribers for your email course.
You can create all kinds of marketing campaigns to promote your email course. For example, you could make an unobtrusive floating bar that always reminds people that your email course is there.
You could also create email popups to attract your target audience and invite them to opt in.
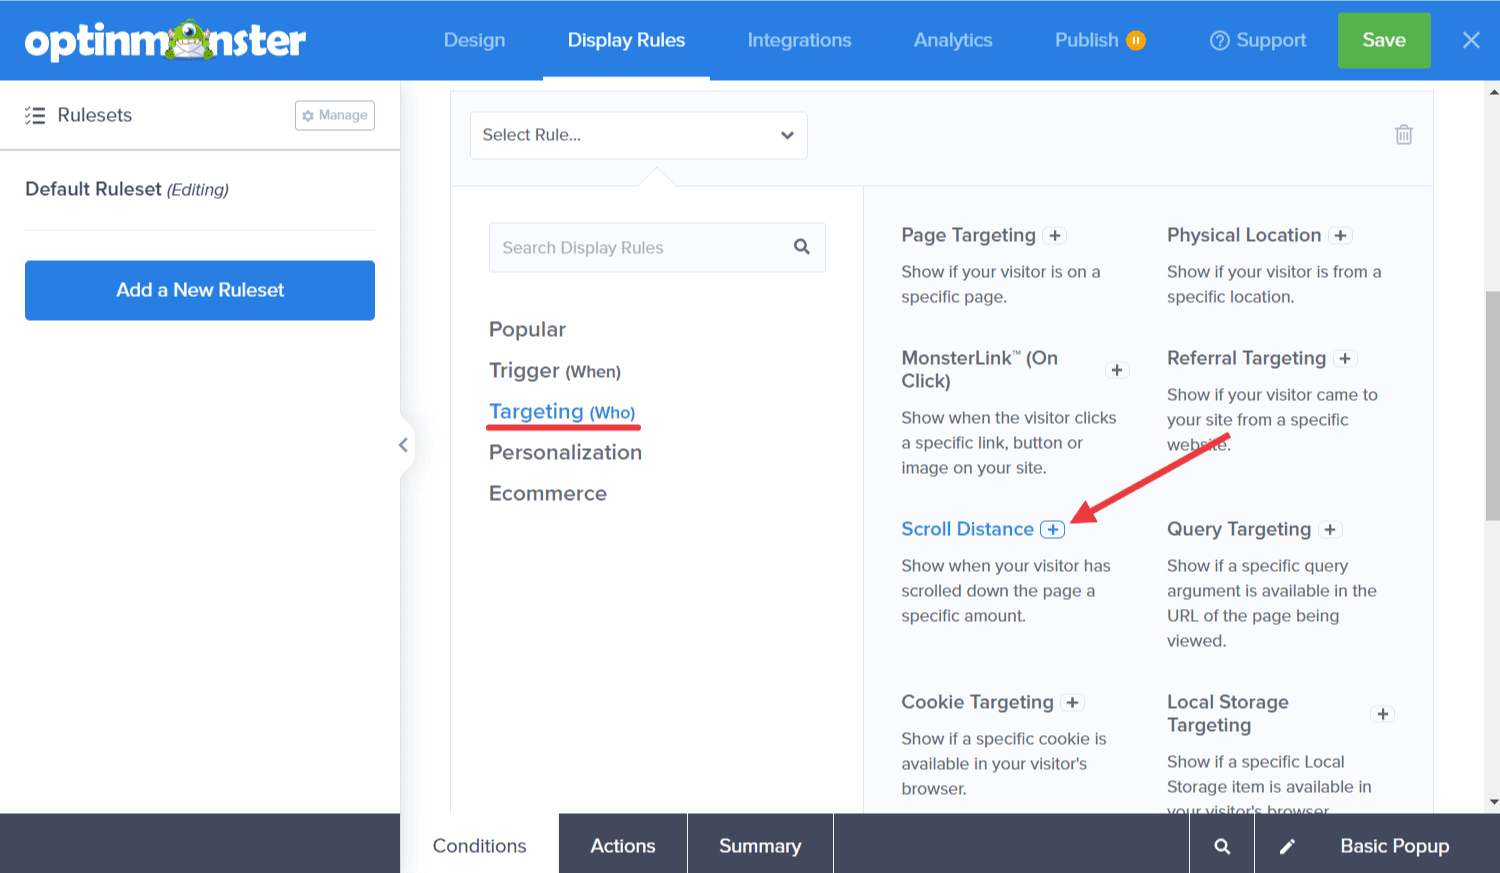
OptinMonster makes it easy to set precise display rules. So you can promote your free email course to readers of specific blog posts or categories, especially those who have scrolled far down the page or spent a lot of time on site. These are your most engaged visitors who are most likely to convert on your email course offer.
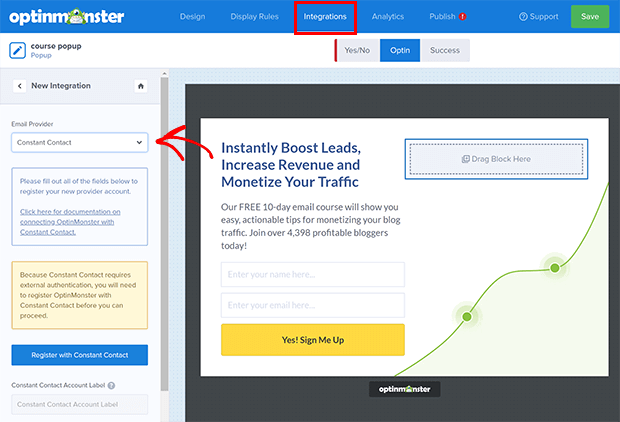
OptinMonster integrates directly with Constant Contact, so it’s simple to connect your OptinMonster campaigns with the email course you just created. From the OptinMonster builder, click on Integrations, then Add New Integration. Find Constant Contact from the dropdown menu and follow the provided instructions.
There you have it! Now you know how to create an email course that grows your list with qualified leads.
If you liked this article, check out other ways to generate leads from your website.
Don’t delay any longer! Start building your list today with OptinMonster.
If you like this article, please follow us on Facebook and Twitter for more free articles.
Disclosure: Our content is reader-supported. This means if you click on some of our links, then we may earn a commission. We only recommend products that we believe will add value to our readers.
