
In the fast-paced world of digital marketing, understanding and harnessing the power of data is essential for driving success. We recognize the importance of leveraging data to make informed decisions and optimize online strategies. That’s why we’ve created this comprehensive guide, “How to Set Up Google Analytics 4: A To-Do List,” to help you navigate the setup process and unlock the full potential of this powerful analytics tool.
Google Analytics 4 (GA4) is the latest version of Google’s web analytics platform, offering advanced features and deeper insights into user behaviour across digital channels. As a leading digital marketing agency, we understand that a solid foundation in GA4 is crucial for tracking key metrics, measuring conversions, and gaining valuable insights about your audience.
So, whether you’re a business owner, marketer, or analyst, we invite you to explore our guide and take your data analysis skills to the next level.
What is the post covering?
We will walk you through the process of creating a new Google Analytics account and GA4 property, as well as adding the GA4 tracking code to your website using Google Tag Manager or without using it.
Part 1: Creating a New Google Analytics Account and GA4 Property
Setting up a new Google Analytics account and GA4 property is the first step towards gaining valuable insights into your website’s performance. We’ll guide you through the process of creating an account, setting up a property, and obtaining the necessary tracking ID for GA4.
Part 2: Adding GA4 Tracking Code to Website Using Google Tag Manager
Google Tag Manager (GTM) simplifies the process of managing various tracking codes on your website. We’ll show you how to set up GTM, create a GA4 configuration tag, and deploy the GA4 tracking code on your website using GTM. This method offers flexibility and ease of implementation, especially if you have multiple tracking codes to manage.
Part 3: Adding GA4 Tracking Code to Website without Using Google Tag Manager
If you prefer not to use Google Tag Manager, don’t worry! We’ve got you covered. We’ll provide you with step-by-step instructions on how to manually add the GA4 tracking code directly to your website’s HTML. This method is straightforward and allows you to have direct control over the implementation process.
You can always contact us if you have any questions, we will be glad to help.
Part 1: Creating a New Google Analytics Account and GA4 Property
1. Log in and Access Google Analytics
To get started, log in to your Google account and navigate to the Google Analytics platform, where you will set up your GA4 property.
2. Click “Start Measuring”
Upon accessing Google Analytics, click on the “Start Measuring” button to begin the setup process.

3. Provide Account Details
Enter the name of your account, typically your company name, and click “Next” to proceed.

4. Set Property Name, Time Zone, and Currency
Specify a name for your GA4 property and choose the reporting time zone and currency that best align with your requirements.

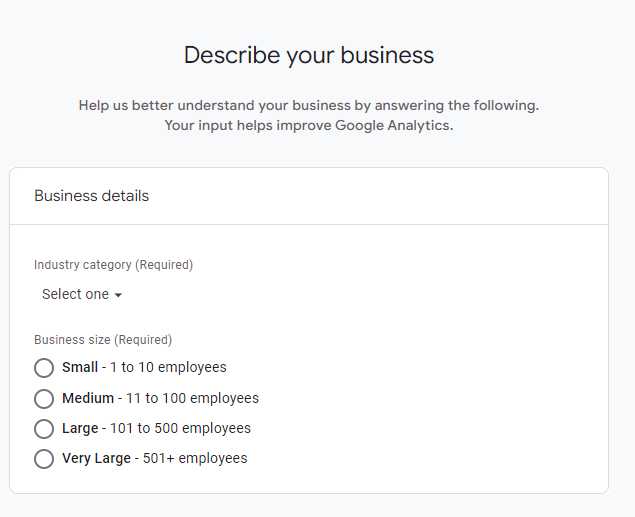
5. Describe Your Business
Provide details to “Describe Your Business” by selecting the option relevant to your business, such as Industry Category and business size.
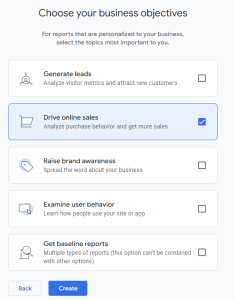
6. Choose Your Business Objectives
In the next screen, you’ll be asked to choose your business objectives. Select the ones that align with your goals. This will help Google Analytics to provide personalized insights and recommendations.

7. Finalizing the Setup
Click “Create” to finalize the setup.
You will be redirected to the “Web Stream Details” screen, where you can find your Measurement ID in the top right corner.
Part 2: Adding GA4 Tracking Code to Website Using Google Tag Manager
1. Log in to Google Tag Manager
Start by logging in to your Google account and accessing Google Tag Manager.
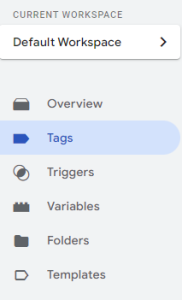
2. Create a New Tag
Click on “Tags” and then “New” on the top right section in Google Tag Manager. This will allow you to create a new tag that will contain the GA4 tracking code.
3. Select “Tag Configuration”
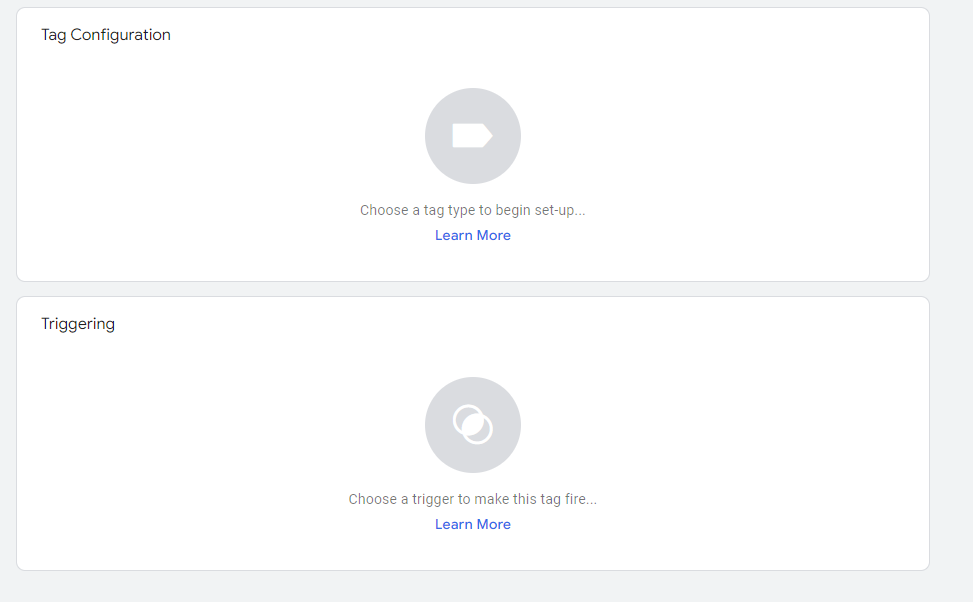
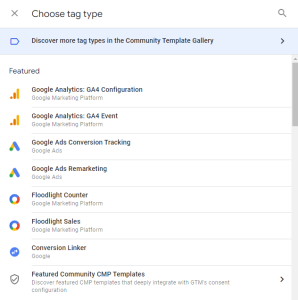
4. Select “Google Analytics: GA4 Configuration”
Select “Google Analytics: GA4 Configuration” from the “Choose Tag Type” window.
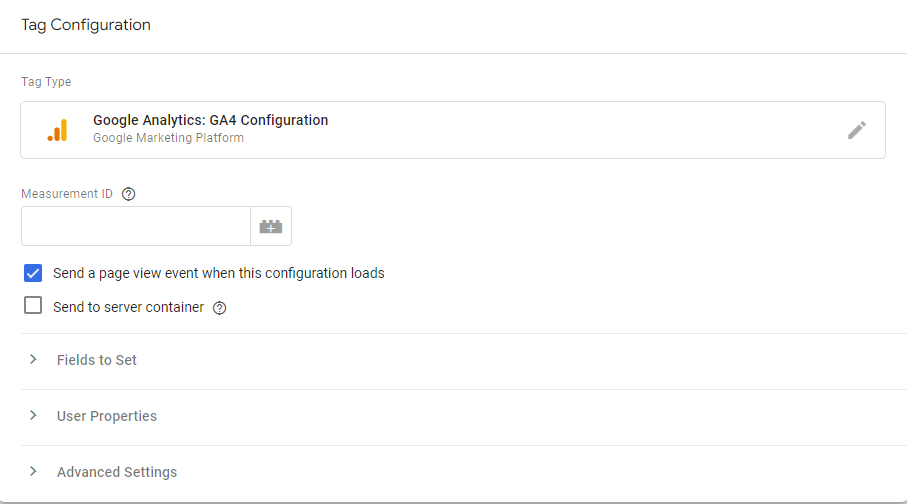
5. Enter Your GA4 Measurement ID
Enter your GA4 Measurement ID, which can be found in your Google Analytics account, into the designated field. This ID uniquely identifies your GA4 property and ensures that the data collected is associated with the correct account.
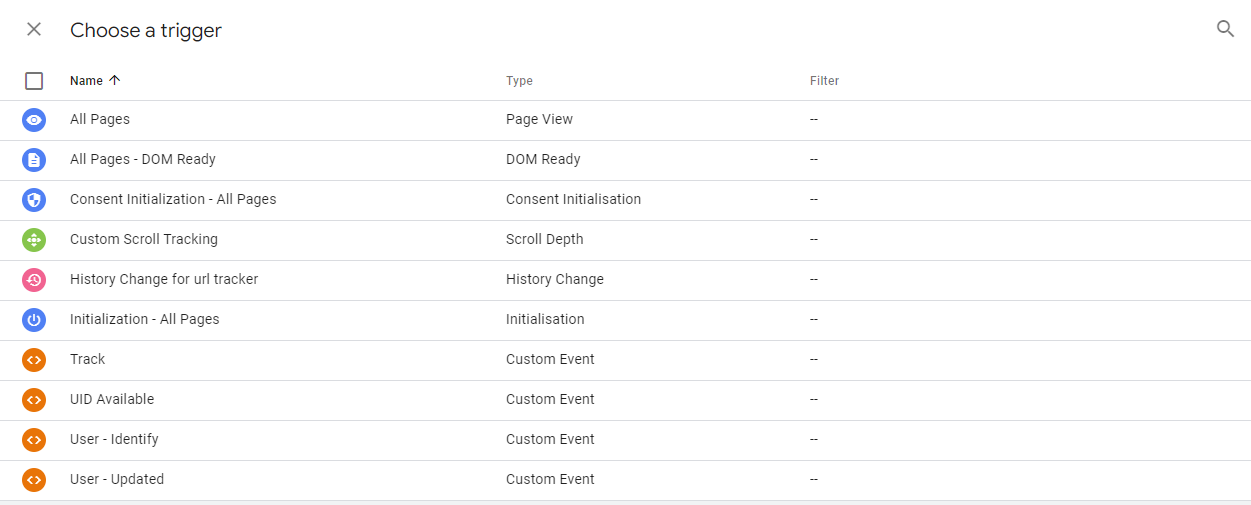
6. Click the “Triggering” option.

7. Configure the Trigger
Next, click on the “Triggering” option. Select “All Pages” from the “Choose a trigger” window to ensure that the GA4 tracking code is triggered on every page of your website. This allows you to collect comprehensive data on user behaviour across your entire site.
8. Rename the Tag
It’s a good practice to give your tag a descriptive name to easily identify it within Google Tag Manager. Rename the tag from the default “Untitled Tag” to something like “GA4 Configuration Tag” or a name that makes sense to you.


Part 3: Adding GA4 Tracking Code to Website without Using Google Tag Manager
1. Click the “Admin” option
In Google Analytics, locate and click the “Admin” option, usually located in the bottom left corner of the screen. This will take you to the administration settings of your Google Analytics account.

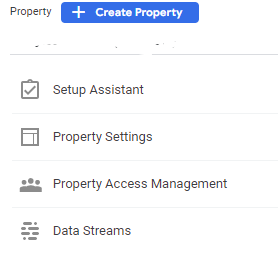
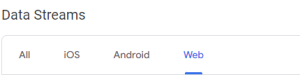
2. Access Data Streams
Within the Admin section, click on the “Data Streams” option. From the dropdown menu, select the “Web” option, as we’re adding the tracking code to a website.
3. Select the Relevant Data Stream
You’ll see a list of your data streams. Click on the stream that corresponds to the website where you want to add the tracking code.
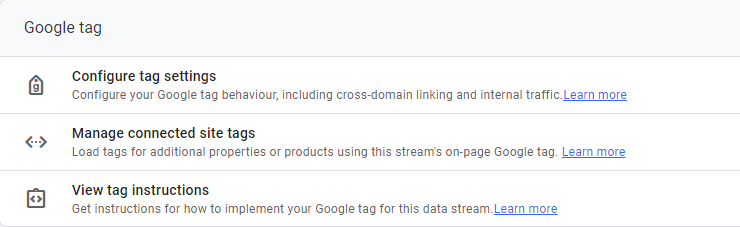
4. Navigate to View Tag Instructions
You’ll be taken to a screen with details about your data stream. Here, you’ll find a section titled “View Tag Instructions”. Click on “Add new on-page tag”.
5. Obtain the Global Site Tag (gtag.js)
You will now be presented with the Global Site Tag (gtag.js) code snippet, which includes your unique GA4 measurement ID. This code is what you need to add to your website to enable GA4 tracking.
6. Copy the Global Site Tag
Copy the Global Site Tag Copy the entire Global Site Tag (gtag.js) code snippet provided in the instructions. This code contains your GA4 measurement ID and is essential for tracking data accurately.
7. Paste the Code on Your Website
Paste the Global Site Tag (gtag.js) code snippet into the <head> section of every webpage where you want to enable GA4 tracking. If your website has a global header or footer, you can place the code there for it to appear on every page.
8. Save and Publish Your Website
After pasting the GA4 tracking code, save the changes to your website’s HTML. If you are using a content management system (CMS), ensure that you publish your website to make the changes live.
DISCLAIMER!
We recommend sticking to “Part 2: Adding GA4 Tracking Code to Website Using Google Tag Manager” as events are transmitted through Google Tag Manager, making it more practical and beneficial for most users.
Do you find it easier to speak to a professional? Google Analytics is one of our expertise and we’ll happily help you set up GA4! Get in touch by emailing us at hello@goodish.agency or take a look at our page on Business Intelligence and Analytics!