Marketers who rely on webinars as part of their lead generation strategy know how important nurture campaigns and follow-ups are to creating a sound prospect relationship. When a highly engaged prospect invests time in you by attending or watching a webinar, getting their fully-permissioned data in your CRM as quickly as possible could mean the difference between a sale and a lost opportunity.
Why? Because speed enables B2B marketers like you to accelerate and optimize follow-ups and, ultimately, improve conversion. This is where marketing automation comes in.
For our customers utilizing the NetLine network to promote their GoToWebinar events for lead generation, real-time lead fulfillment makes it faster and easier to nurture webinar leads.
Connecting GoToWebinar to the NetLine Portal
The NetLine Portal can connect to GoToWebinar in a few simple steps, providing immediate fulfillment that enables rapid analysis of leads and fast turnaround into a lead nurture or follow-up path.
Check out the PDF, watch the video, or skim for the highlights below.
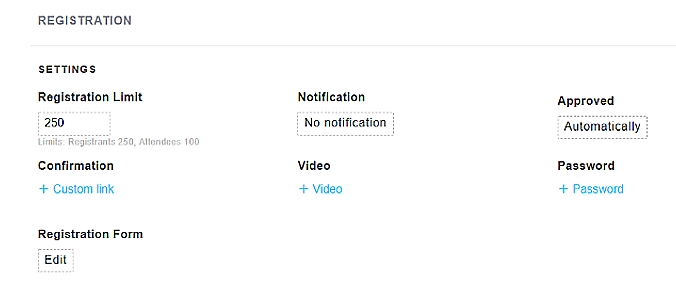
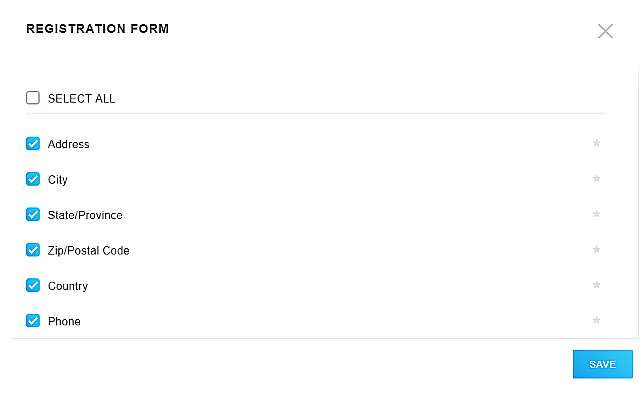
1. Create and configure a form in GoToWebinar

Use the Schedule feature to set up the date and time of your webinar and click schedule when finished. In the Registration section, click “edit” underneath Registration Form and check off the boxes of fields you want on your form.
 ⇓
⇓
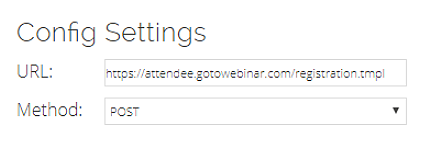
2. Enter the POST URL in the Portal
The standard POST URL for GoToWebinar is: https://attendee.gotowebinar.com/registration.tmpl
3. Edit the Standard Fields section
In the Portal, edit each field so that it only displays the fields that are on your GoToWebinar form. This section includes the standard information we collect on leads, such as: First Name, Last Name, Email, Company, Title, Address, Phone, etc.
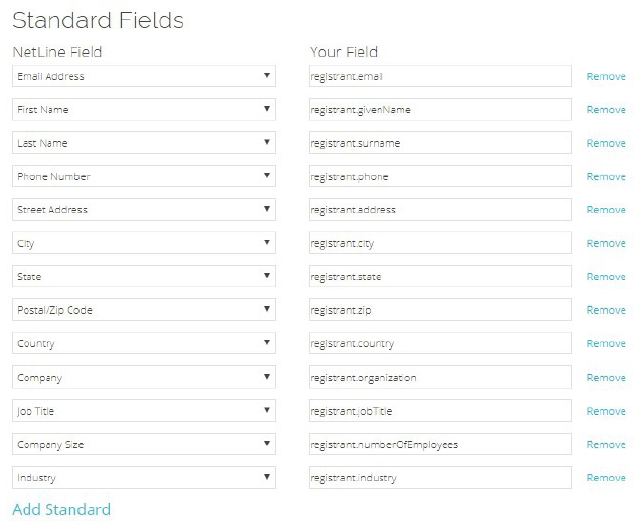
If any of your fields have picklists, you will need to set up mapping to those picklists in step 6 of the Portal (“Mapping”) before testing the connector
4. Configure Custom Questions
This section includes any custom questions that are part of your campaign and any offer names for your content. These will only be sent through if they are on the GoToWebinar form.
GoToWebinar assigns a custom value for each custom question, like the example below:

If you can’t locate your custom question values, contact portal-support@netline.com.
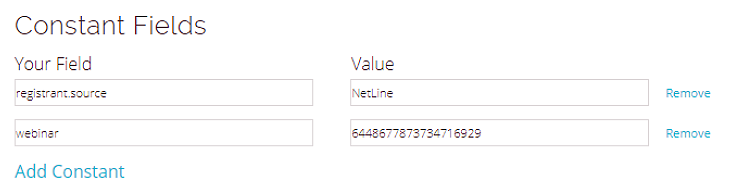
5. Set up Constant Fields
Constant fields consist of any hidden fields that may be on your form or fields that have not been added in the two previous sections. To add, use your registration link and a source (if applicable):
6. Test your connections and voila, you’re done!
Once all of the settings are configured, click Submit to close out of the setup process. From the Portal, click Send Tests. Check GoToWebinar to verify that the test contacts were sent through properly; in the Portal, toggle Enable Connector to “Yes” and Release Connector to “Yes”.
Click Next to advance to the next step and save the connector.
You can complete this process without needing to submit your campaign, so if you need to come back, everything will be connected and ready to GO.

*Professional driver on a closed course…we think. Either way, don’t do that.
Want to get started with your own NetLine Portal account? Create your free account to see how it works and start generating leads with content.