JavaScript for Optimizers: Working With Input Fields

Want to test more than just the color of a button? Then, you need to learn JavaScript. I started a series covering practical step-by-step ways you can use JavaScript to set up winning experiments on your website.
Each article in the series covers a different method of JavaScript, illustrated by applying best practices to websites as hypothetical cases.
Business Case: Optimize Input Fields to Improve UX
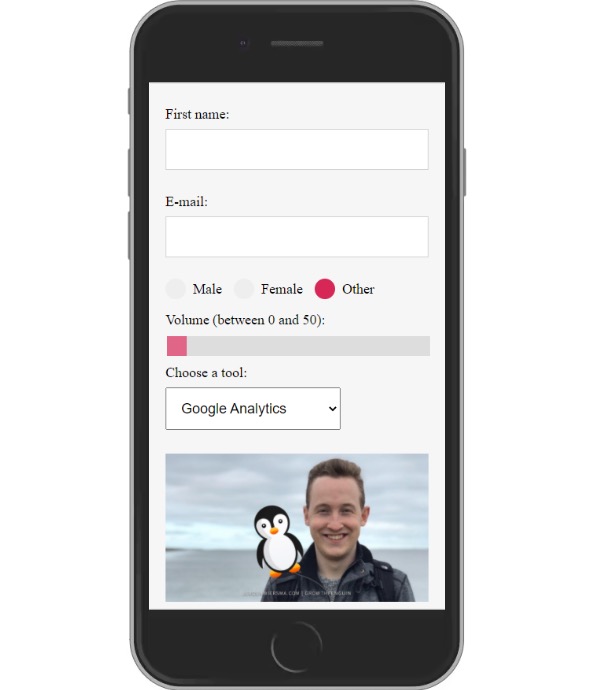
Our hypothetical case for this chapter is about working with input fields to improve user experience.
Research has shown that users tend to find opt-in forms frustrating. To mitigate the impact, we identify specific input fields we want to change.
In this hypothetical scenario, we arrive at the following hypothesis:
Because we saw that our customers find the opt-in form very frustrating, we expect that changing them will cause an increase in conversions. We’ll measure this using the opt-in rate metric.
Streamline your hypothesis generation using Convert’s free hypothesis generator tool or learn more about building a hypothesis.
To test this hypothesis, we’re going to apply the changes below:
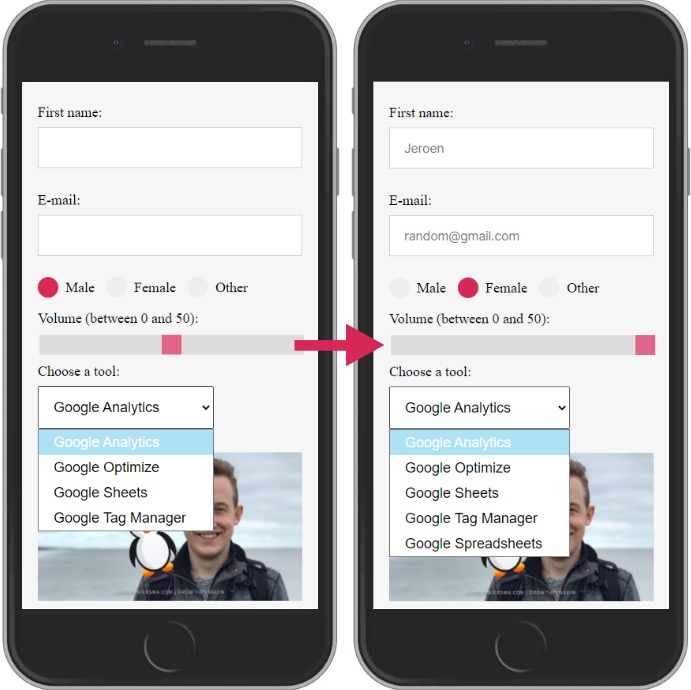
The Code Used in the Experiment
Now for the fun part!
To execute the change, we run the following JavaScript code on the testing page. Try it out for yourself to see it in action!
var testForm = document.querySelector(".testForm");
var firstNameInput = testForm.childNodes[3];
var emailInput = testForm.childNodes[8];
var maleRadio = document.getElementById("male");
var femaleRadio = document.getElementById("female");
var rangeSlider = document.getElementsByClassName("slider");
var googleSelector = document.getElementById("google");
function addPlaceholder(inputField, placeHolderText) {
inputField.setAttribute("placeholder", placeHolderText);
}
addPlaceholder(firstNameInput, "Jeroen");
addPlaceholder(emailInput, "random@gmail.com");
function changeRadioSelection(oldButton, newButton) {
oldButton.removeAttribute("checked");
newButton.setAttribute("checked", "checked");
}
changeRadioSelection(maleRadio, femaleRadio);
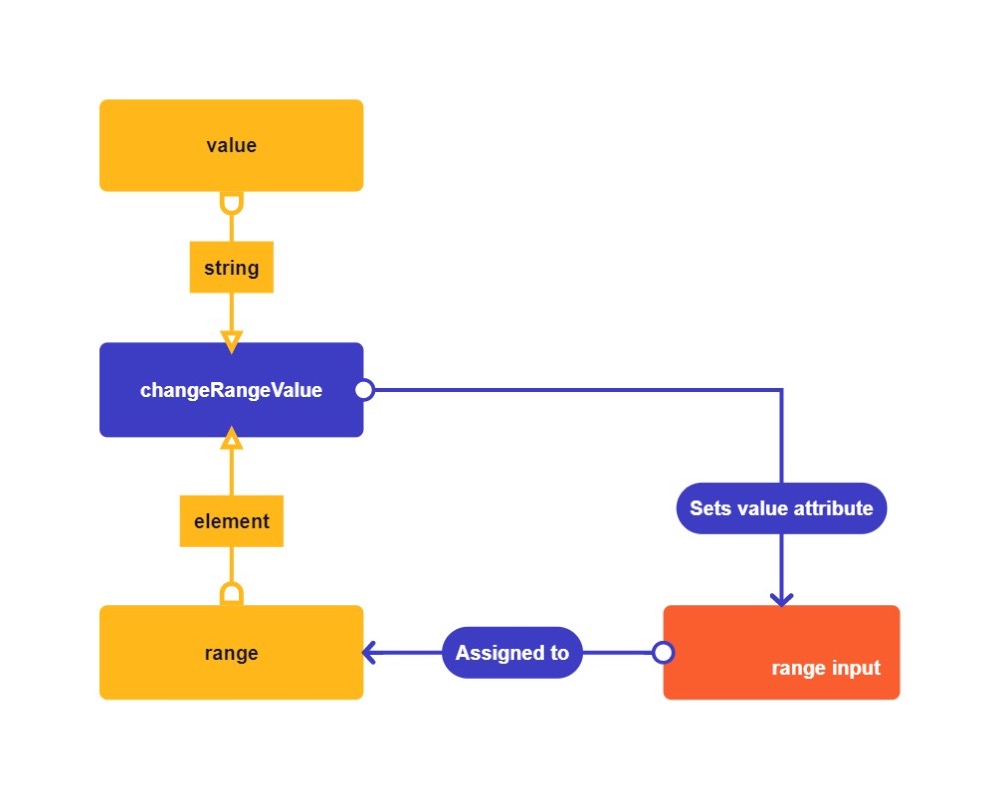
function changeRangeValue(range, value) {
range[0].setAttribute("value", value);
}
changeRangeValue(rangeSlider, "50");
function addExtraSelectOption(selectDiv, optionName, optionValue) {
var newOption = document.createElement("OPTION");
var newOptionNode = document.createTextNode(optionName);
newOption.appendChild(newOptionNode);
newOption.setAttribute("value", optionValue);
selectDiv.appendChild(newOption);
}
addExtraSelectOption(googleSelector, "Google Spreadsheets", "gs");
Breakdown of the Code
1. New Syntax
The breakdown starts by going over all the new syntax in the example above. Since this article is part of a series, make sure you check the complete documentation of the syntax in the previous articles.
.childNodes[index] is a property that returns an array of child nodes. You can access the specific nodes in the array with an index. Node elements in an array start at the number zero. Accessing the first node in the array will require you to put a 0 between the brackets.
You can use this property instead of a CSS selector to select child nodes. An added benefit of using this property is selecting text nodes.
Here is an example:
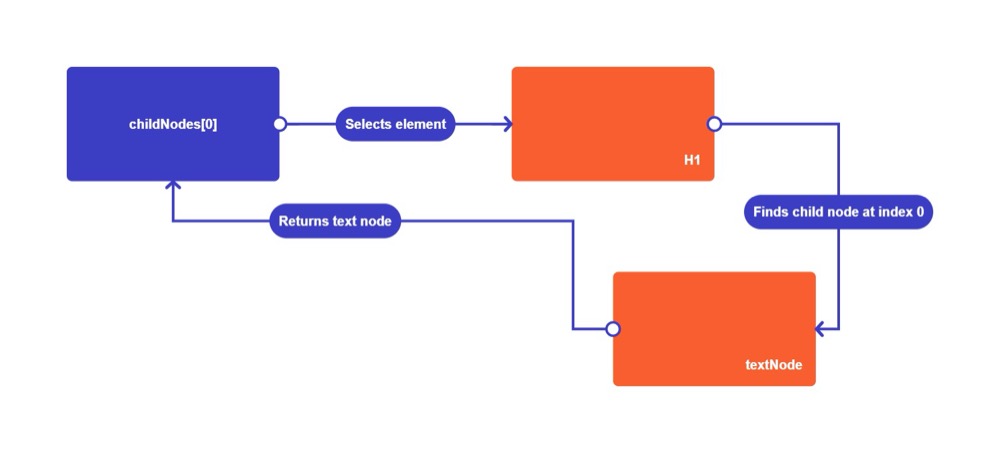
ChildNodes[0] selects the H1 element and collects its children in an array. It returns the following array:
[childNode, childNode2, childNode3]
The only child in the H1 is the text itself. The text of the H1 is at index 0. The text node gets returned by the property.
document.getElementById(id) is a method that returns an element that has a matching id attribute. You need to pass down the id as a string. This example is the simple version of the querySelector method. You can use this method for a single id.
You might ask yourself why this exists if you have the querySelector method. This method exists because the creator of JavaScript added the getElementById method in an earlier version of JavaScript. The creators added the querySelector method later to make it easier to select elements.
While most browsers support the querySelector method, it can help to check if most browsers support them.
Unsupported code can break a website on an older browser. An excellent website to check JavaScript methods is caniuse.com.

document.getElementsByClassName(class) is a method that returns all elements with a specific class within the whole document. You need to pass down the class as a string. It returns the elements in an array.
You can also replace document with another element, so it only looks at the selection’s child elements. This method can be really helpful because it is more efficient. If you use the document object as the selection, it needs to check the entire document.
Just like the childNodes method, it will return an array with a single match.
.removeAttribute(attribute) is a method that removes an attribute from an element. You will remove the values attached to the attribute.
When the element doesn’t have the attribute, it will execute the method without an error. You need to pass down the attribute as a string.
2. Logic
var testForm = document.querySelector(".testForm");
In this line of code, we assign the form to the testForm variable. We do this by selecting the testForm class with the querySelector method.

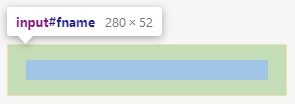
var firstNameInput = testForm.childNodes[3];
Then, we assign the first name input field to the firstNameInput variable. We do this by selecting the fourth child node with the childNodes selector. Notice how the third index is the fourth position.
var emailInput = testForm.childNodes[8];
Here, we assign the mail input field to the emailInput variable. The input field is the 9th node of the testForm variable.

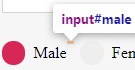
var maleRadio = document.getElementById("male");
In this line, we assign the radio button with the value male. We use the getElementById method to select it by id simply.
var femaleRadio = document.getElementById("female");
Then we assign the radio button with the value female to the femaleRadio variable with the getElementById method.
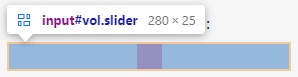
var rangeSlider = document.getElementsByClassName("slider");
Here, we assign an array of elements with the slider class to the rangeSlider variable. I used this method as an example, but it would be easier to just use a querySelector method.
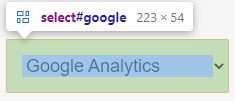
var googleSelector = document.getElementById("google");
We finish up our variables by assigning the select input field with the class google to our googleSelector variable.
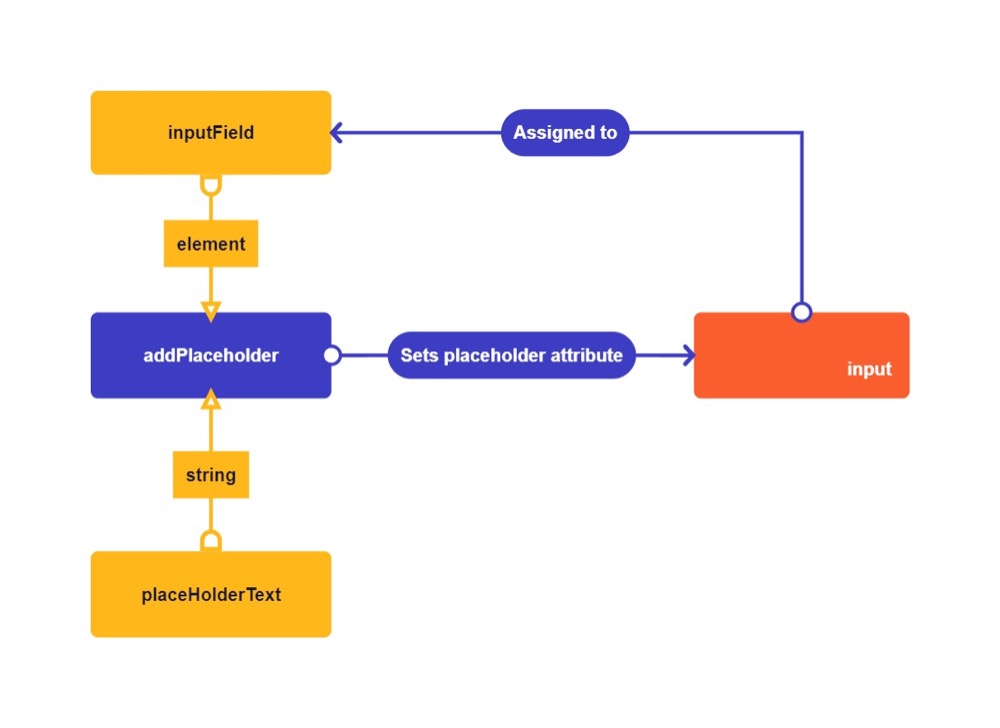
function addPlaceholder(inputField, placeHolderText) {
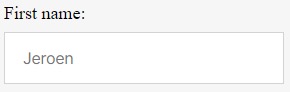
This function adds a placeholder text to a text input field. You can pass down the input field as the first argument and the placeholder text as a string in the second argument.
inputField.setAttribute("placeholder", placeHolderText);
You display a placeholder text by adding the placeholder attribute to the input text field. We can add this attribute and value with the setAttribute method.
}
The curly bracket closes our first function.
addPlaceholder(firstNameInput, "Jeroen");
We call the function the first time to add an example name as a placeholder to the firstname input field.
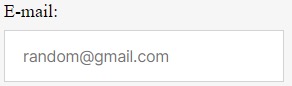
addPlaceholder(emailInput, "random@gmail.com");
We call the function for a second time to add an example mail address to the e-mail input field.
Functions can be handy for bundling code and making it understandable to other developers. If you had a keen eye, you might have noticed that we could have skipped the function altogether by just using these two lines of code:
firstNameInput.setAttribute("placeholder", "Jeroen");
emailInput.setAttribute("placeholder", "random@gmail.com");
It’s important as a programmer to notice when you need to make a function and just use a simple line. This example could have saved me three lines of code. Less code is usually better for load speed.
function changeRadioSelection(oldButton, newButton) {
The second function removes the old radio button’s selection and selects a new radio button. This way, we can change the button that is checked by default when the page is loaded.
oldButton.removeAttribute("checked");
The checked attribute decides the radio button that is checked. When an element contains checked=”checked” it will appear checked on the screen. We use the removeAttribute method to remove the checked state. We call this on our oldButton variable.
newButton.setAttribute("checked", "checked");
Then we simply put the same attribute and value to our newButton variable to change the default selection.
}
This curly bracket ends our second function.
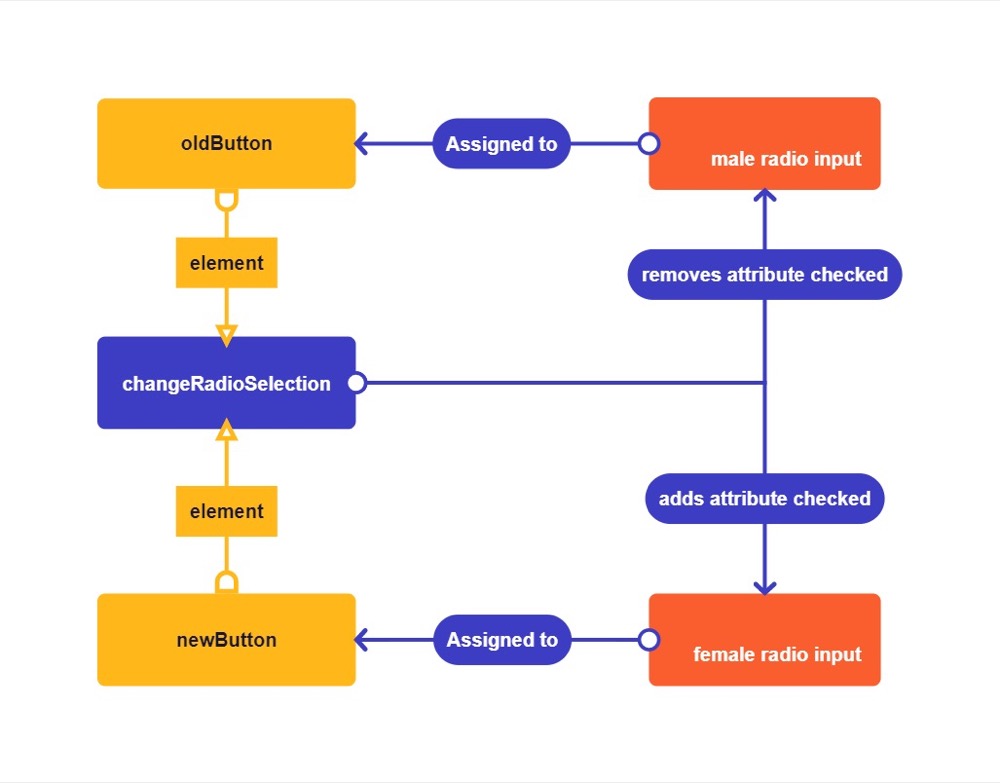
changeRadioSelection(maleRadio, femaleRadio);
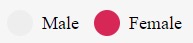
We call the function once to change the default value of our radio buttons to female.
Here we could have saved 2 lines of code again by simply writing this:
maleRadio.removeAttribute("checked");
femaleRadio.setAttribute("checked", "checked");
I like using functions because it allows me to quickly expand the code in the future. Imagine doing this for 20 buttons with an array, for example.
With test development, we know that our code is usually temporary, so 100% perfection is not a requirement, in my opinion.
function changeRangeValue(range, value) {
This function changes the default value of a range slider. You input the range element as the first argument. The second argument needs to be a string containing your desired value within the limits of the range.

We know that the limit of our range is 50 because it has the attribute max=”50″. It starts at 0 because it has the attribute min=”0″. You would be able to increase this limit with JavaScript by using the setAttribute method.
range[0].setAttribute("value", value);
We selected the range with the getElementsByClassName method, which means we need to select a specific item in the array to access it. We can access the first item in the array by adding [0] after the variable. This line of code will set the value attribute of the range.
}
This curly bracket ends the third function.
changeRangeValue(rangeSlider, "50");
Then we call our function to change the default value of the range to 50.

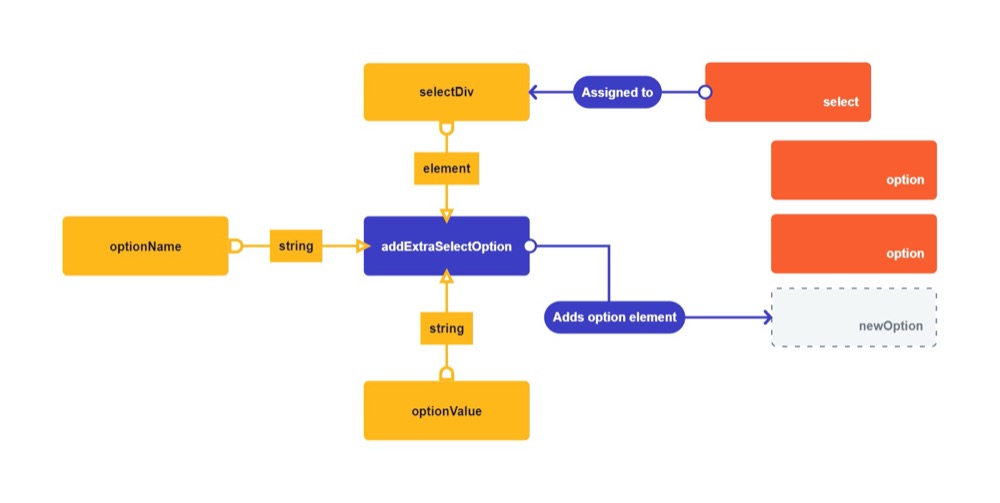
function addExtraSelectOption(selectDiv, optionName, optionValue) {
This function appends an option element to our drop-down selection box. In the first argument, you pass down the select element. This is the parent of all the option elements.
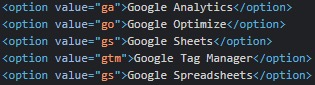
The second argument takes the name of the new option as a string. The third argument takes the value of our new option as a string. The value is usually used when sending data to the backend, so it’s essential to make this a simple value. Here we can see how I added short-value acronyms to all of our options.
var newOption = document.createElement("OPTION");
First, we create the option element with the createElement method and assign it to the newOption variable.
var newOptionNode = document.createTextNode(optionName);
Then we create a text node with the optionName variable and save it to the newOptionNode variable.
newOption.appendChild(newOptionNode);
We append our newOptionNode text node to our newOption variable.
newOption.setAttribute("value", optionValue);
Then we set the value of our new option with the setAttribute method.
selectDiv.appendChild(newOption);
Finally, we append our new option to the selectDiv variable. Now it will be visible in the DOM. Because we appended it, the option will be the last in the dropdown.
}
The curly bracket ends our fourth function.
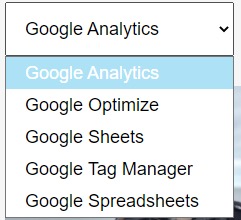
addExtraSelectOption(googleSelector, "Google Spreadsheets", "gs");
We call our function to add our new option element to our dropdown.
3. Exercise
The best way to learn JavaScript is to try it.
I want you to use the changeRadioSelection to select the other option. I also want you to change the value of the range to 0 with the changeRangeValue method. And shoot me a message to let me know what you think!
Can’t figure it out? Send me a message on LinkedIn and I will help you out!