
June 7, 2019
Managing a data structure like a product catalog can be frustrating—oftentimes, you’re expected to add, remove, or update your inventory while multiple people make edits in multiple places. The best way to solve this issue is to have a centralized database that can be easily understood and managed by your team. If you’re on the HubSpot platform, using HubDB to accomplish this goal is a no-brainer. HubDB is fully integrated into HubSpot and is easily accessible for anyone on your team to find and use.
In this article, we teach you how to set up and structure your HubDB product catalog, and then build a simple page using the data you’ve input! (The second part of this post assumes some web development knowledge.)
Step 1. Create a HubDB Table for Your Products
Navigate to HubDB tables by logging into your HubSpot portal. From the main menu, click the dropdown for Content, then select Website Pages. On the left sidebar, you will see “More Tools” where the link to HubDB can be found. (You can also search “HubDB” in the HubSpot nav.)
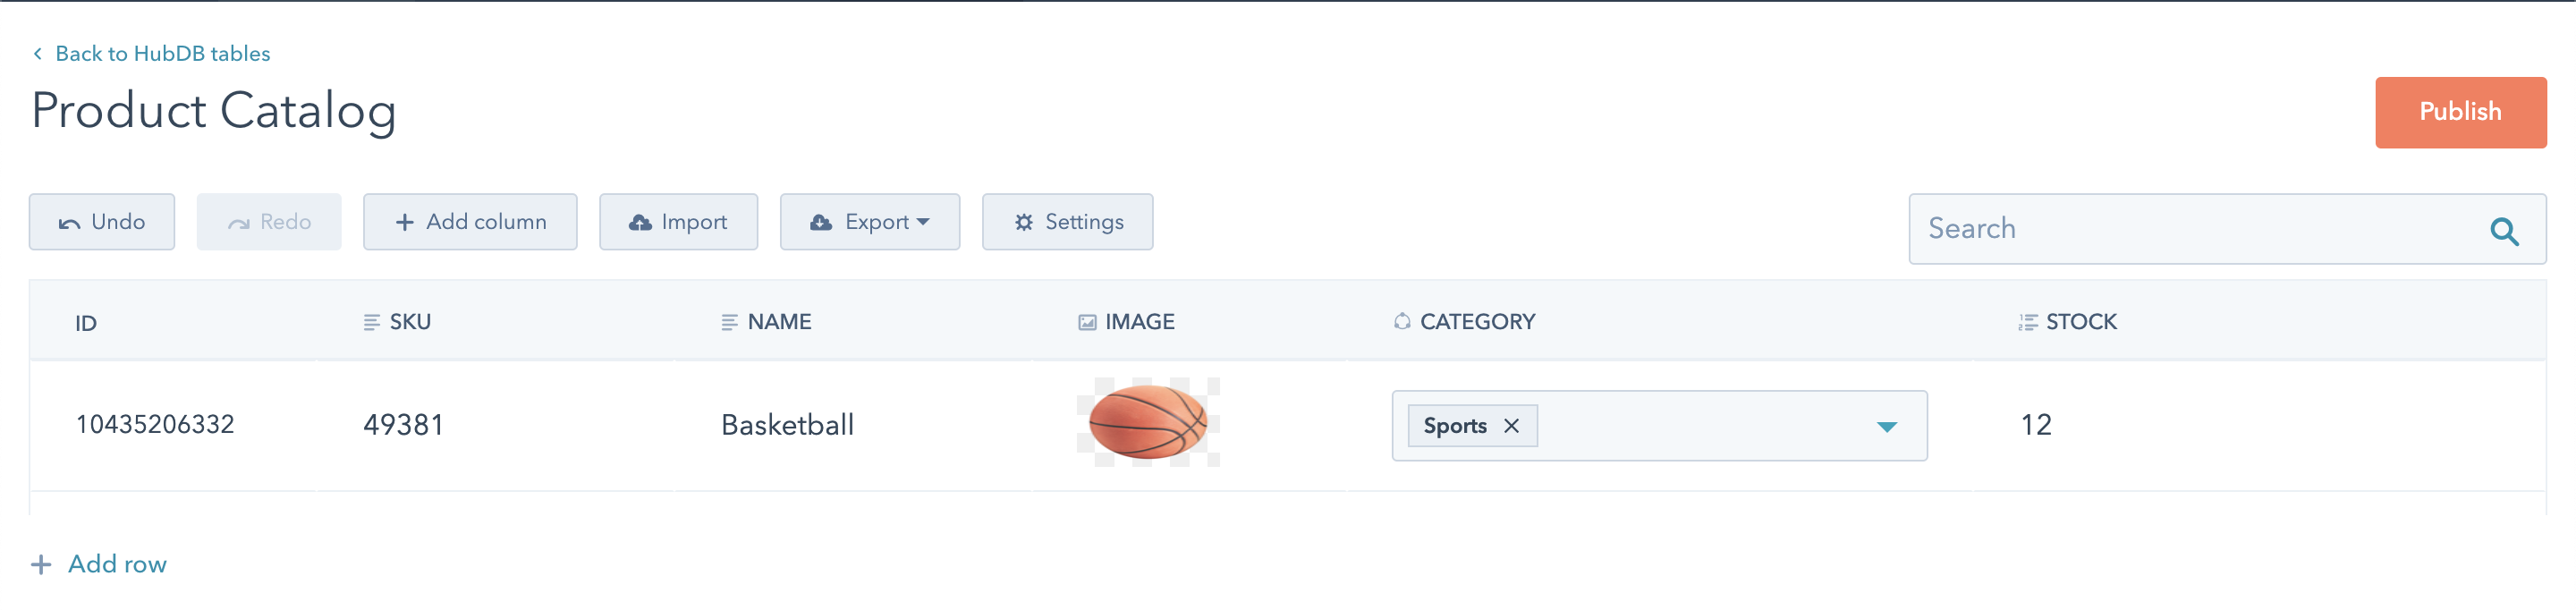
Start by creating a new table. Rename the default title field (i.e., “Product Catalog”). For demonstration purposes, we’ll be adding the following columns, but you may add more as needed:
- SKU (text field)
- Name (text field)
- Image (image field)
- Category (multi-select field)
- Stock (number field)
When finished, your table should look similar to the following:
Hit the publish button and ... congrats! You just created a basic HubDB Product Catalog. Now your inventory can be managed in one place to make sure it’s accurate and up to date while living on HubSpot!
Step 2. Add HubL to Your Template
Now, we build out our visualization of the Product Catalog using HubL and learn how to manipulate the data for our needs. To start, copy the following into your coded template, or a module that accepts HubL:

On line 3, we define the list of parameters for our HubDB query. In this case, we’re ordering by our SKU number. You can filter and sort data from your tables using any of the parameters specified in the docs for the HubDB API.
On line 4, we set our table variable, using the ID of the HubDB table (found as the last value in our HubDB URL) and our query parameters found in line 3. Starting at line 11, we loop through the rows of the table and spit out our HTML. From here, the rest should be fairly obvious—we output the values of our columns (i.e., line 14 and 17 for the SKU and product name). You can see examples outputting the values of slightly less straightforward field types, such as images and multi-select fields, on line 20 and lines 23-25, respectively. Finally, you can see an error message if no results are returned.
Step 3. Style and Manipulate Your Data
Now that you’ve set up a structure, you can style that data to fit your branding and desired look!
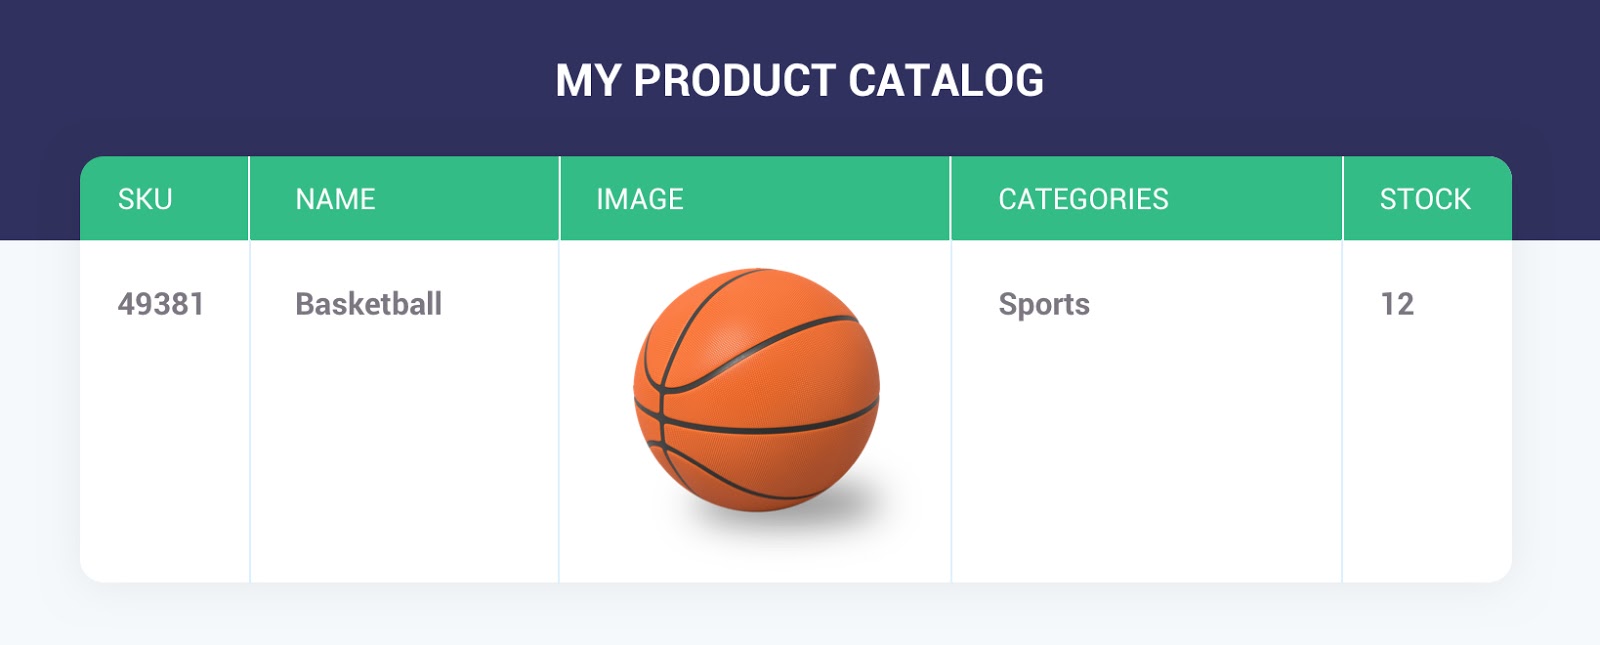
Your content will update automatically as your team updates the Product Catalog. Say you want to manipulate data from your centralized and robust HubDB table (i.e., show CTAs based on inventory, display products dynamically as is done above). You now have the tools you need to make the process simple and intuitive for your entire team.
For a tutorial on more HubDB basics, check out our blog post on creating event listings or our guide to creating a location directory.

Learn about web optimization with:
The Keys to Website UX and Usability


Other insights you might like