
Litmus Builder Essentials: Create in Our Email Builder
In the last post in our Litmus Builder Essentials series, we took a spin through Builder’s interface, learning about all of the different sections of Builder, some of the menu and settings options, and what exactly those little icons in the upper-right corner are. Now that you’re comfortable with what goes where in Builder, it’s time to dig into some of the features that make developing emails in Builder a wonderful experience.
In this second installment of Litmus Builder Essentials, we’ll take a deeper look at Builder’s code and visual editors, some of the features designed specifically for email development, and how to use Builder to speed up your development workflow.
Meet our email editors
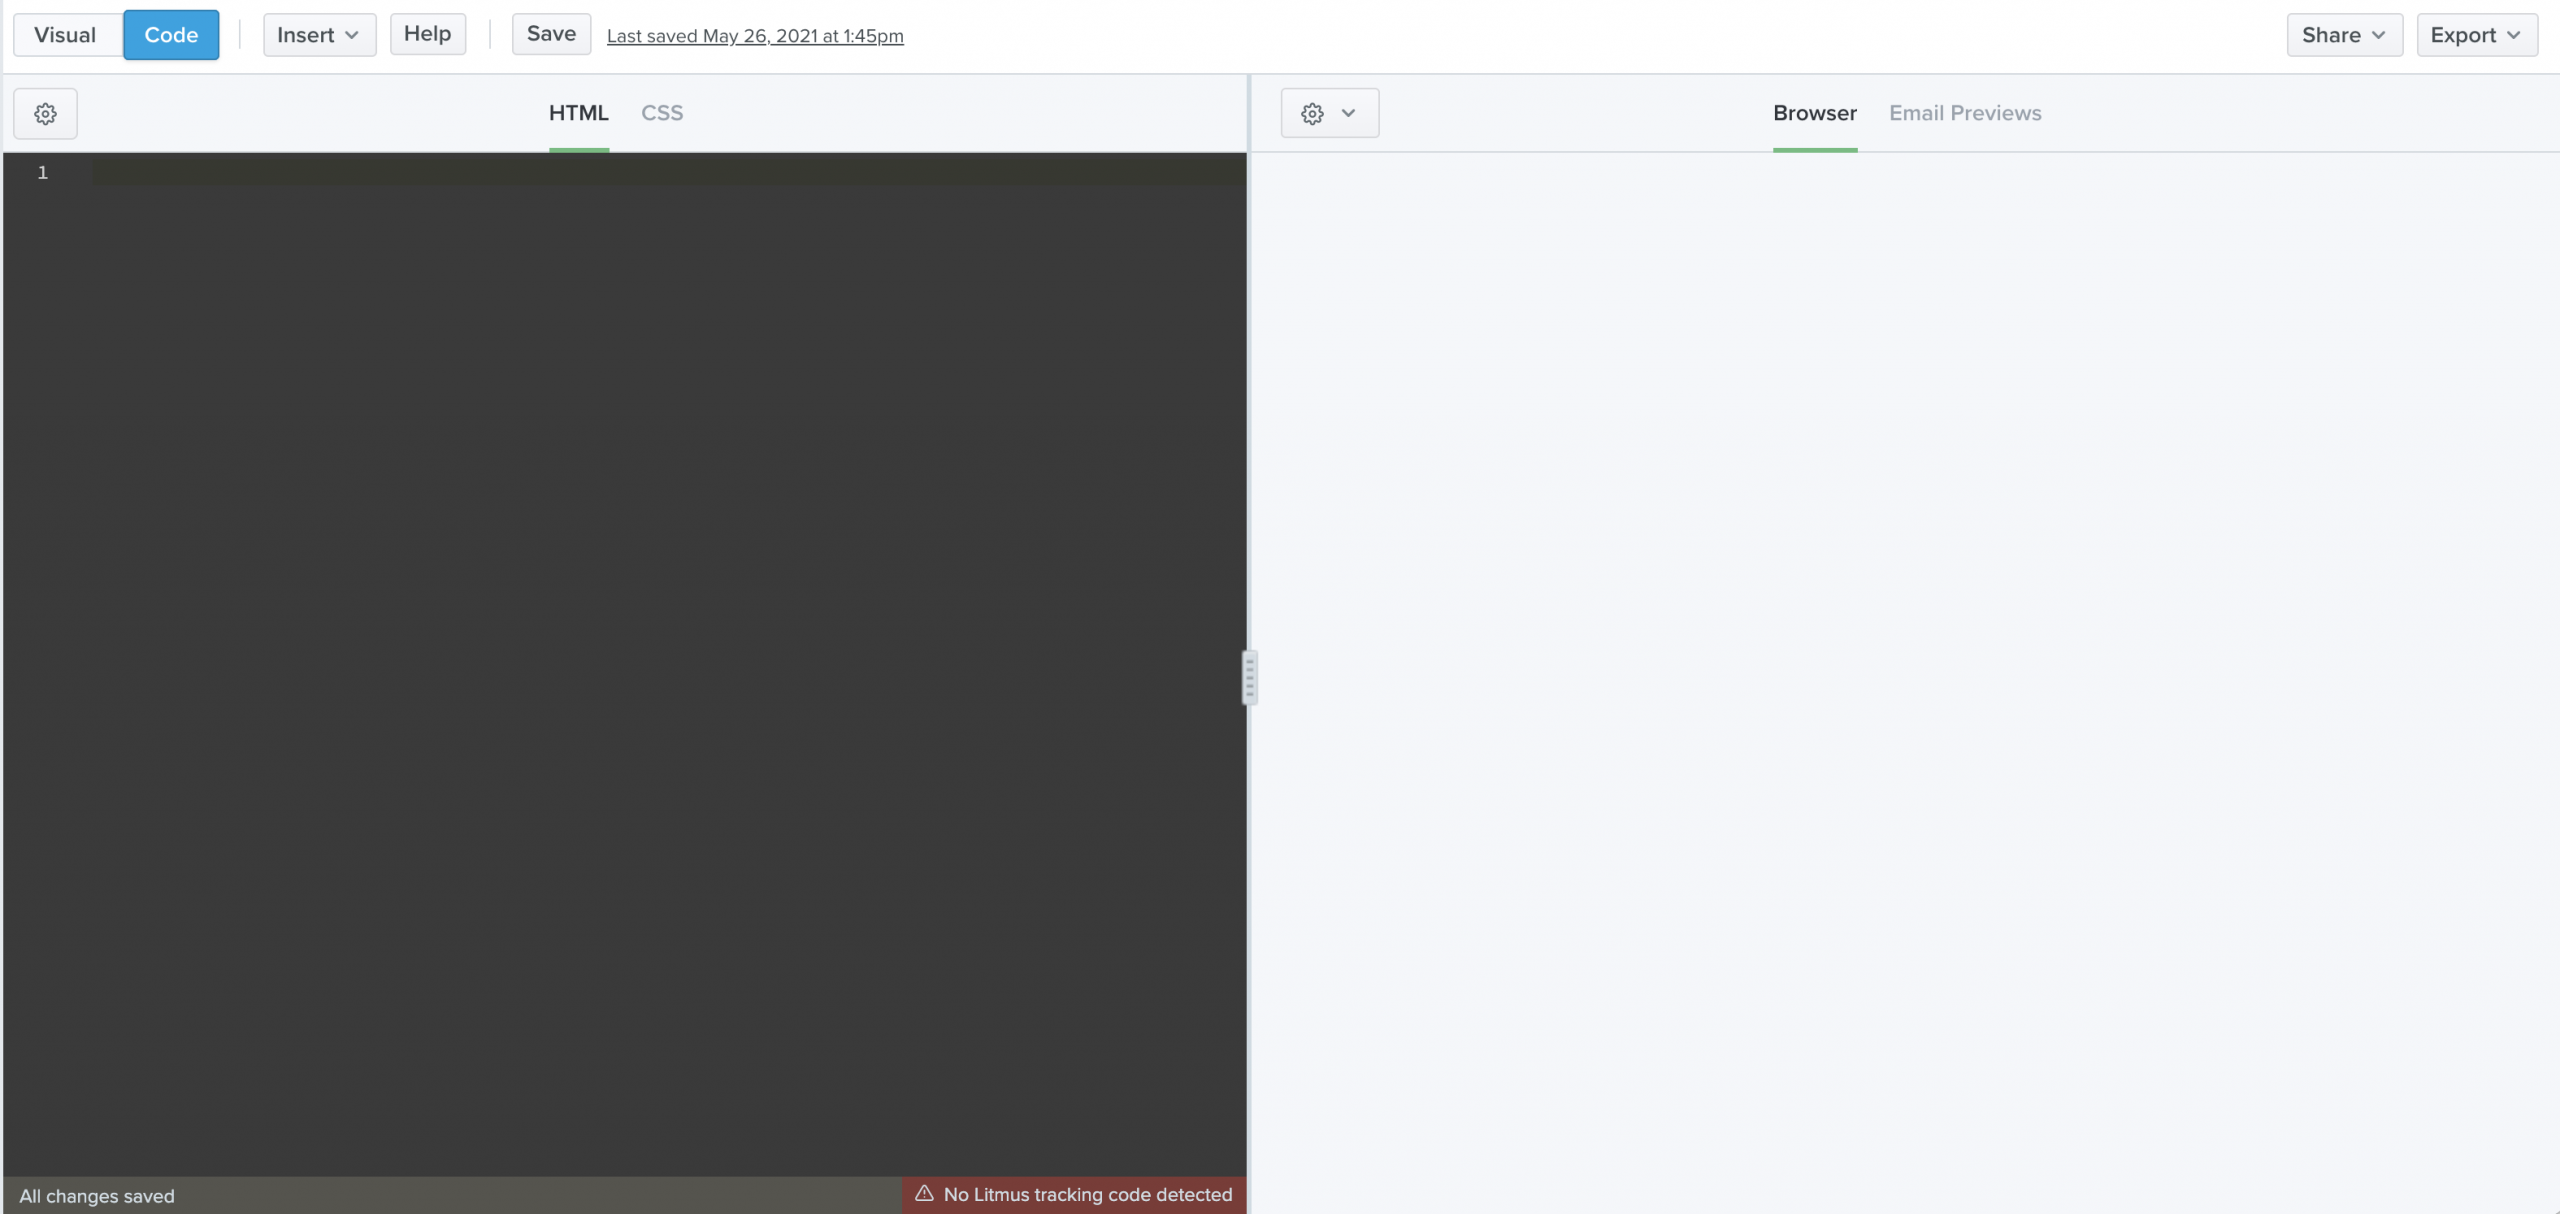
Litmus Builder is split into three main sections: the code editor, the visual editor, and the preview pane.
For most, the main work in Builder will occur in either the code or visual editor.
The code editor
The code editor is where you write the HTML and CSS for your email.
Unless you’ve started with a new template or copy and pasted your own code into your Builder project, the code editor will be blank by default.
If you’re experienced with coding emails, you can start writing your code directly in the editor—or copy and paste an email from a local file or your text editor of choice.
If you start a new blank document but later decide you need a template to build on, go to the menu bar to click Insert, then . This will open the Template Gallery, where you can choose from one of your own saved templates or from a library of elegant, pre-tested templates for a range of use cases that you can customize for your next campaign. Select a new template, and Builder will load that template—images and all—into the code editor.
The visual editor
The visual editor allows coders and non-coders alike to quickly and easily build on-brand emails using templates and modules. Creating those for Visual Editor works with any HTML—and doesn’t require lengthy setup or complex, proprietary syntax to learn. It doesn’t add anything extra to your code either.
To get started, open an existing email in your Litmus account, or start a new email using a template. You can do this either when you first create a new email or by going to your existing email and clicking on the Templates button in the Visual Editor menu.
Then it’s just a matter of selecting an element from your email in the preview pane to edit in the Visual Editor on the left side.
For more details on how to build emails using Visual Editor, check out this blog post: Build More Quality Emails, Faster with Litmus’ Visual Editor.
And if you’re a Litmus Enterprise customer, you also have the flexibility to drag and drop modules or content blocks to make each email its own without sacrificing quality.
Coding views: HTML and CSS
Builder allows you to edit in both HTML and CSS. By default, the code editor in Builder opens a document in the HTML view, as this is what most email designers and developers are familiar with. In the HTML view, you can write HTML and CSS to build your email. All the changes you make to your code display to the right in the preview pane in real time.
Builder’s code editor has a second view, though. The CSS view allows you to split your HTML and CSS so that you can work on them separately.
While separating HTML and CSS makes the coding process much easier, many email clients don’t support external style sheets—or even CSS—in the head of an email. Instead, they require styles to be applied directly to HTML elements in each line of HTML.
Manually inlining your CSS is a cumbersome process: Whenever you make a change to a style tag, you’ll have to update it in each line of your code. Litmus Builder automates that step for you. Keep your HTML and CSS separated when building your email and leave the process of inlining your CSS to Builder’s automatic CSS inliner tool.
You can turn on CSS inlining in Builder in the Settings menu, accessed from the gear icon in the code editor panel. Once turned on, Builder will automatically add your CSS to your HTML document—both while you’re designing and when testing your campaigns using Email Previews.
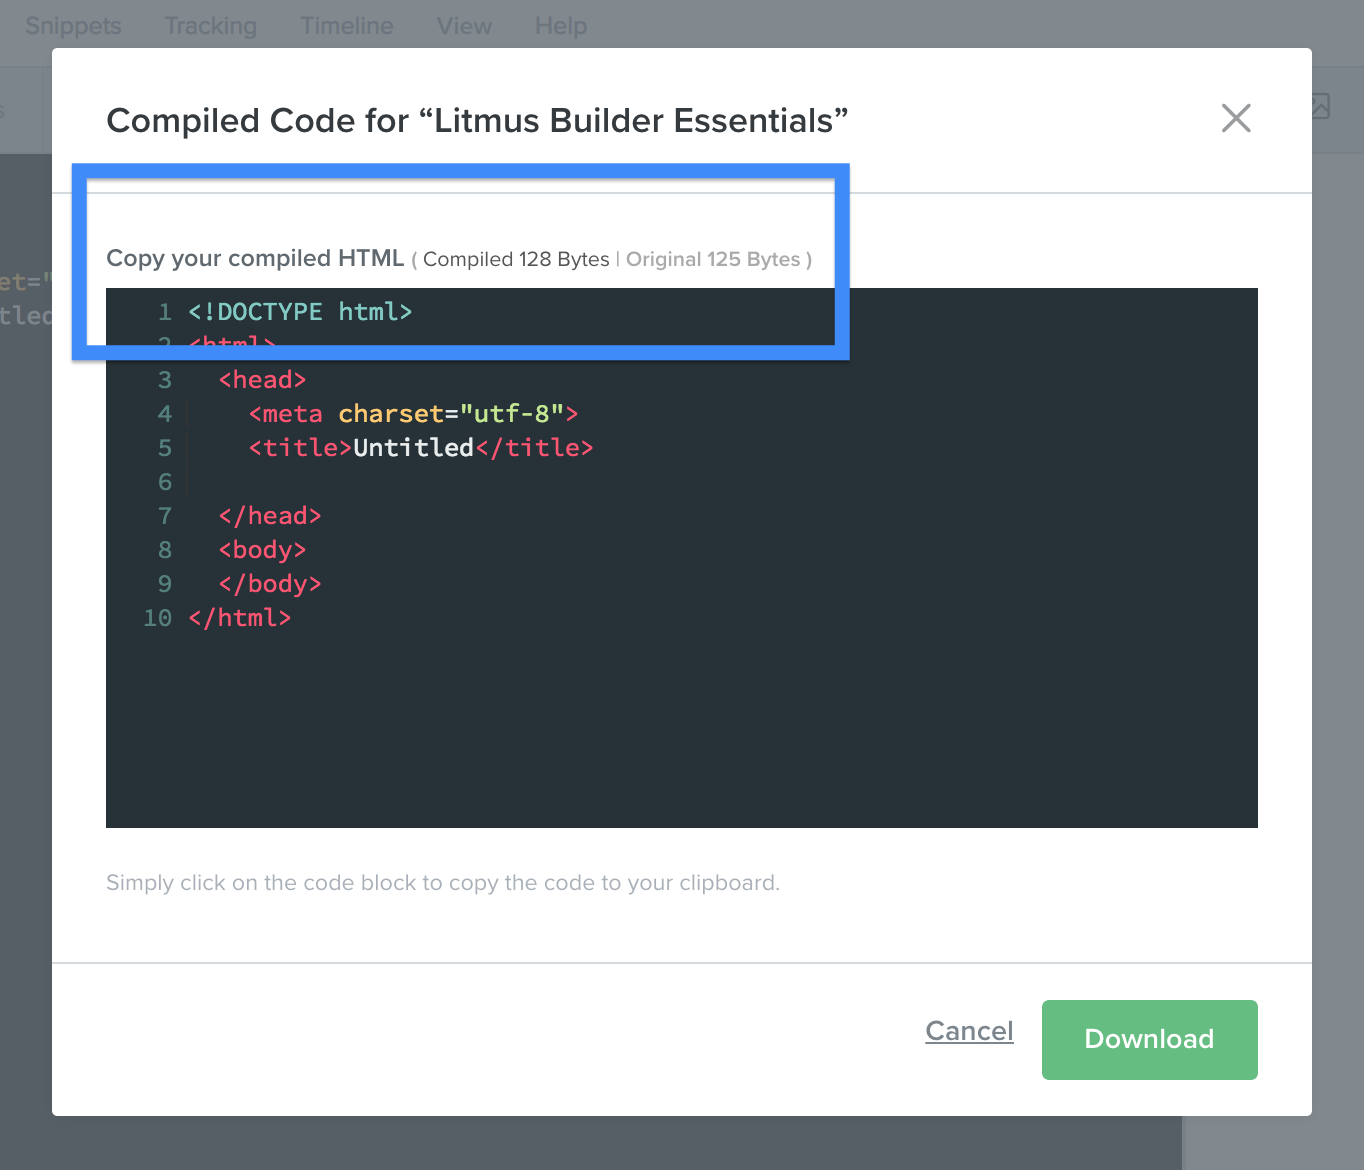
Once you have a finished email campaign, Builder compiles your HTML and CSS together for copying and pasting into your ESP. Grab the compiled code by clicking Export, then choosing Copy HTML or Download HTML, which will download the email and any uploaded assets directly to your computer.
When copying your HTML, you’ll see the compiled email size. This can give you insight into how much of an impact using partials, CSS inlining, and other features have on the total weight of your markup. Use this to see if your email’s weight could impact loading speeds—and make sure you’re under Gmail’s 102KB display limit to prevent your email from being clipped or cropped.
While relying on Builder’s CSS inliner is one way to speed up email development, Builder has a few more tricks up its sleeves.
You may remember from Part 1 that the Settings menu has two other toggles besides Inline CSS: Auto-complete and Close tags. These two options, when turned on, allow you to code more reliable campaigns faster.
Auto-complete allows you to view a list of options for HTML elements when typing in the code editor. This can be helpful for those times when you forget a specific HTML element. Just start typing and Builder will show you a list of elements you can select to pop into your code.
Tired of writing the same lines of code over and over again? Speed up your development process with the addition of autocompletion support for pre-existing CSS and images. For any pre-existing CSS (whether embedded in style block, in the CSS tab, or in partials), the values will be available as an autocomplete option when using class or id attributes.
Additionally, any images uploaded to Builder will have the image filename available as an autocomplete option for the source attribute, along with its width/height dimensions for width/height attributes and CSS properties.
The Close tags option automatically closes HTML tags while coding. Missing closing HTML tags can cause a variety of issues in emails, so Close tags is a good way to ensure you don’t run into any rendering problems due to a rogue, open tag.
One of my favorite features of Builder’s code editor is its built-in Emmet integration. Emmet allows you to type shortcuts which are then expanded into full code snippets. While Emmet was originally built as a plugin for desktop text editors, we’ve built Emmet right into the code editor—allowing you to take advantage of the power of Emmet without having to download or install anything on your own.
We’ve put together a quick guide to help you get started with using Emmet in your own emails.
There are a few more features of Builder that allow you to speed up your development workflow, including using Snippets and Partials and Tracking Manager. We’ll take a more in-depth look at those in our final post of the Litmus Builder Essentials series.
Test your emails
Once you start creating your email in Builder’s code or visual editor, you’ll want to preview and test it in actual email clients. That’s where the preview pane comes into play. Builder’s preview pane allows you to preview, navigate, and test your campaigns in 90+ different email clients, devices, and browsers using Email Previews.
By default, the preview pane loads the Browser view of your email. This view uses your web browser’s rendering engine to display your email and allows you to quickly see changes to your email as you build. You can even test things like links and interactivity within your email.
The Browser view in the code editor also allows you to use some of the tools in the toolbar of the preview pane.
In the preview pane toolbar, you’ll see a gear icon. When you click on the gear, a drop-down menu appears with the following options:
- Popout: Opens the entire preview pane onto a separate window, which is useful if you want to see more code in the code editor or take advantage of multiple displays.
- Toggle images: Turn images in your email on and off, which is useful for simulating email clients that block images by default. Consider this your friendly reminder to use ALT text for any images that, if missing, would detract from your message.
- Toggle gridlines: Toggles a blue grid around all of the individual elements in your email, allowing you to click on them and navigate directly to that piece of code in the code editor. Here’s looking at you, Dreamweaver users.
- Mobile: Quickly switches the width of the preview pane to mimic a narrower mobile device screen size.
- Desktop: Quickly switches the width of the preview pane to mimic a wider desktop device screen size.
Need the dimensions of elements in your email? Easily view the dimensions of specific elements, such as a table cell or an image, with a simple hover.
The second view inside the preview pane is Email Previews. This view allows you to see how your email campaign looks in 90+ different email clients, devices, and browsers. Click Email Previews in the preview pane toolbar to access.
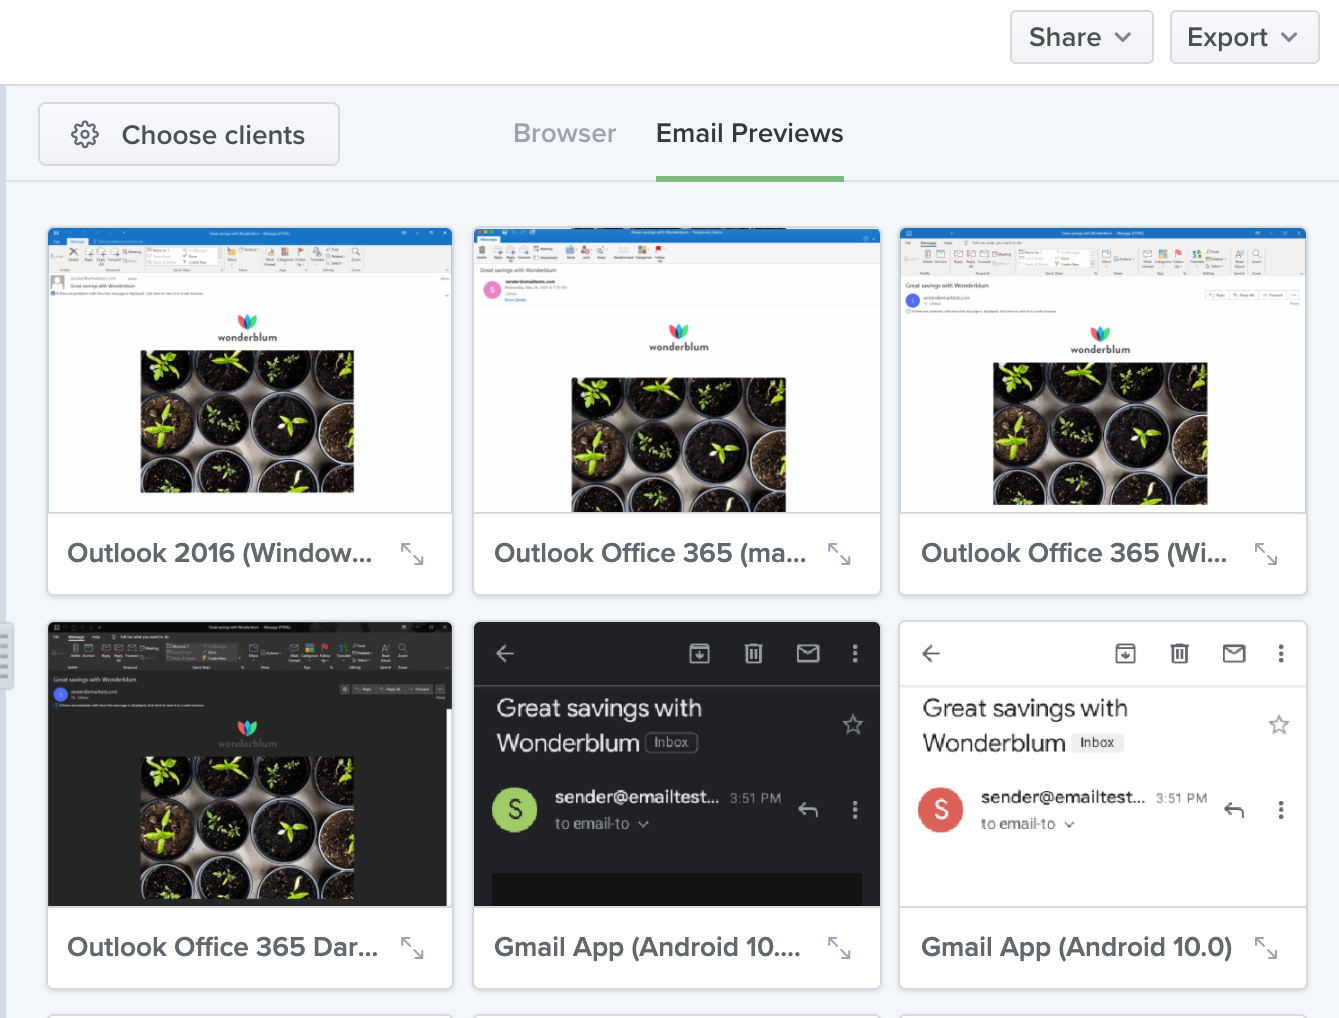
In the Email Previews view, you’ll see the icons in the preview pane toolbar are replaced by a button that says Choose clients. This opens a modal where you can pick exactly which email clients you want to test. Notice that there are options to select all clients based on platform (desktop, web, tablet/mobile) or select all clients based on vendor or device (Microsoft Outlook, Gmail, iOS clients, etc.). This allows you to quickly choose specific groups of clients for testing instead of testing in all clients by default.

Once you have your email clients selected, testing changes to your code is easy. Email Previews run every time you save changes to your email in Builder. Simply update your code, press Command ⌘ + S (on Mac) or CTRL + S (on PCs), and watch as Litmus returns updated screenshots of your email campaign in your email clients of choice.
Within the Email Previews view, you can select individual email clients to expand those clients, allowing you to view the full screenshot of your email in that client.
For some email clients, you can toggle images on and off in Previews. You can also view the code analysis for some clients. Code Analysis displays information on potential problems in your code for certain clients, usually highlighting HTML and CSS that isn’t fully supported in those clients. Both Toggle Images and Code Analysis can be accessed via the preview pane toolbar.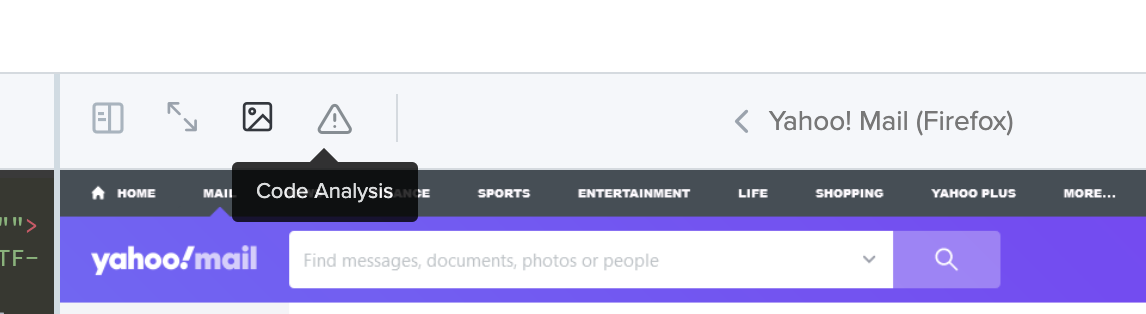
Additionally, you can toggle mobile device views on 40 mobile clients, allowing you to see exactly how your email renders on the actual device.
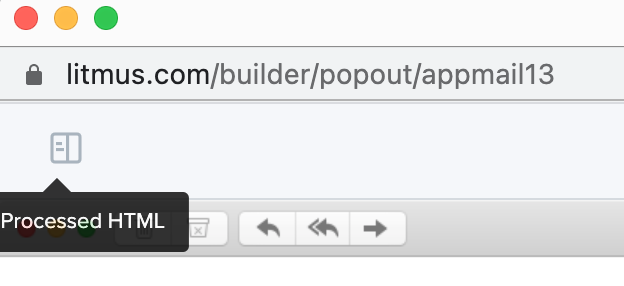
Speaking of how clients render your email, you can also see the processed version of your HTML. A lot of email clients will manipulate the code you send them, creating problematic changes in your HTML and CSS. You can see exactly how your code is changed by looking at the processed HTML button, which can be found by clicking the icon in the previews popout (see below). Your code editor will display the processed HTML, making hunting down tricky bugs easier than ever.
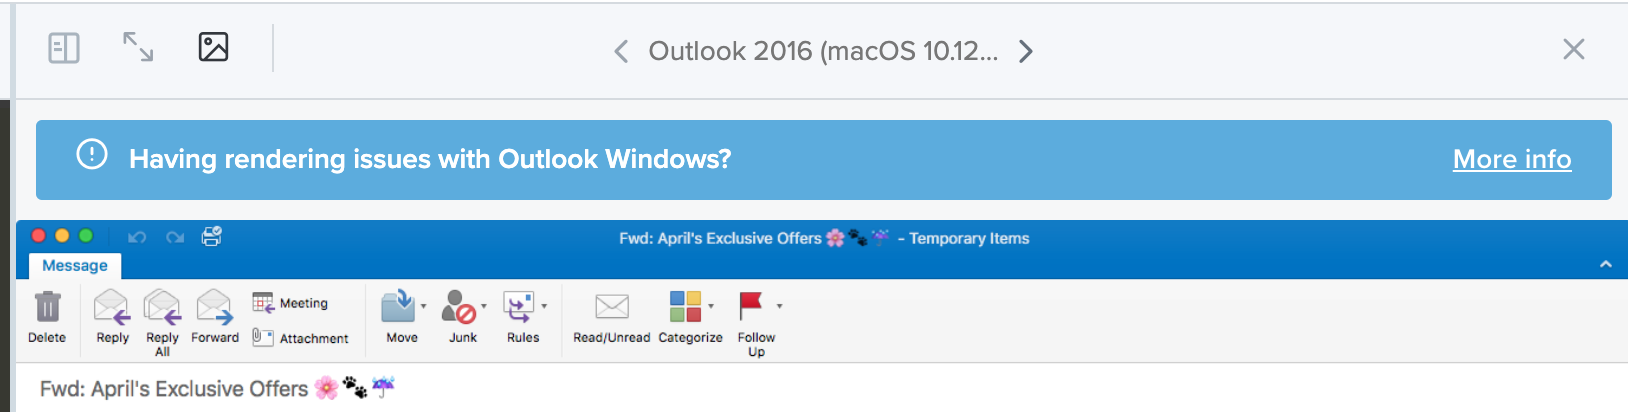
Many email clients have contextual help built in as well. When available, you’ll see an alert above your Email Preview. Click More Info to display explanations for common problems in those email clients—along with links to articles explaining how to fix them.
Finally, you can quickly switch between clients using the arrow icons on either side of the email client name in the preview pane toolbar. You can also use the arrows on your keyboard.
Once you’re done viewing your email in a specific client, close out of that full preview, which will return you to the Email Previews grid.
Start coding with Builder today
Now that you know your way around Builder, why not take it for a spin? No matter what coding techniques you use, Litmus Builder can help you develop more reliable campaigns quicker than ever before. And, if you’re part of a team, check out the next installment of Litmus Builder Essentials to see how Builder can improve workflows across teams and organizations.
Already a Litmus customer? Jump right in. Otherwise, try Litmus free for 7 days and see how Builder can improve your development process today.
Litmus Builder is more than just building emails Quickly build and QA test on the email clients that matter most to your audience, and take advantage of reusable email modules and templates to reduce errors and maintain brand consistency. |
Learn more in our Litmus Builder Essentials series
- Litmus Builder Essentials, Part 1: Get to Know Our Email Builder
- You are here: Litmus Builder Essentials, Part 2: Create in Our Email Builder
- Litmus Builder Essentials, Part 3: How Teams Can Use Litmus Builder
- Litmus Builder Essentials, Part 4: Best Practices for Creating HTML Email Templates in Builder
Shannon Howard
Shannon Howard was a Customer Marketing Manager at Litmus